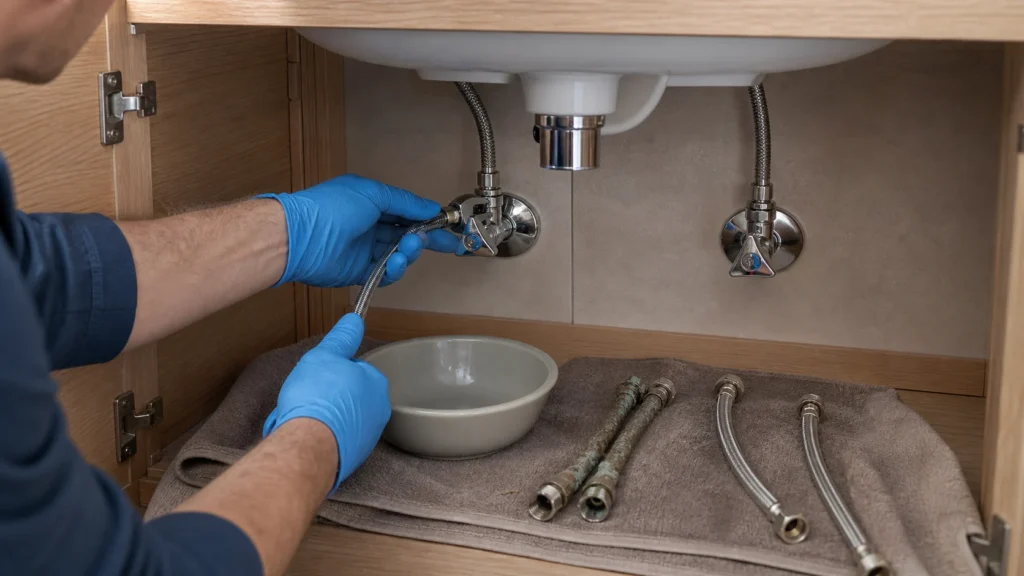
Flexible water supply hoses under the kitchen sink, washbasin, or cistern have a limited service life — the rubber interior ages and the braided sheath rusts, making them a common cause of silent leaks and flooding. Replacement is cheap and fast, and all you really need are two wrenches and a new hose of the correct length and connections. Be sure to close the shut-off valves first and release the pressure by opening the faucet.
n
It is enough to know how to handle an adjustable wrench; the key prior knowledge is to close the shut-off valve (or main supply if there is no valve) before unscrewing the hose.
n
⚠ Safety note: This guide involves working with plumbing. If you're not completely sure about every step, stop and call a licensed professional. Before you start, always switch off the power at the breaker or close the main water/gas valve.
1 Close the water shut-off valves
Close the hot and cold water valves under the kitchen sink, washbasin, or toilet before any work, as the hoses are always under constant pressure from the main water supply.
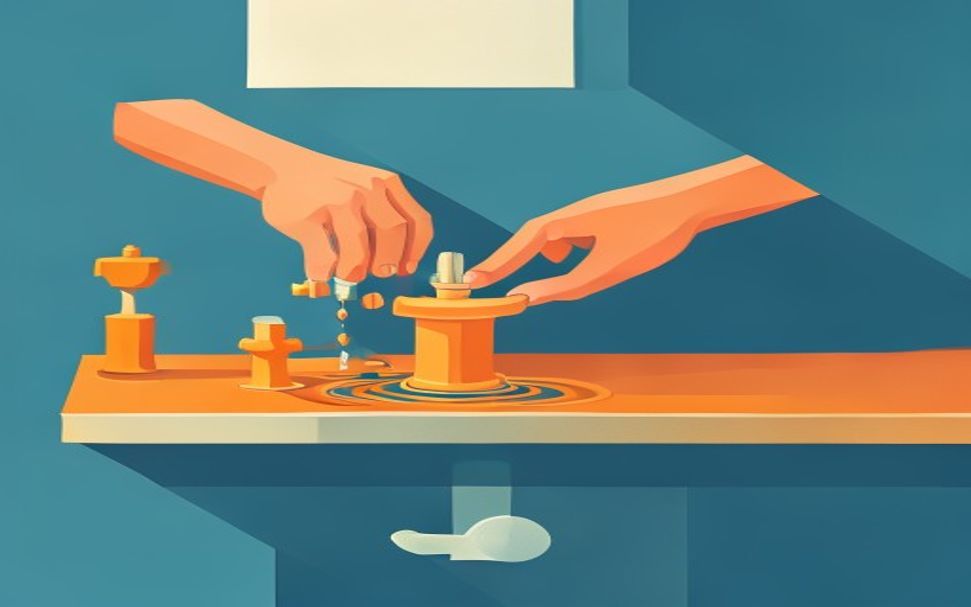
2 Release the pressure and prepare the workspace
Open the faucet to release the remaining pressure and place a bucket and cloth under the connections, because even after closing the valves, some water will drain from the hoses.
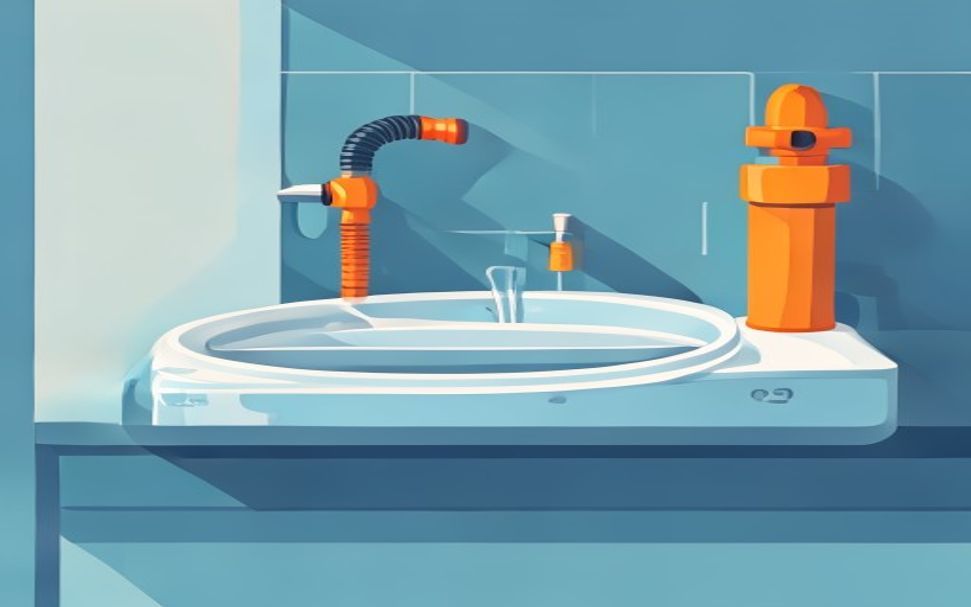
3 Unscrew the old hose
Hold the valve or faucet with one wrench so it does not twist, while unscrewing the hose nut with another wrench; if it is rusted, spray it beforehand with a rust-releasing agent.
⚠️ Warning: Never use old, rusted flexible hoses beyond their recommended service life (usually 5–8 years) — this is one of the most common causes of major water damage in apartments.
4 Inspect and clean the threads
Clean the threads on the faucet and on the shut-off valve of old Teflon tape residues or lime scale.
5 Wrap Teflon tape and screw on the new hose
If the connection does not have a rubber gasket, wrap Teflon tape 3–4 times in the direction of the thread, then screw the new hose on both ends by hand and tighten with a wrench for about half to one turn after feeling resistance.

? Tip: Choose hoses with stainless steel braiding (inox) instead of old rubber ones — they are more durable and much less prone to sudden bursting.
6 Open the valves slowly and check for leaks
If it drips at the joint, tighten it slightly, but avoid over-tightening which can damage the rubber gasket.
7 Recheck after a few hours
Micro-leaks sometimes appear only after the material ‘settles’ under pressure, so it is good to inspect the joints again on the same day.
Final check
- Ventili su polako otvoreni do kraja, a oba spoja crijeva su suha kad ih obrišeš papirnom maramicom
- Slavina radi normalno na toploj i hladnoj vodi, bez pada pritiska
- Nakon nekoliko sati (idealno i sutradan) spojevi su i dalje suhi, bez kapi na najnižoj tački crijeva
Common problems
- Novi spoj kaplje iako je matica pritegnuta
- Check whether the rubber gasket in the union nut is seated and undamaged — flat-gasket connections do not need Teflon tape on the thread. Unscrew it, align the hose so it does not enter at an angle, and tighten by hand plus a quarter turn with a wrench; overtightening cuts the gasket.
- Stara matica je zapečena hrđom ili kamencem i ne popušta
- Poprskajte spoj sredstvom za odhrđavanje (WD-40) i pustite 10–15 minuta da djeluje. Drugim ključem kontriraj ventil da ga ne zavrnete i ne oštetite cijev, pa tek onda odvrći maticu.