1 Prepare for safe work
Close the main or local valve, open the lowest faucet to release the pressure, and protect the floor with a bucket and cloths. If electricity is nearby, turn off the corresponding fuse.
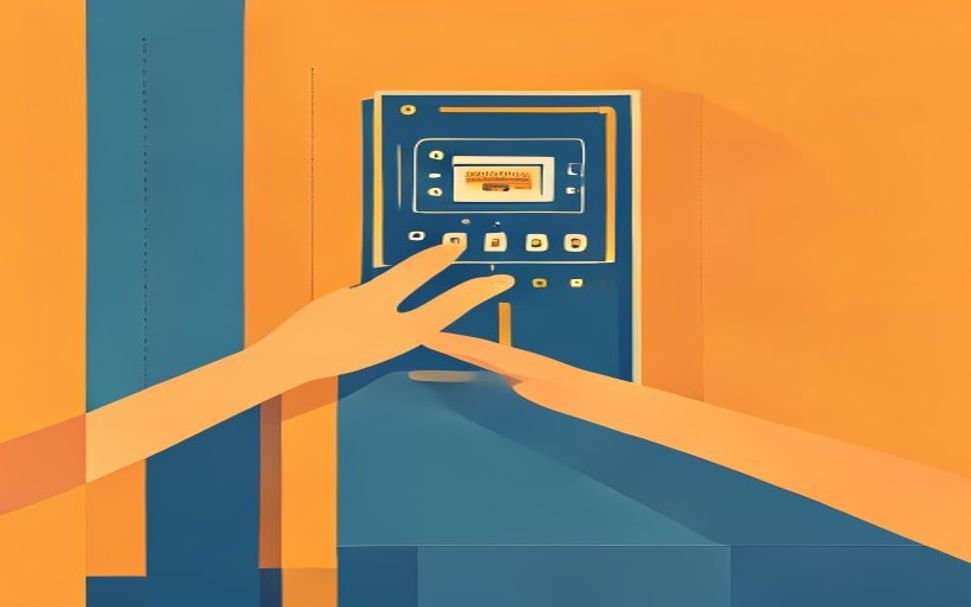
⚠ Warning: Do not work on a pipe under pressure or on a boiler connected to electricity. A hidden leak, a damaged main line, and repeated wetting of the wall require a plumber.
2 Determine the condition and the cause
Photograph the existing joint and measure the diameter of both connections. Place a bucket underneath and unscrew the nuts by hand or with a light pressure of pliers.
3 Perform the key check
Clean the seats, remove the old gasket, and check that the new hose is not too long, flattened, or bent at a sharp angle.
4 Perform the repair or maintenance
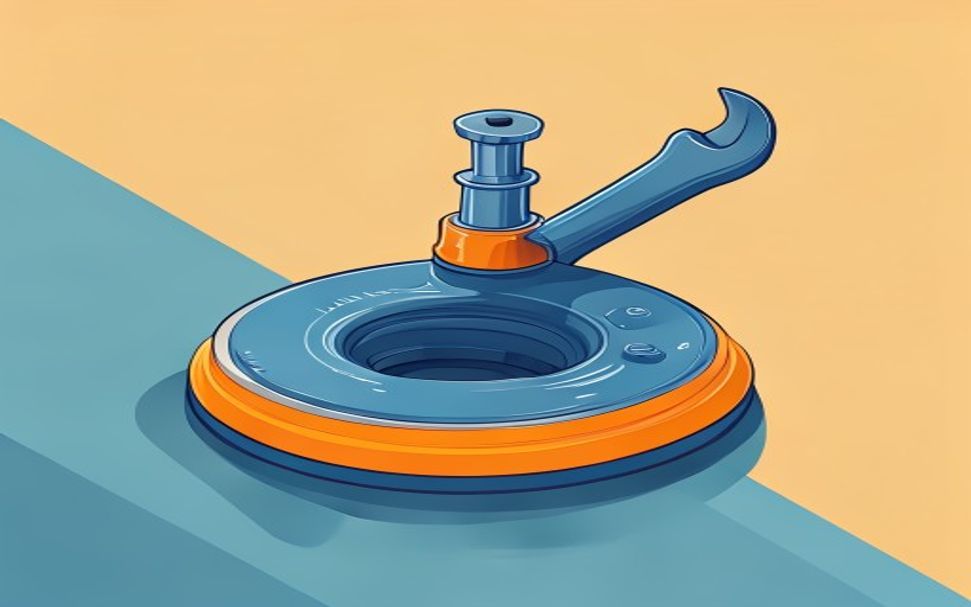
Position the new conical gaskets in the correct direction, tighten by hand then minimally with a wrench, and run a full sink of water to check.
? Tip: Photograph the initial state and change only one thing at a time. This will make it easier to determine what really solved the problem.
5 Test the result
Slowly turn on the water and observe each joint for at least a few minutes, first without load and then at full flow. A wet trace, a drop in pressure, or a sewer smell means that the joint needs to be inspected again.