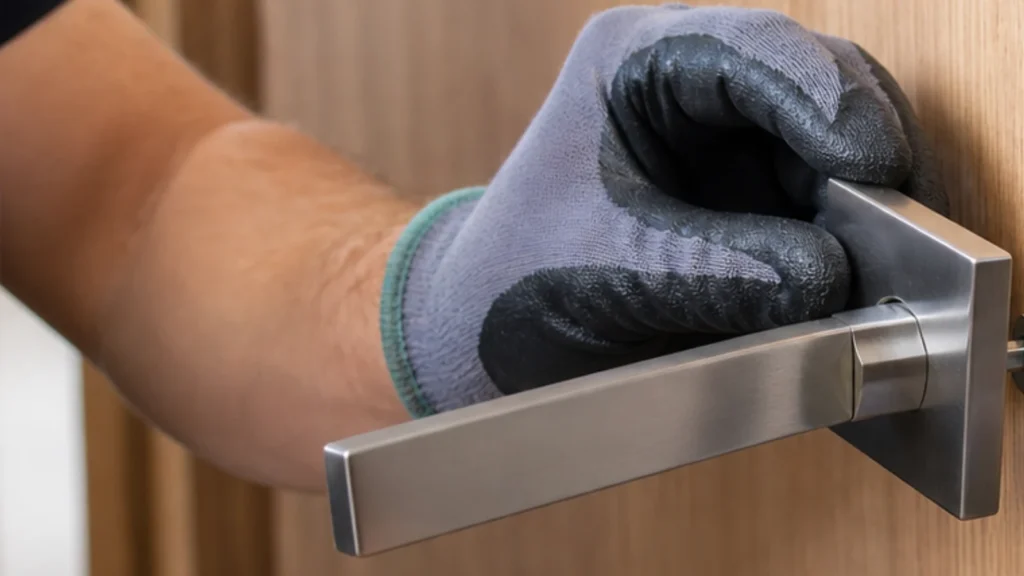
Replacing the handle and lock on an interior or entrance door is a job you can often do without a locksmith, but only if you measure the existing setup precisely before buying replacement parts. Most problems don't come from unscrewing screws, but from a new lock, cylinder, or rose not matching the dimensions of the old door hardware. So the first task is to determine the backset, lock depth, door thickness, and cylinder length, and only then go shopping for a replacement. If the door is warped, if the wood around the lock has cracked, or if a security entrance door has a special multi-point locking mechanism, the job is no longer just a simple handle swap.
No special prior knowledge is needed, but you should be comfortable handling a screwdriver, an Allen key, and a tape measure. It's also useful to be able to tell a plain handle, a cylinder, and a mortise lock apart, since people often buy just one part when the actual fault is in another.
1 Measure the existing lock and handle before buying
Before removing anything, measure the distance from the door's leading edge to the center of the handle spindle, the distance from the center of the handle spindle to the center of the cylinder or key, the door thickness, and the length of the existing cylinder. It's also a good idea to photograph the lock's faceplate and the inside layout of the roses, since many models look similar from the outside but differ by just a few millimeters. If you buy the wrong backset or too long a cylinder, you'll either be returning the part later or improvising on the door, which is a bad path.
2 Remove the old handle without forcing it
Loosen the small set screw on the handle's neck, usually with an Allen key, then pull the handle straight off the spindle. On older models there may be a small pin or spring catch instead of a screw, so first check how the specific model is secured. If the handle doesn't come off easily, don't twist it with full force, since you can easily damage the rose or loosen the wood around the spindle opening.
3 Pull out the spindle and disassemble the other side
Once you've removed the first handle, pull out the square spindle and then take apart the handle and rose on the other side of the door. Lay the parts down in the order they were removed, especially if you're working on a door that has washers, spacers, or extra spring elements. This later saves guesswork during reassembly and reduces the chance the new handle ends up loose.
4 Remove the roses and loosen the cylinder
Unscrew the screws holding the roses or cover plates, then find the long screw on the door's edge that secures the cylinder. That screw usually sits level with the lock's latch bolt and runs through the lock body to the cylinder. Once you loosen it, gently turn the key left and right and pull out the cylinder without yanking it, since a stuck cylinder usually needs a little realignment, not force.
5 Remove the entire lock mechanism if needed
If the problem is just the handle or cylinder, you don't need to touch the mortise lock itself. If you are replacing the mechanism as well, unscrew the screws on the faceplate and carefully pull the lock body out of the recess in the door. Check whether the new model is the same depth and width as the old one, since even a small difference can mean the lock sits crooked or the faceplate doesn't lie flat.
6 Install the new lock and properly center the cylinder
Insert the new mechanism into the recess without forcing it, and first check that the faceplate sits flat in its recess. Then insert a cylinder of the correct length and fasten it with the side screw moderately – tight enough to sit firmly, but not so tight it distorts. Turn the key a few times while the door is open; if it turns stiffly, don't continue until you've checked whether the cylinder sits straight and whether the screw is overtightened.
7 Install the spindle, roses, and new handles
Feed the spindle through the lock, fit the roses or long cover plates, then position the handles on both sides and tighten them according to the model's instructions. On some sets the spring-return mechanism is in the handle itself, and on others it's in the lock, so check whether the handle springs back on its own before the final tightening. If you're using a replacement set, common series that are easy to find here include Hoppe, Rostex, Yale, and AGB, but always check the size and door type before the brand.
8 Test the mechanism with the door open and closed
First press the handle and lock the bolt several times while the door is open, to see whether the mechanism is smooth and whether the latch fully retracts. Only then close the door and check that the latch enters the strike plate on the frame without scraping. If the handle sags, the key sticks, or you have to push the door to lock it, the problem isn't solved yet and you need to check the alignment of the lock, cylinder, or strike plate.
Final check
- The handle springs back to a horizontal position on its own and doesn't scrape against the rose or cover plate anywhere.
- The key turns smoothly both with the door open and closed, without sticking and without needing extra pressure on the handle.
- The latch and deadbolt enter the strike plate on the frame neatly, without hitting the edge of the metal or wood.
- The cylinder is firmly fixed and doesn't stick out unnecessarily past the rose.
Common problems
- The new handle stays down or springs back slowly.
- The most common cause is a misaligned spindle, an overtightened rose, or a worn return mechanism inside the lock itself. First loosen the fastening a little and check whether the handle moves freely with the door open; if it still sags, the problem is more likely in the lock's mechanism than the handle itself.
- The key works fine with the door open, but sticks when you close the door.
- In that case the problem usually isn't the cylinder but a misaligned strike plate on the frame or a sagging door. Check where the latch and deadbolt touch the metal opening, and only then adjust the strike plate or the hinges.
- The new cylinder or lock physically doesn't fit the opening in the door.
- Most often one of the basic measurements was missed before buying: the spindle spacing, the backset, the door thickness, or the cylinder length. Don't immediately widen the opening in the door; first compare the old and new measurements and return the part that doesn't match.