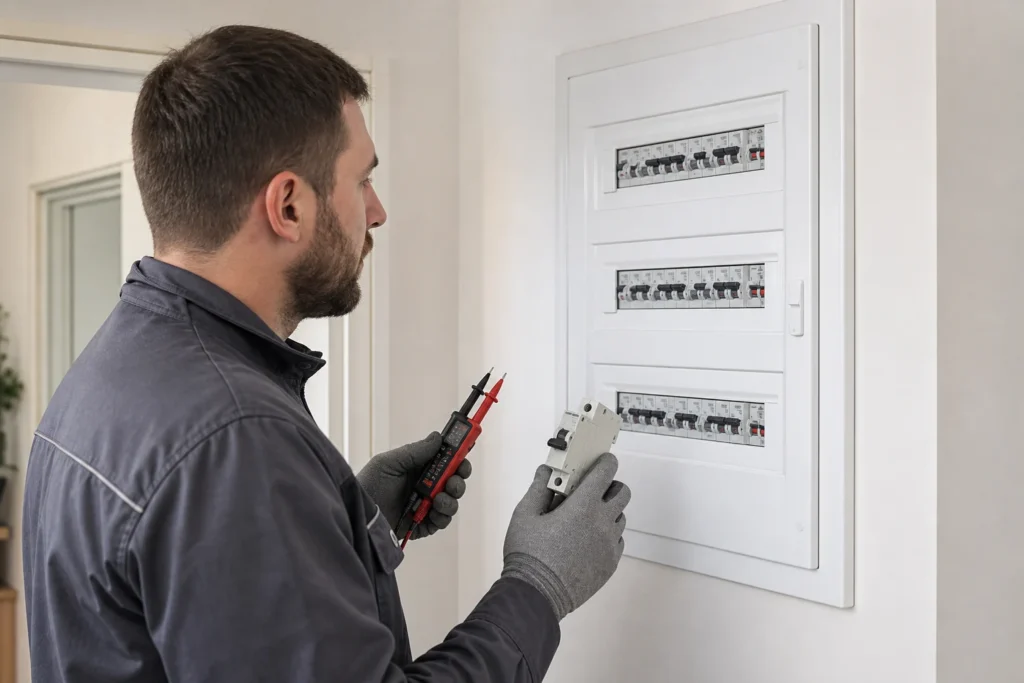
Replacing a DIN-rail circuit breaker isn't mechanically complicated, but it carries more risk than replacing an outlet or a switch because you're working inside the electrical panel. This job only makes sense when you're replacing solely a faulty breaker with an identical rating, in a panel that's been inspected and is fairly standard. If you remove the cover and immediately see exposed busbars, untidy modifications, or you're not sure which parts stay live even with the main breaker off, stop and call an electrician.
You need a basic understanding of a marking like B16 or C20, the difference between an outgoing wire and a comb busbar, and awareness that the main breaker doesn't make every part of the panel harmless. This isn't a job for a first encounter with electrical installations.
⚠ Safety note: This guide involves working with electricity. If you're not completely sure about every step, stop and call a licensed professional. Before you start, always switch off the power at the breaker or close the main water/gas valve.
1 Read the old breaker's marking and photograph the whole row
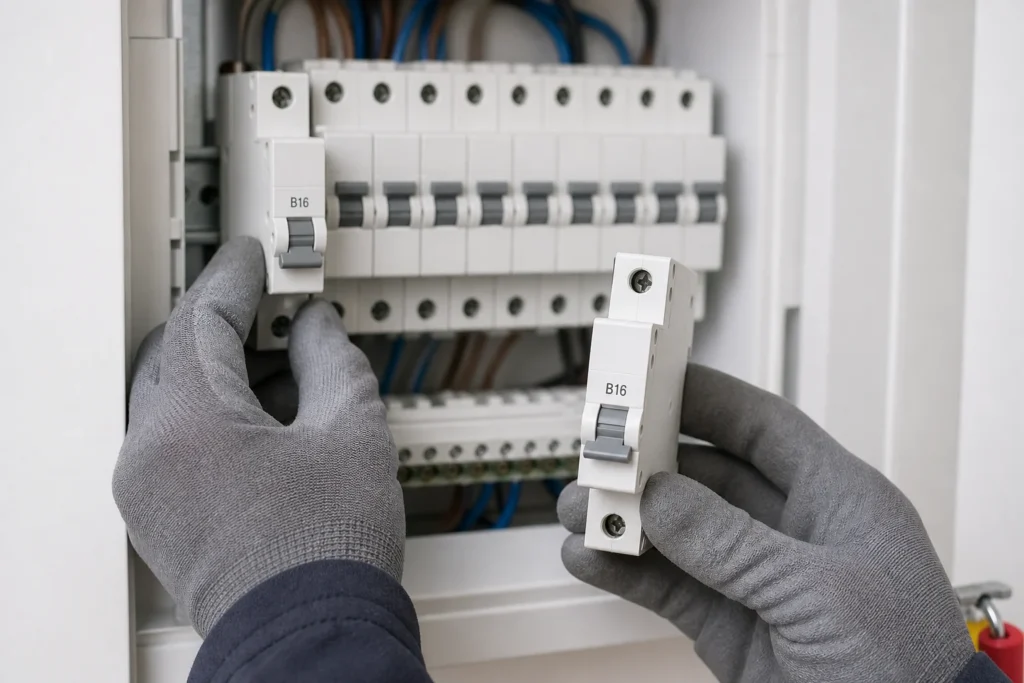
Before unscrewing anything, write down the complete marking of the old breaker: number of poles, amperage, and trip characteristic. A photo of the whole row is invaluable later, since it shows how the comb was connected, where the feed-in is, and where the output is, and saves you from reassembling from uncertain memory.
2 Check whether the replacement is really within homeowner territory
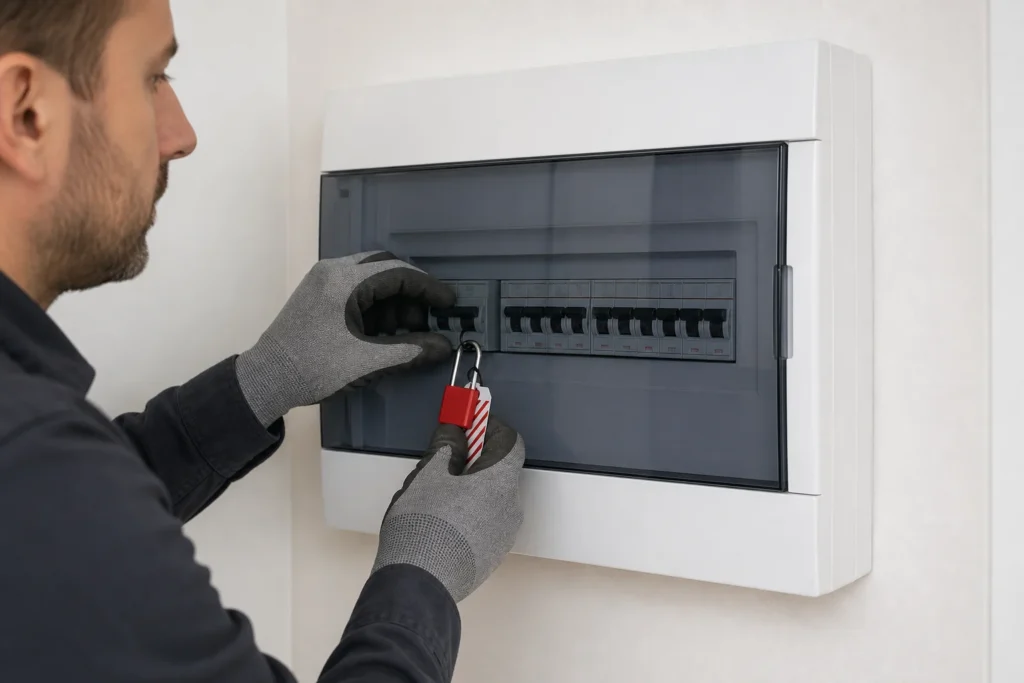
Remove only as much of the cover as necessary to reach the breaker you're replacing, and assess the situation immediately. If you'd have to work right next to exposed incoming terminals, improvised bridges, or old fuse-type elements, this is no longer a tidy home replacement but a job for a panel technician.
3 Switch off the main breaker and measure what's still live
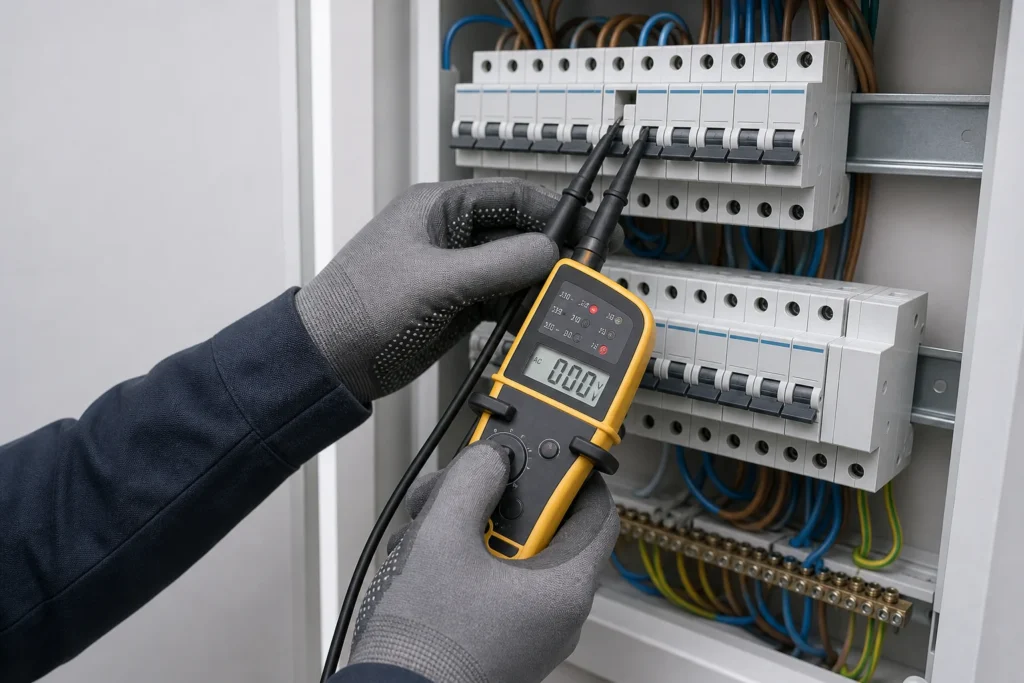
The main breaker or RCD ahead of the row of breakers should ensure you can work on the outgoing side, but that must be confirmed by measurement, not assumption. Test the top and bottom of the breaker you're replacing and determine exactly which side is de-energized.
4 Loosen the outgoing wire and the comb busbar if needed
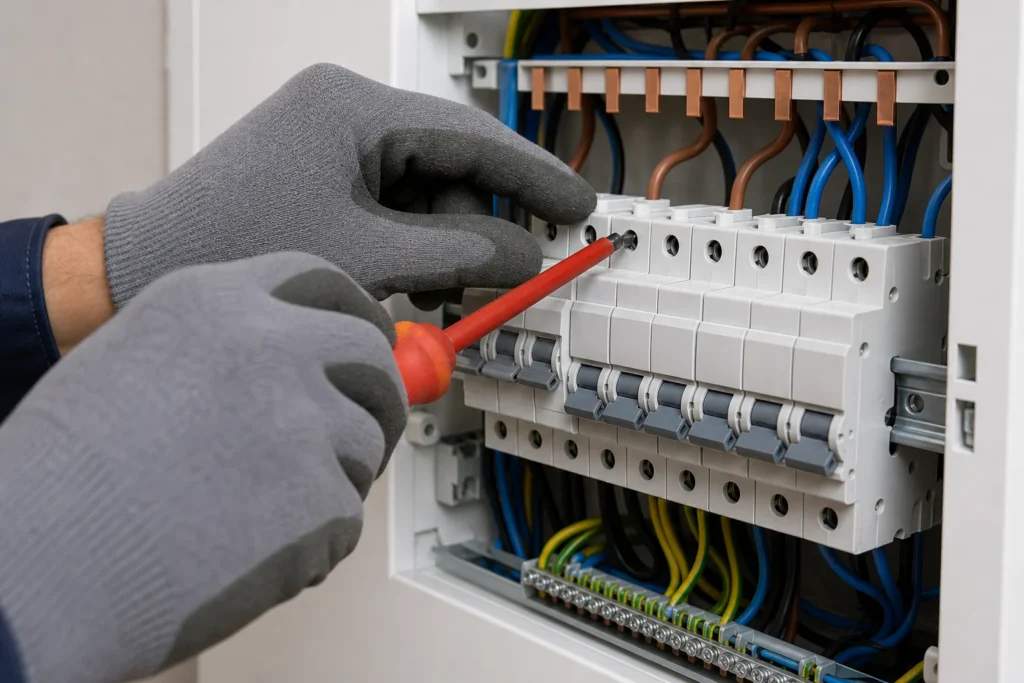
First loosen the wire going to the circuit, then carefully release the busbar too if it feeds this breaker or the neighboring row. Work slowly and without sudden pulling, since a short or stiff wire can easily pull a neighboring connection out of position too.
5 Unclip the old breaker from the DIN rail
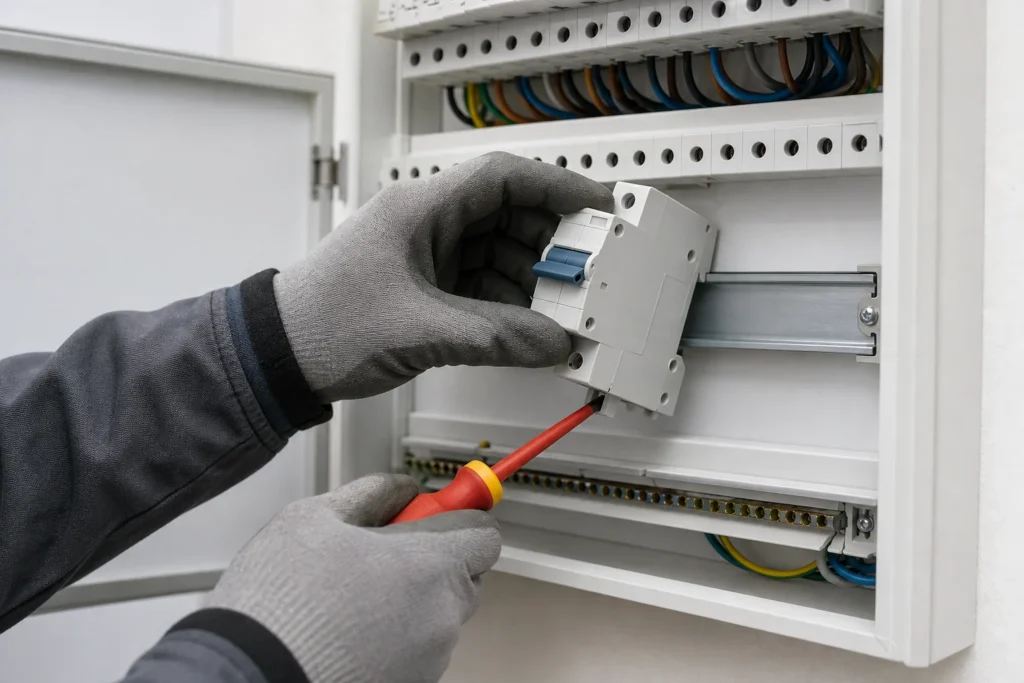
Most miniature breakers have a plastic locking tab at the bottom that you pull down with a screwdriver, after which the breaker comes off the rail. Don't try to yank it off from the top only by force, since that's the easiest way to warp the housing or damage neighboring elements.
6 Fit the new, identical breaker
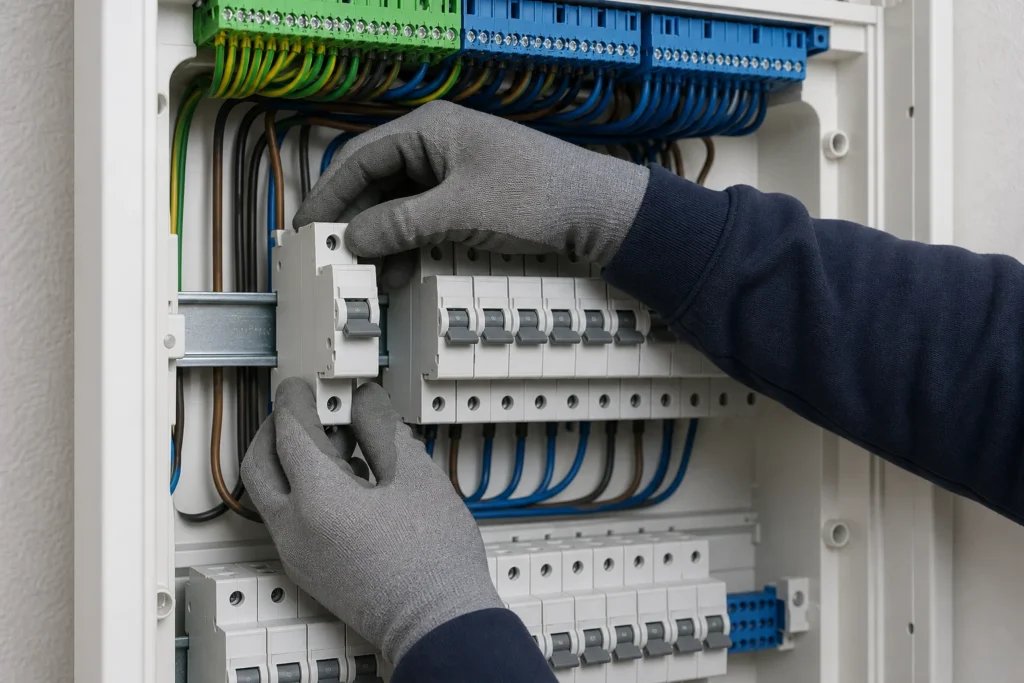
Hook the new element onto the top edge of the DIN rail first, then press the bottom down until it clicks fully into place. You'll have the fewest problems if you buy the same brand and the same series as the existing breaker, since then the terminal layout and busbar profile match best.
7 Reconnect the wiring and recheck mechanical hold
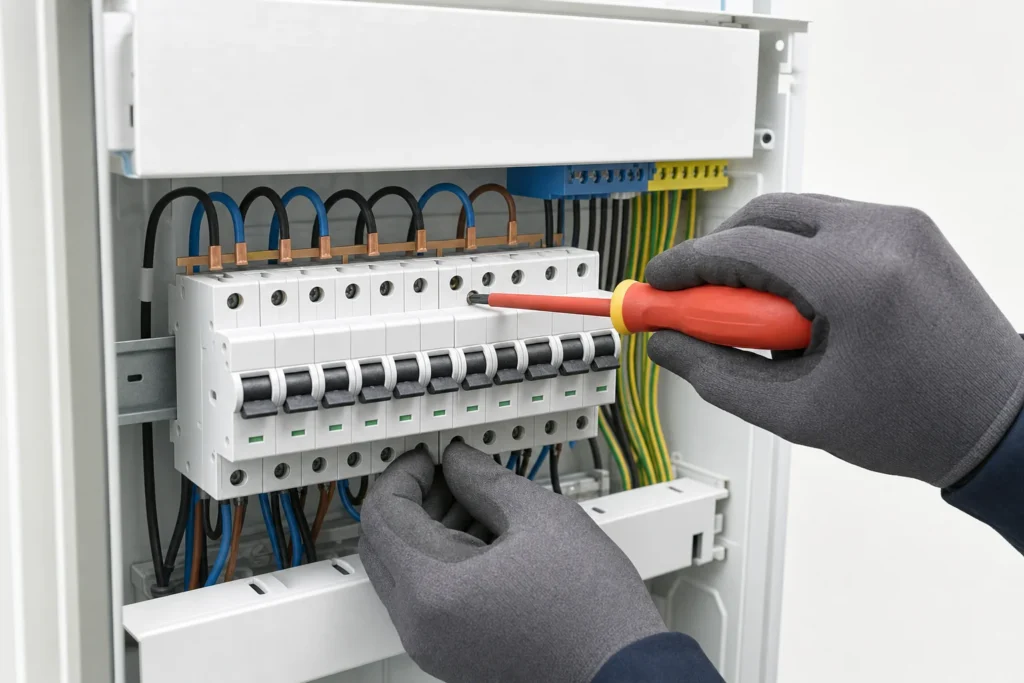
Put the outgoing wire and comb busbar back in the exact position, then tighten the terminals evenly per the manufacturer's recommendation. After tightening, gently tug the wire: if it moves even a little, the connection isn't secure enough for permanent use.
8 Switch on power and observe the circuit's behavior
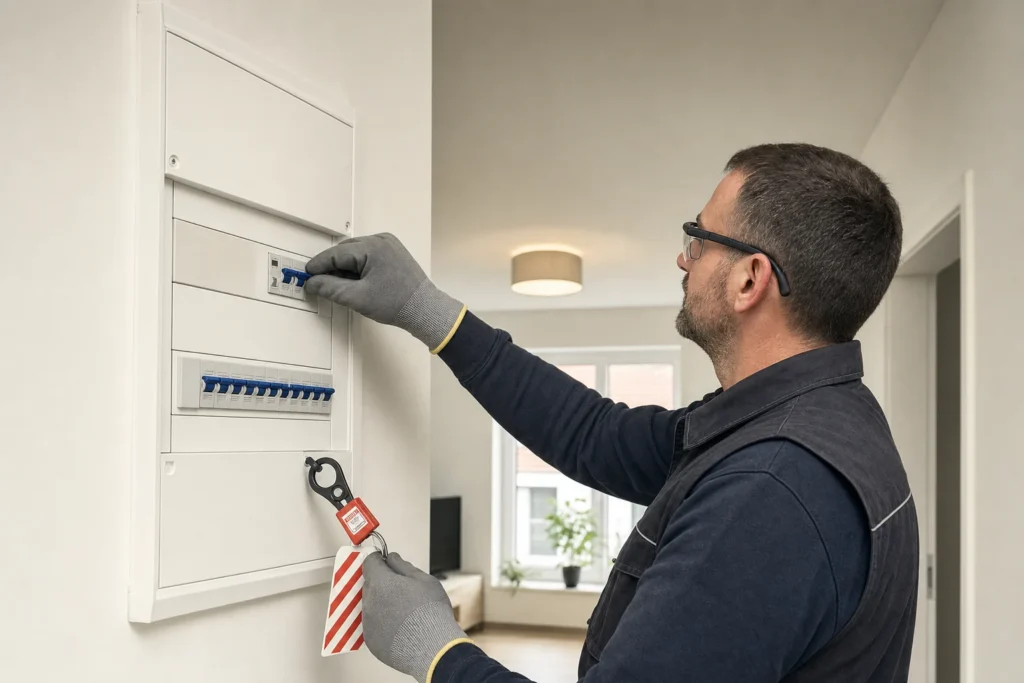
Switch on the main breaker first, then the new breaker, and only then load the circuit it protects. If the breaker trips immediately or behaves the same as the old one, the problem almost certainly wasn't just the breaker, but a fault in the wiring or an appliance.
When to call a professional: If the job involves changes to the electrical panel, the main gas line, or load-bearing walls/beams — or if you're not sure how it will turn out — this is not a DIY task. Hire a licensed professional.
Final check
- The new unit has the same marking, the same number of poles, and the same trip characteristic as the old one.
- The breaker sits firmly on the DIN rail, and the wire and busbar don't move when gently tugged.
- The circuit works normally and the breaker doesn't trip immediately when the normal load is restored.
- There's no remaining play in the panel, no tilted module, and the cover is refitted neatly.
Common problems
- The new unit doesn't accept the busbar or wire in the same position as the old one.
- This is a common sign that the model or series doesn't mechanically match the existing row, even though the amperage marking looks the same. Don't force the connection; go back to the same series, or leave the replacement to someone who will rearrange the whole row properly.
- The wire is short and barely reaches the new breaker's terminal.
- Don't stretch it while it's live, and don't leave it taut. If there isn't enough slack for a tidy connection, it needs a professional extension or different routing in the panel.
- The new breaker trips again immediately.
- In that case the problem is almost certainly not the mechanical unit itself but a fault or overload on the circuit. Disconnect the loads and move on to fault diagnosis instead of blindly swapping breakers again.