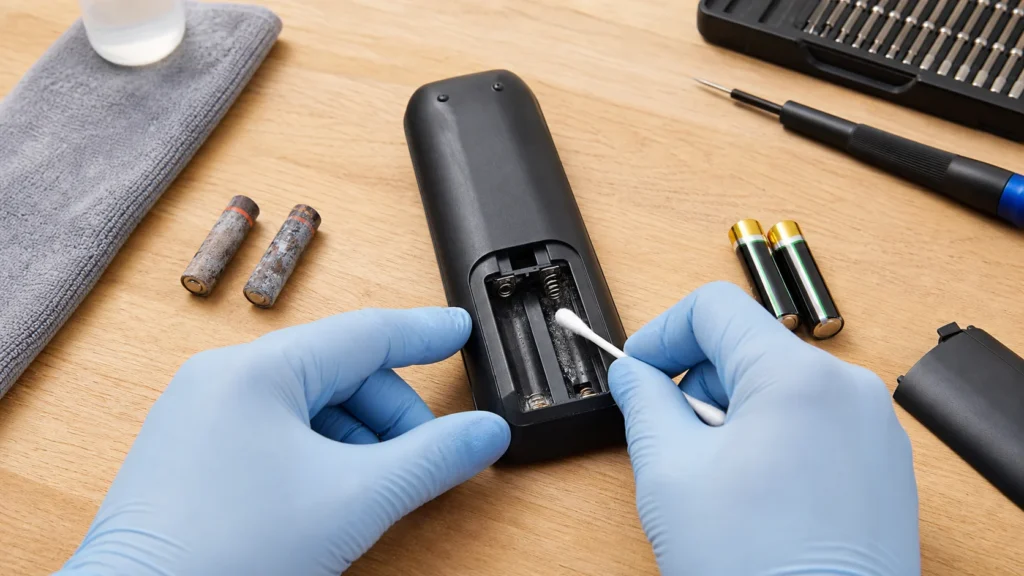
A remote that only works sometimes very often doesn't have 'broken electronics' — it has dirty or corroded contacts, weak batteries, or grime under the buttons. It's a rewarding little repair job because most problems are solved without spare parts, but you need to tell the difference between surface cleaning and a situation where corrosion is so severe the contact is already eaten away. With leaking batteries, personal protection matters too, not just the technical part of the repair.
No special knowledge is needed. A bit of care when opening the case and putting the batteries back in with the correct polarity is enough.
1 Take out the batteries and immediately assess whether there's leakage
As soon as you open the cover, check whether the contacts are just tarnished or have white and green deposits from leaked electrolyte. That distinction matters, because mild oxidation just needs cleaning, while aggressive leakage sometimes leaves permanent damage to the springs and contacts.
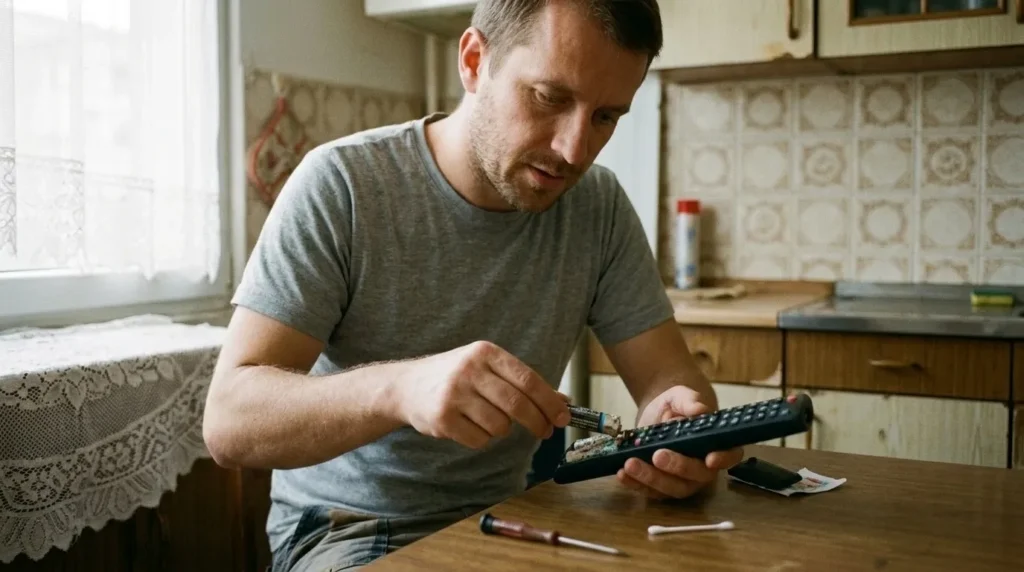
2 First clean off dry deposits without smearing them
Carefully remove dry deposits and dust with an eraser or a dry cloth before using alcohol. If you go straight in with liquid over heavy corrosion, you often just smear it deeper into the case and around the contact surface.
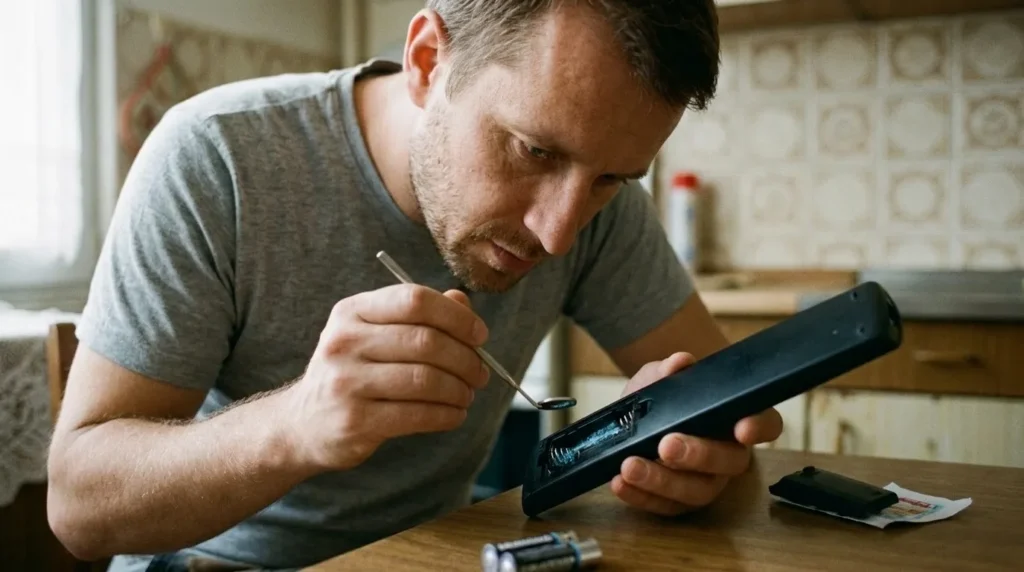
3 Clean the contacts down to bare metal
Clean the metal springs and plates with an eraser, then if needed with a swab and a bit of isopropyl alcohol. The goal is for the contact to look metallic and smooth again, not stay grey and rough so it still breaks the connection under slight movement.
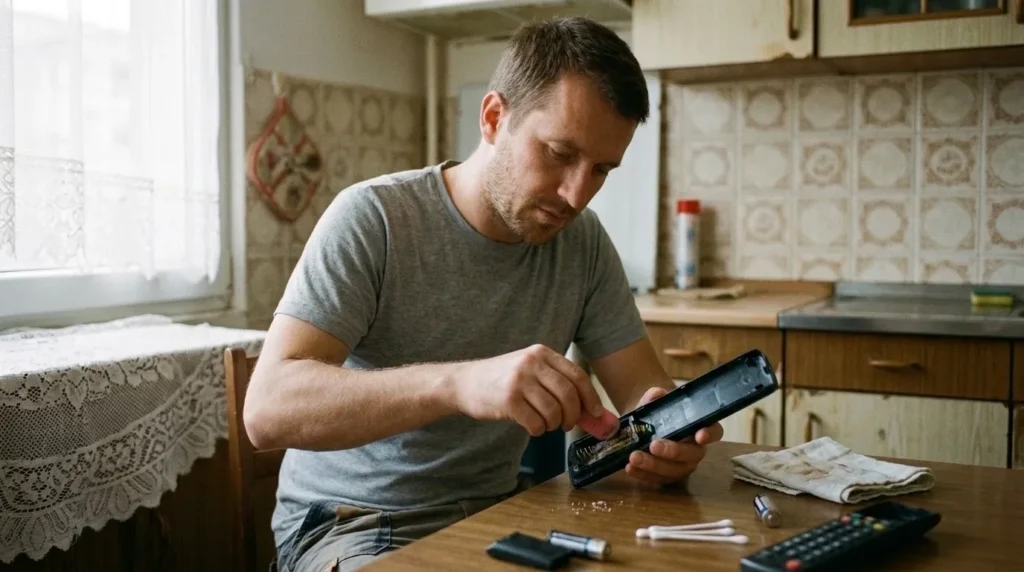
4 Open the case only if the buttons still don't respond
If new batteries and clean contacts don't solve the problem, only then does it make sense to open the case and look at the rubber pad under the keys. Many remotes suffer more from spilled liquid or greasy fingers than from the batteries themselves.
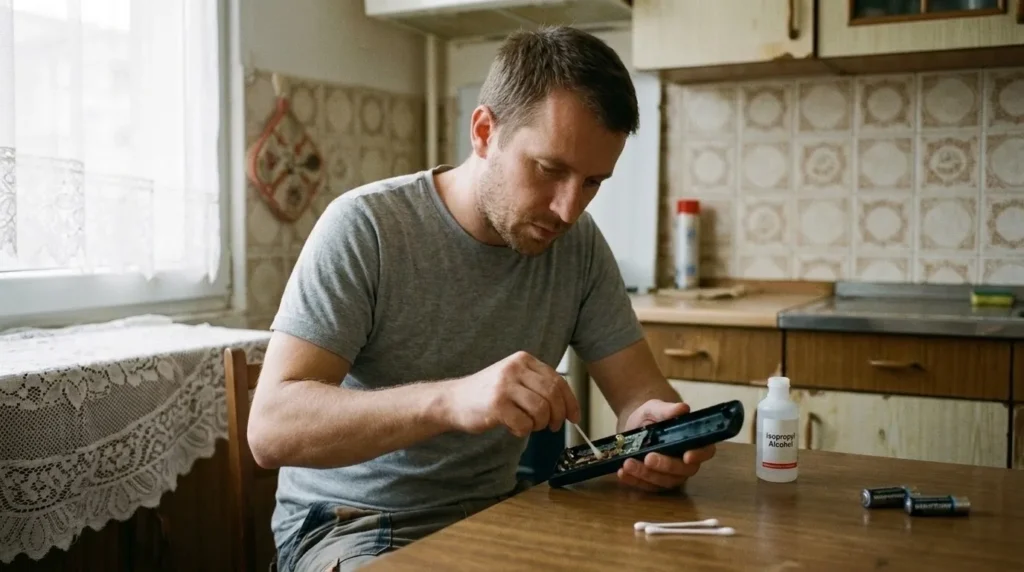
5 Clean the rubber pad and the board without soaking them
Wipe the rubber pad and the contact circles on the board lightly, with minimal alcohol, without pouring it on. More liquid isn't a sign of better cleaning — it's a bigger chance that something stays trapped in the joint and causes the problem again.
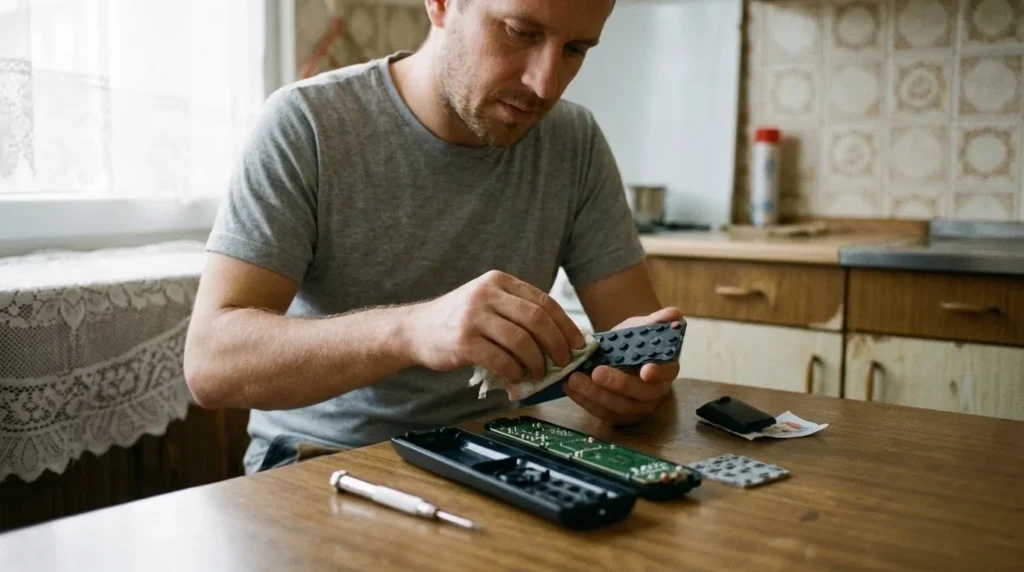
6 Put in new batteries of the same type and the same age
Both batteries should be new, from the same manufacturer, and correctly oriented according to the markings in the compartment. Mixing an old and a new battery often brings the problem right back, so it looks like the cleaning didn't work even though the actual cause is the power supply.
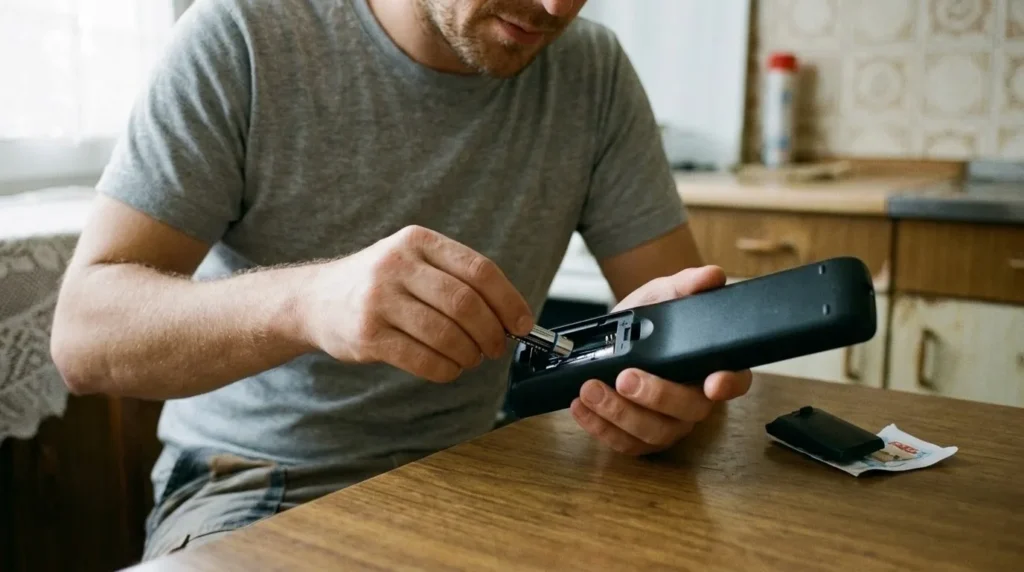
7 Check the IR signal and the actual device's response
If the device still doesn't respond, use your phone's camera to check whether you can see the IR LED flicker while pressing the buttons. That separates the problem 'the remote isn't sending anything' from 'the device isn't receiving or responding.'
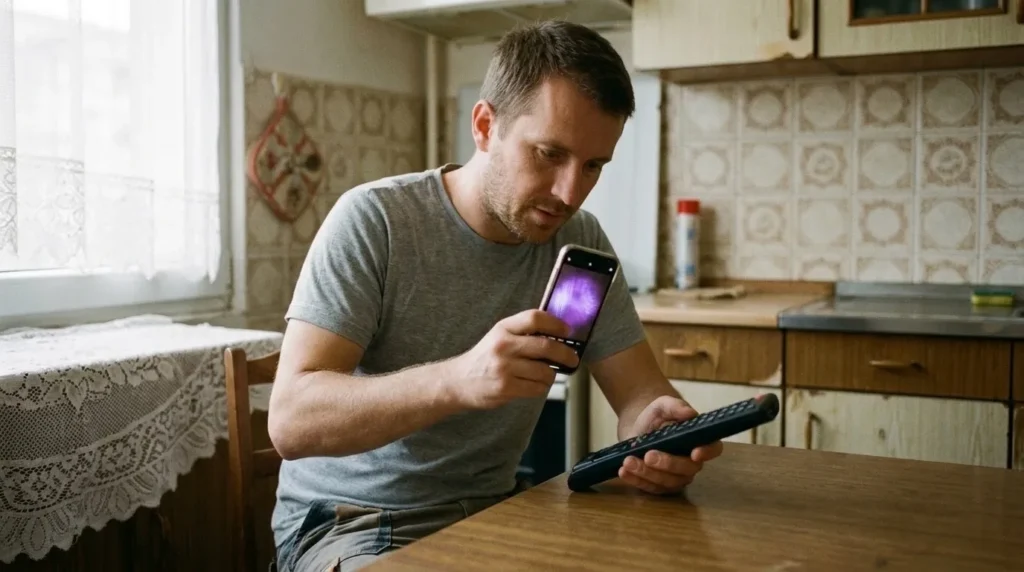
Final check
- The contacts are clean, with no visible deposits or heavy corrosion.
- The new batteries are correctly installed and of the same type.
- The buttons respond without needing hard pressure and without skipping.
- The IR signal or the actual device confirms the remote is sending commands again.
Common problems
- The contacts are so eaten away that the spring crumbles at a touch.
- That's no longer ordinary cleaning but physical damage to the contact. In that case, repair only makes sense if the contact can be replaced or reshaped; otherwise replacing the remote is more practical.
- The remote shows an IR flicker on camera, but the device still doesn't respond.
- Then the problem may be in the device itself, a wrong mode, an obstruction between the sensors, or a faulty IR receiver on the device. The remote is probably not the main culprit.
- Some buttons work, but others still need hard pressure.
- That often means the rubber contact pad or the graphite layer on those buttons is no longer good. Cleaning can help partially, but sometimes a repair pad or replacing the remote is needed.