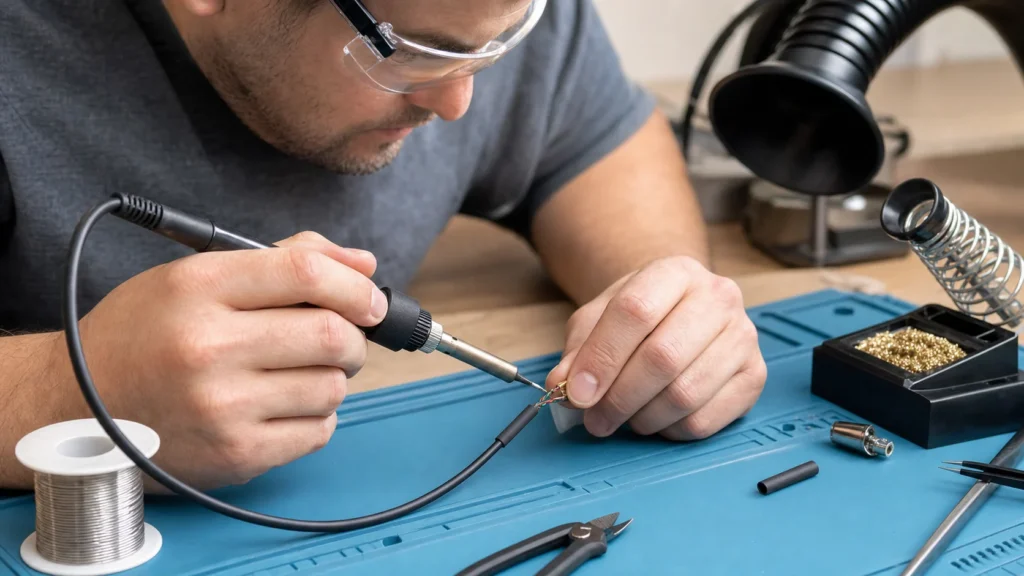
Repairing a headphone cable by soldering only makes sense when the fault is clearly localized and the rest of the headphones are worth the effort. The technical part isn't scary, but it is practically fiddly: the wires are thin, often enamel-coated, and demand a steady hand more than brute force. If you don't have basic control over a soldering iron, this guide can still help you judge whether it's worth doing, but it's precisely on thin audio wires that beginners most easily make a fragile joint that only works on the workbench.
You need at least basic experience with a soldering iron and an understanding that wires are first mechanically prepared and only then soldered. If you've never soldered anything finer than thick wire, practicing on scrap is a smarter start than going straight for the headphones.
⚠ Safety note: This guide involves working with electricity. If you're not completely sure about every step, stop and call a licensed professional. Before you start, always switch off the power at the breaker or close the main water/gas valve.
1 Confirm that the fault is really in the cable
By flexing the cable while sound is playing, try to narrow down the fault zone, but without aggressive twisting that could create another weak spot. The idea is not to cut half the cable blindly if the actual break is only a couple of centimeters from the plug.
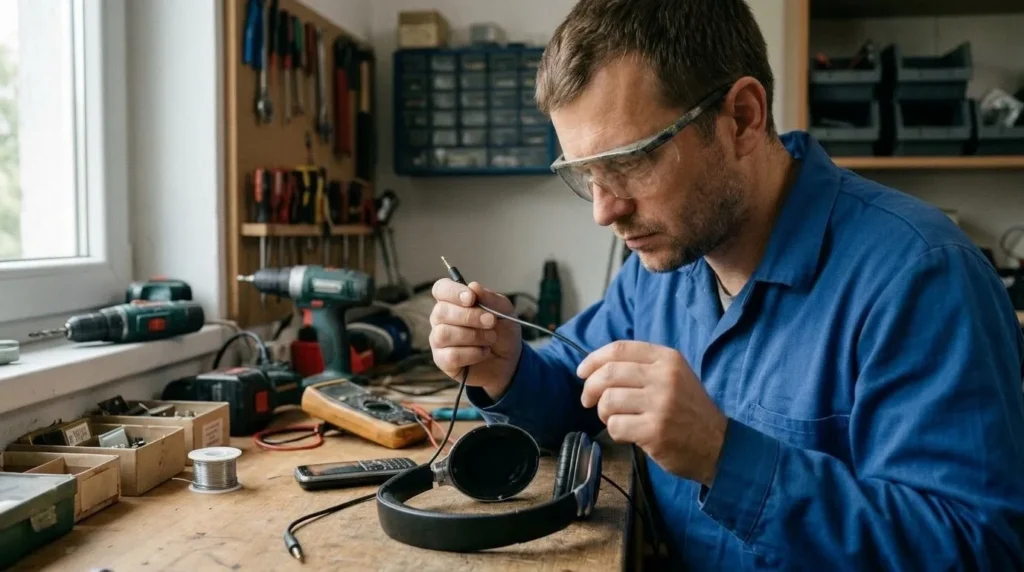
2 Locate the break and leave enough slack to work with
Once you find the suspect spot, cut off the damaged section so that enough length remains on both sides for calm stripping and soldering. Too little slack later means a strained joint and poor mechanical durability.
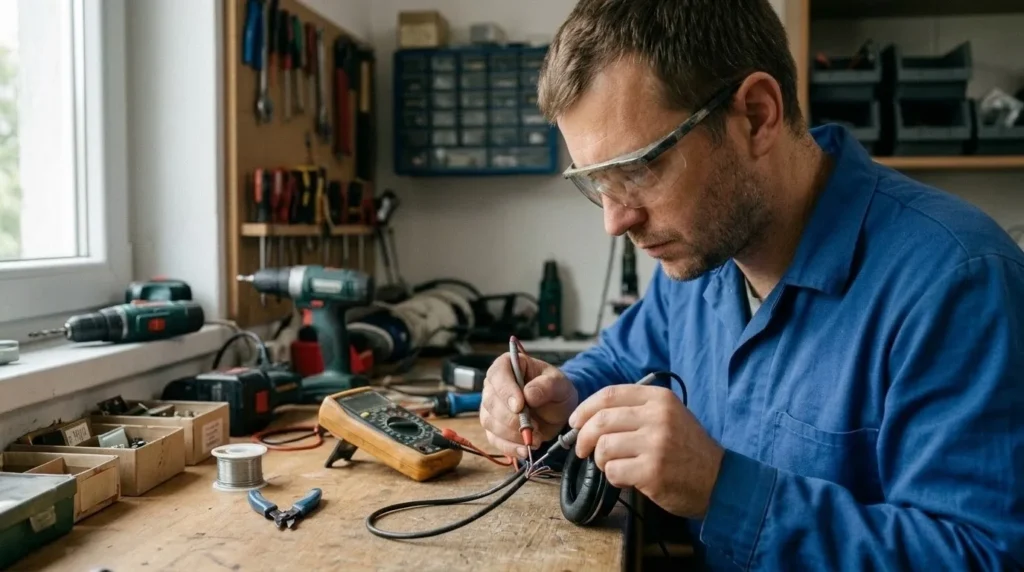
3 Slide on protection before soldering
Before you connect a single wire, slide a smaller piece of heat-shrink tubing over each individual joint and a bigger one for the whole finished section. That's the classic step everyone forgets while the joint isn't done yet — and by then it's too late.
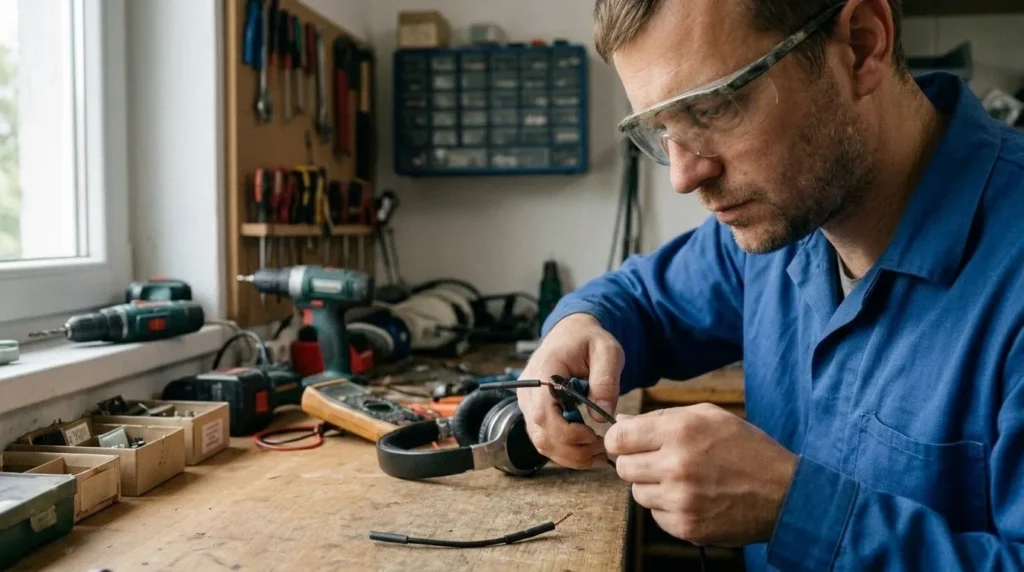
4 Strip and prepare the thin enameled wires
In headphones, the inner strands often have an enamel coating instead of ordinary insulation, so they need to be carefully cleaned and pre-tinned before connecting. Skip this step and the solder joint can look like it's holding, but actually only grips the surface, leaving the signal unreliable.
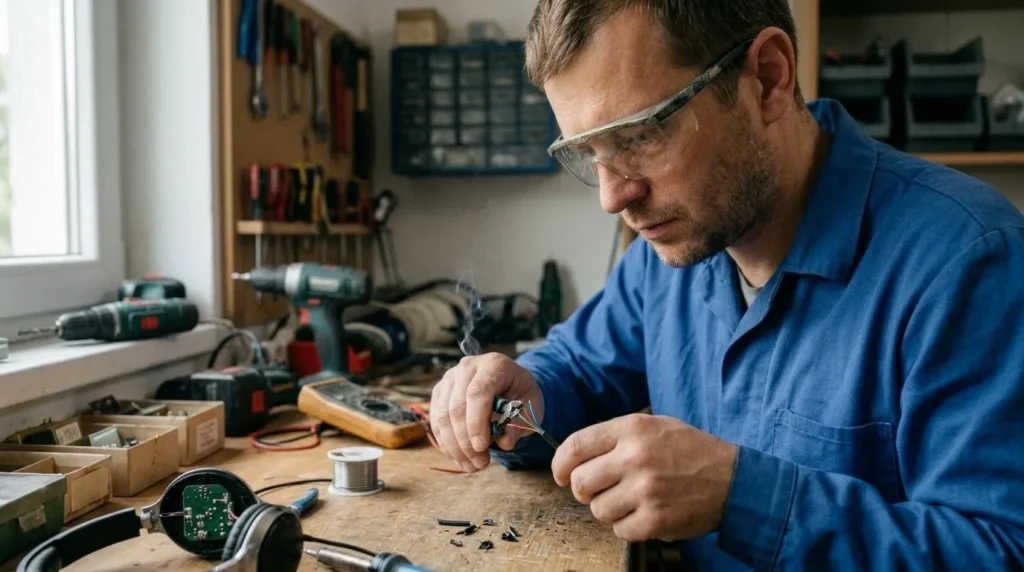
5 Connect the wires by function, not just by color
Colors often help, but they're not universal across all headphone models. If there's even the slightest doubt, check continuity with a multimeter instead of assuming that every red wire is the same function on both segments of the cable.
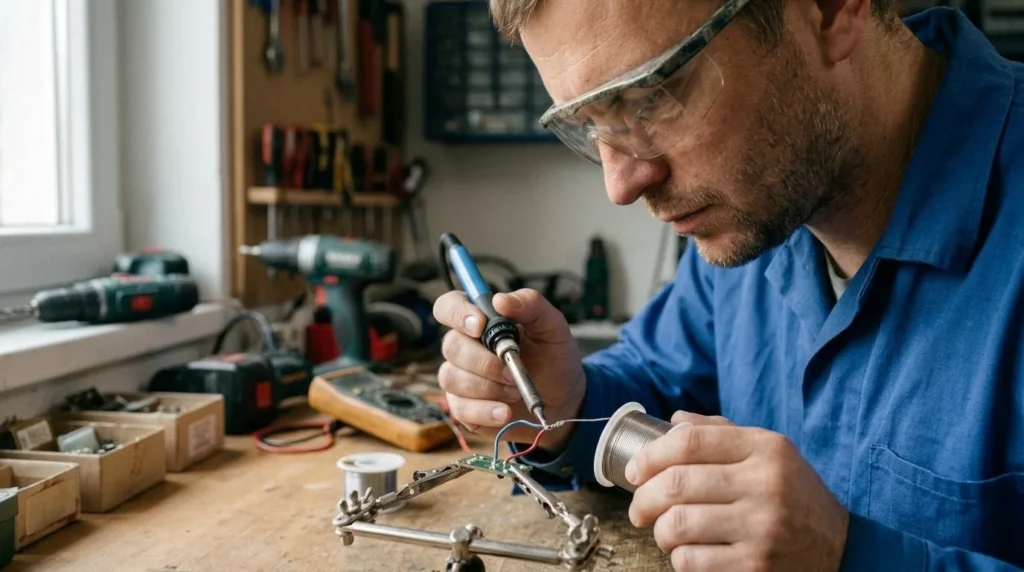
6 Solder quickly and with control
The joint should be soldered fast enough to take the solder, but not so long that it melts the insulation further down the wire. With conductors this thin, a precise tip and a steady hand are often worth more than a stronger iron.
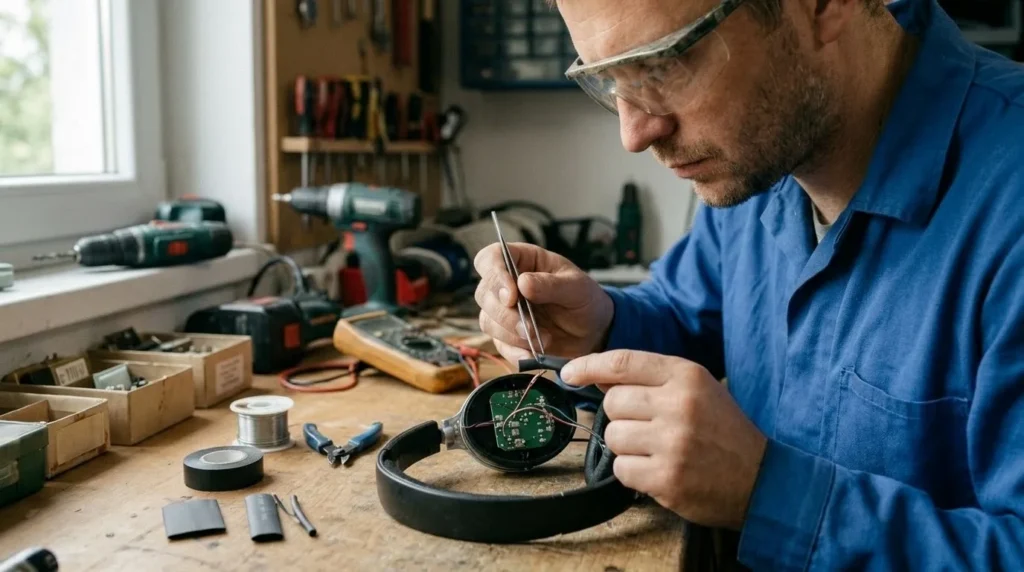
7 Insulate each joint separately, then reinforce the whole section
First separate left, right, and ground so they can't touch anywhere, and only then put the final protection over everything. A good electrical joint without good mechanical strain relief snaps again at the same spot very quickly.
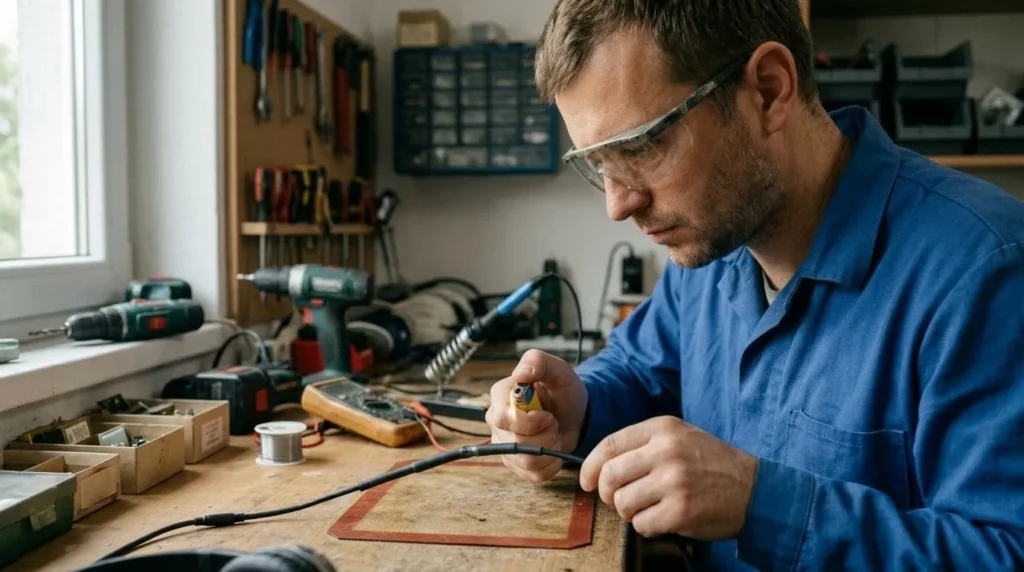
8 Test both channels and mechanical stability
After reassembling, listen to both channels and gently flex just the repaired part of the cable to check its behavior under movement. If the sound cuts out with slight movement, the joint did succeed electrically but isn't stable enough for real use.
When to call a professional: If the job involves changes to the electrical panel, the main gas line, or load-bearing walls/beams — or if you're not sure how it will turn out — this is not a DIY task. Hire a licensed professional.
Final check
- Both audio channels and ground work without crackling during normal listening.
- The insulation of each individual joint is separate, and nothing touches anything else.
- The final heat-shrink protection holds the repaired section of cable firmly.
- Gently flexing the repaired zone no longer interrupts the sound.
Common problems
- The solder looks dull and comes apart easily.
- That's a typical cold solder joint. The surface wasn't prepared well enough, or the joint was moved while cooling, so it needs to be cleaned and resoldered.
- Sound only works in one channel.
- Most often one functional wire was misidentified or didn't take the solder well because of the enamel coating. Go back and check continuity and the layout of the functions.
- The joint works on the bench but snaps as soon as the headphones go into everyday use.
- That means mechanical strain relief wasn't handled well. A better final tube, extra flexible protection, or an entirely new cable section is needed if the zone is too stressed.