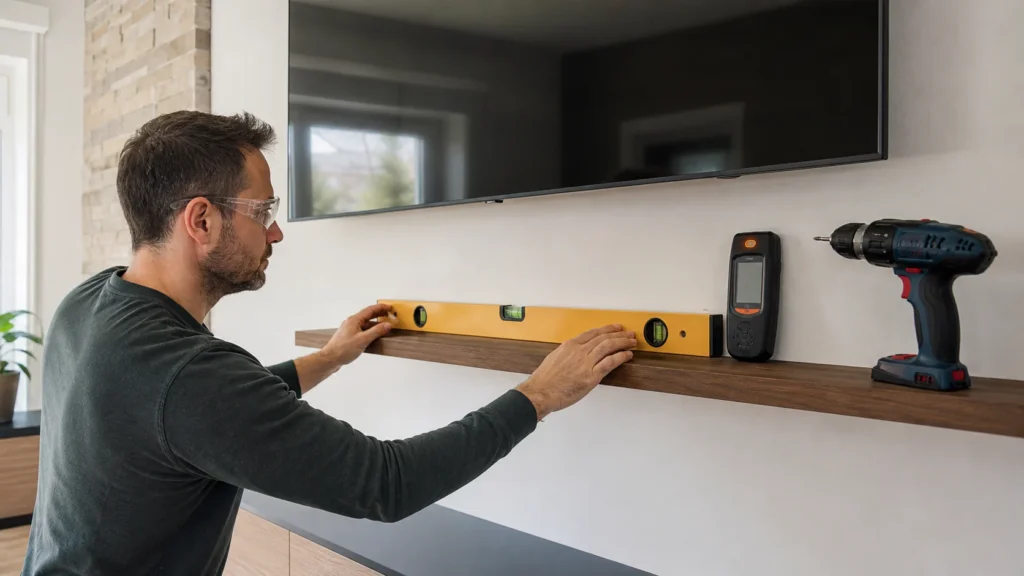
Mounting a shelf or TV bracket on the wall, while seemingly simple, requires care and precision. A mistake here can be quite costly - the wrong wall plug in the wrong wall means your expensive TV or favorite books end up on the floor. That's why a good part of the job happens before you even pick up the drill: a thorough check of the wall with a detector and choosing the right plugs (anchors) for the wall type and load weight. Do it right, and the bracket will hold securely for years, worry-free.
Basic experience with a drill and understanding how to use a spirit level are needed. If you're a complete beginner and this is your first time drilling into a wall, I strongly recommend starting with a smaller shelf or a lighter item, definitely not straight away with an expensive TV. Always read the manufacturer's instructions for the bracket or shelf you're mounting.
⚠ Safety note: This guide involves working with electricity. If you're not completely sure about every step, stop and call a licensed professional. Before you start, always switch off the power at the breaker or close the main water/gas valve.
1 Determine the position and check the wall with a detector
Before you even think about drilling, carefully determine the exact position of the bracket or shelf. Use a wall detector (scanner) to thoroughly scan the entire area where you plan to drill. Check for hidden electrical wires, water pipes, or metal studs. Be especially careful around outlets, switches, and radiators – utilities usually run vertically and horizontally from them. If the detector signals the presence of something, move the drilling position a few centimeters and check again. Never risk drilling into the unknown!
2 Determine the wall type and choose the plugs
The wall type is key to choosing the right plug (anchor) and ensuring stability. A light tap on the wall gives you a first indication: solid walls (concrete, solid brick) sound 'hard' and don't resonate, while hollow walls (hollow brick, drywall panels – Rigips, Knauf) sound 'hollow'. For solid walls, use standard plastic or metal plugs for concrete/brick. For hollow walls (drywall, hollow brick, aerated concrete blocks), special plugs are required, such as 'butterfly' toggle plugs, 'Molly' plugs (metal expansion anchors), or chemical anchors, since a regular plug won't expand and hold in a cavity. Always check the load rating of the plugs and bracket, especially for heavy items like a TV.
3 Mark and level the holes
Once you're sure of the position and wall type, hold the bracket or template (if you have one) against the wall. Mark the exact positions of all the holes with a pencil. Use a spirit level to check that all the marks are perfectly horizontal and vertical. Don't rely on your eye alone – even small deviations will be noticeable once the shelf or TV is mounted. Double-check the measurements and level before drilling, since a hole once drilled is hard to fix.
4 Drill the holes
Choose a drill bit whose diameter exactly matches the plug's diameter (usually indicated on the plug packaging, e.g., an 8 mm plug needs an 8 mm bit). For concrete and solid brick, use a hammer drill (impact drill) and a masonry bit. For drywall and softer materials, use a regular drill without hammer action and a wood/metal bit. Set the drilling depth so the plug fully fits into the wall, but not too deep – you can use a depth stop on the drill or simply wrap tape around the bit at the desired depth. Drill at a right angle (90°) to the wall, with steady pressure. After drilling, be sure to clean the dust out of the holes with a vacuum or compressed air, since dust reduces the plug's grip.
5 Insert the plugs
Once the holes are clean, carefully insert a plug into each hole. If the hole was drilled and cleaned properly, the plug should go in with slight resistance. Gently tap it in with a hammer until it's flush with the wall surface. Be careful not to damage or tilt it. If a plug goes in too easily or spins, the hole is too big or crumbled – see the 'Common problems' section for a solution. Never force a plug in if it doesn't go easily; check that the hole is clean and the correct diameter.
6 Fasten the bracket or shelf with screws
Position the bracket or shelf on the wall so the holes in the bracket line up with the plugs. Insert the screws through the bracket into the plugs. First, lightly drive all the screws in by hand or with a cordless drill on low speed, just enough to catch. Then tighten them evenly and alternately, not all the way at once. This ensures the bracket presses evenly against the wall and the plugs expand properly. Don't overtighten the screws, as this can damage the plug or the wall, especially with drywall. Feel when the screw 'catches' and stop tightening.
7 Check level and sturdiness
Once all the screws are tightened, hold the level against the bracket or shelf again and check that everything is perfectly level. Sometimes slight shifting can happen during tightening. Then, before putting the TV or items on the shelf, gently but firmly pull and push the bracket with your hand. It should be completely stable, with no movement or 'wobbling' whatsoever. If you notice any instability, check all the screws and plugs. It's better to find the problem now than after an expensive item is on the wall.
8 Mount the item and organize the cables
Now that you're confident the bracket is stable, carefully mount the TV on the bracket or arrange items on the shelf, following the manufacturer's instructions. For a TV, you'll usually need to hang it on the bracket and secure it with a safety mechanism. After that, deal with the cables. Use cable ties (zip ties), cable channels (trunking), or spiral cable organizers to neatly hide them and keep them from dangling. This not only looks better, but also reduces the risk of cables getting caught or damaged. Always leave a bit of slack in the cables so they aren't pulled too tight.
When to call a professional: If the job involves changes to the electrical panel, the main gas line, or load-bearing walls/beams — or if you're not sure how it will turn out — this is not a DIY task. Hire a licensed professional.
Final check
- You've confirmed with a spirit level that the shelf or bracket is perfectly horizontal and vertical after finally tightening all the screws.
- The bracket is completely stable - you pulled and pushed it firmly with your hand, simulating a load, and it showed no movement, 'wobbling', or signs of weakness.
- All screws are evenly tightened to optimal firmness (without overtightening), the plugs are firmly in the wall and don't protrude, and there are no cracks around the holes.
- The TV or items are safely mounted on the bracket/shelf according to the manufacturer's instructions, and all cables are neatly organized and not hanging loose, reducing the risk of damage or snagging.
Common problems
- The plug spins in the hole when tightening a screw, or falls out of the wall.
- The most common cause is a hole that's too big, crumbled wall material, or the wrong plug type for that wall. If the hole is too big, you can try a larger-diameter plug (if the difference is small) or, more safely, move the hole a few centimeters over. Crumbled holes in concrete or brick can be repaired with a chemical anchor (e.g., Ceresit CX 5, Mapei Mapefix), which is injected into the hole, after which a plug or threaded rod is inserted into it. For hollow walls (drywall, hollow brick), always use special plugs (butterfly, Molly) that expand behind the wall or within the cavity. Never try to 'fill' a hole with paper or similar materials - it's not safe.
- While drilling, the bit hit something extremely hard, got stuck, or you smelled burning/dampness, suggesting a possible hit on a utility (cable, pipe, rebar).
- STOP DRILLING IMMEDIATELY! This is a critical moment. First, switch off the power at the main breaker (RCD/main switch) if you suspect an electrical cable. Recheck the spot with the detector from several directions and with different settings. If the detector still signals something, or you have any doubt at all, DO NOT continue drilling. The safest option is to move the hole at least 10-15 cm to the side or up/down and recheck with the detector. Drilling into an electrical cable can cause an electric shock or fire, and drilling into a water pipe can cause flooding. In such situations, it's better to call a qualified electrician or plumber to assess the situation and repair any damage or reroute the utilities.