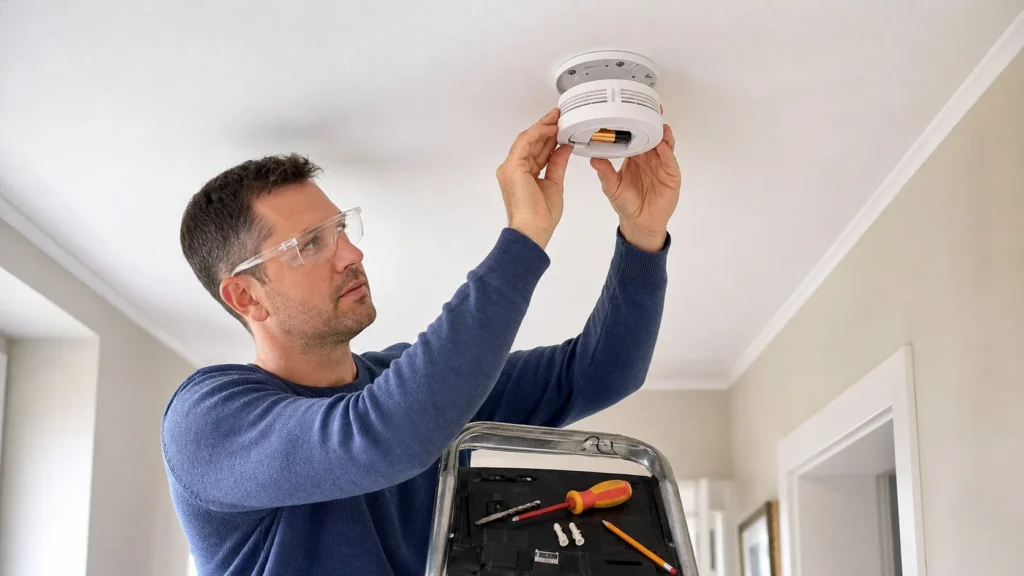
A battery-powered smoke detector is one of the few household devices that, for a modest cost, can directly save a life, but only if it's placed in the right spot and you actually test it afterward. Installing it isn't hard, but the biggest mistake is putting it too close to the kitchen, bathroom, or a vent, then switching it off later because of false alarms. This guide covers a standalone battery-powered model; if you're planning networked or interlinked detectors across multiple floors, that requires a more careful choice of system.
No special knowledge is needed. It's enough to know how to work safely on a ladder, drill two holes, and follow the clearances the manufacturer requires from walls and corners.
1 Choose a zone that protects the escape route
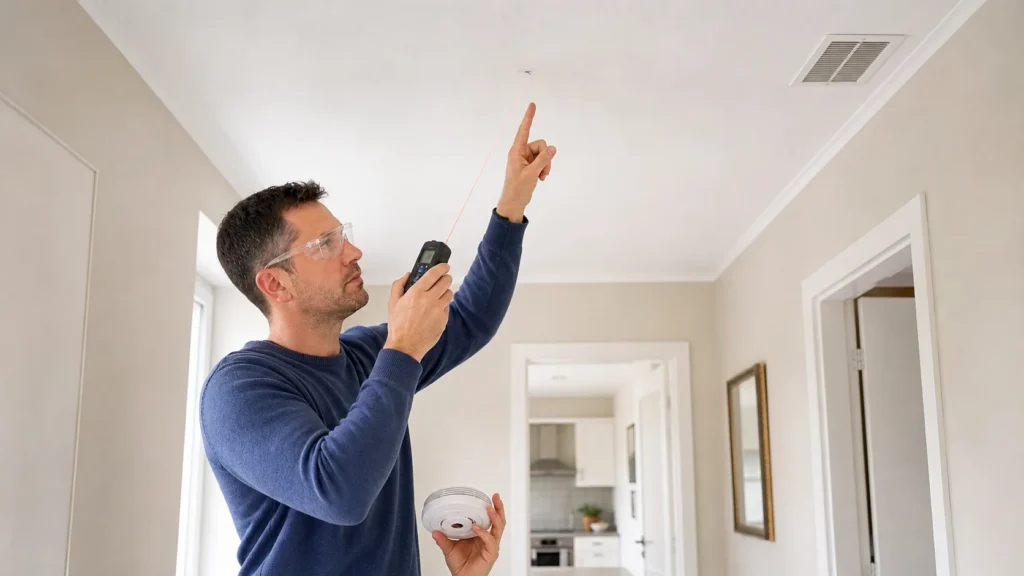
The best spot is the hallway ceiling in front of bedrooms, i.e., the space you'd pass through when leaving the house or apartment. A single detector in the living room isn't a substitute for a covered hallway, since the goal isn't to warn you only once smoke has already filled the main room.
2 Respect clearances from the wall, kitchen, and steam
Mount the detector on the ceiling, ideally closer to the middle of the room, keeping the clearance from walls and corners the manufacturer recommends, usually at least about 30 cm. Don't place it right above the stove, bathroom door, heater, air conditioner, or a vent, since that's exactly where false alarms and air turbulence occur.
3 Check the battery and test button before drilling
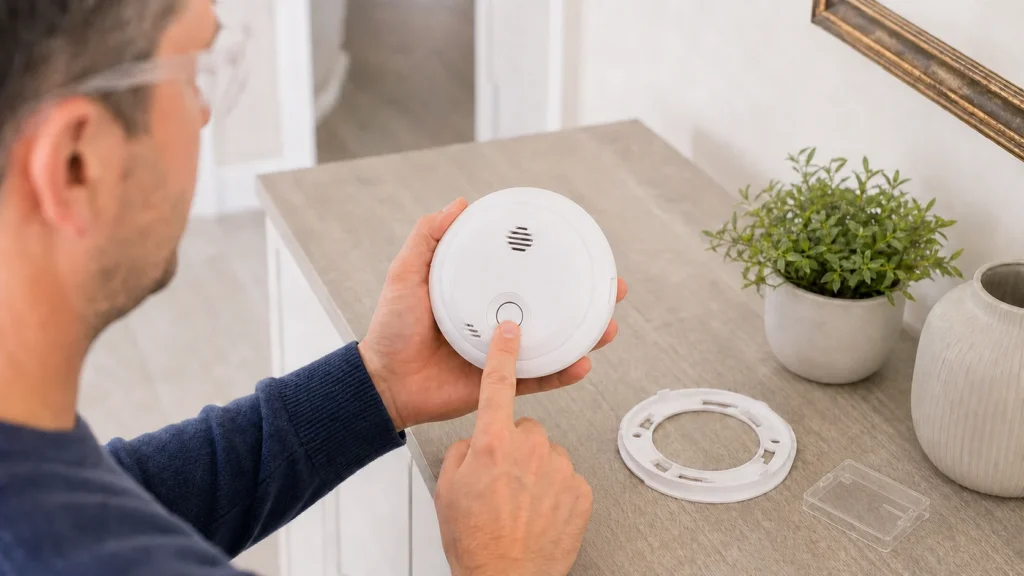
Before mounting, insert the battery, close the housing, and press the test button to make sure the device actually works. This avoids the dumbest scenario: mounting everything on the ceiling and then realizing the battery is dead or the contact isn't seated properly.
4 Mark the holes using the mounting bracket, not by eye
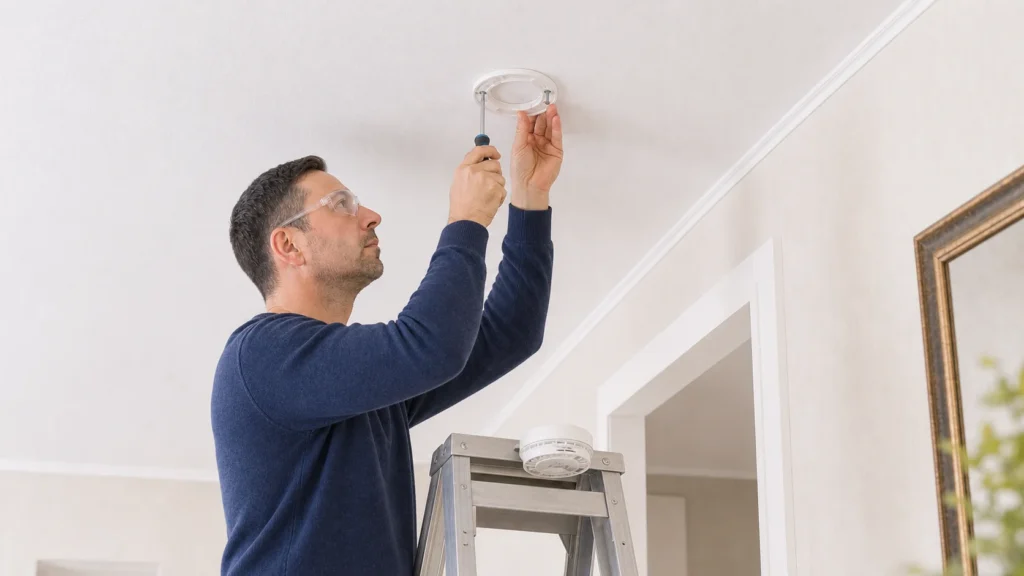
Hold the mounting bracket against the ceiling, level it, and mark the holes with a pencil through the actual openings in the bracket. It's a small thing, but it saves a crooked installation and forcing the bracket when one hole is off by a few millimeters.
5 Fasten the bracket to the ceiling material
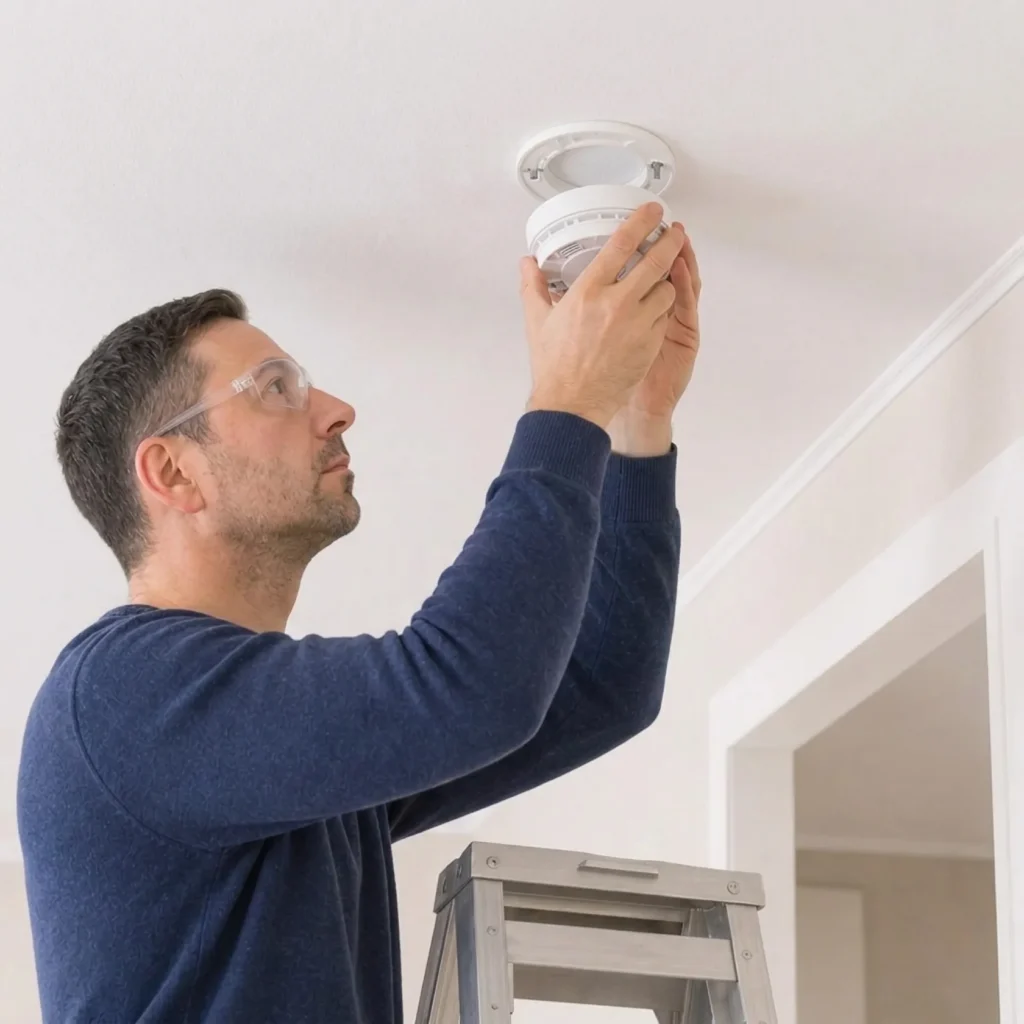
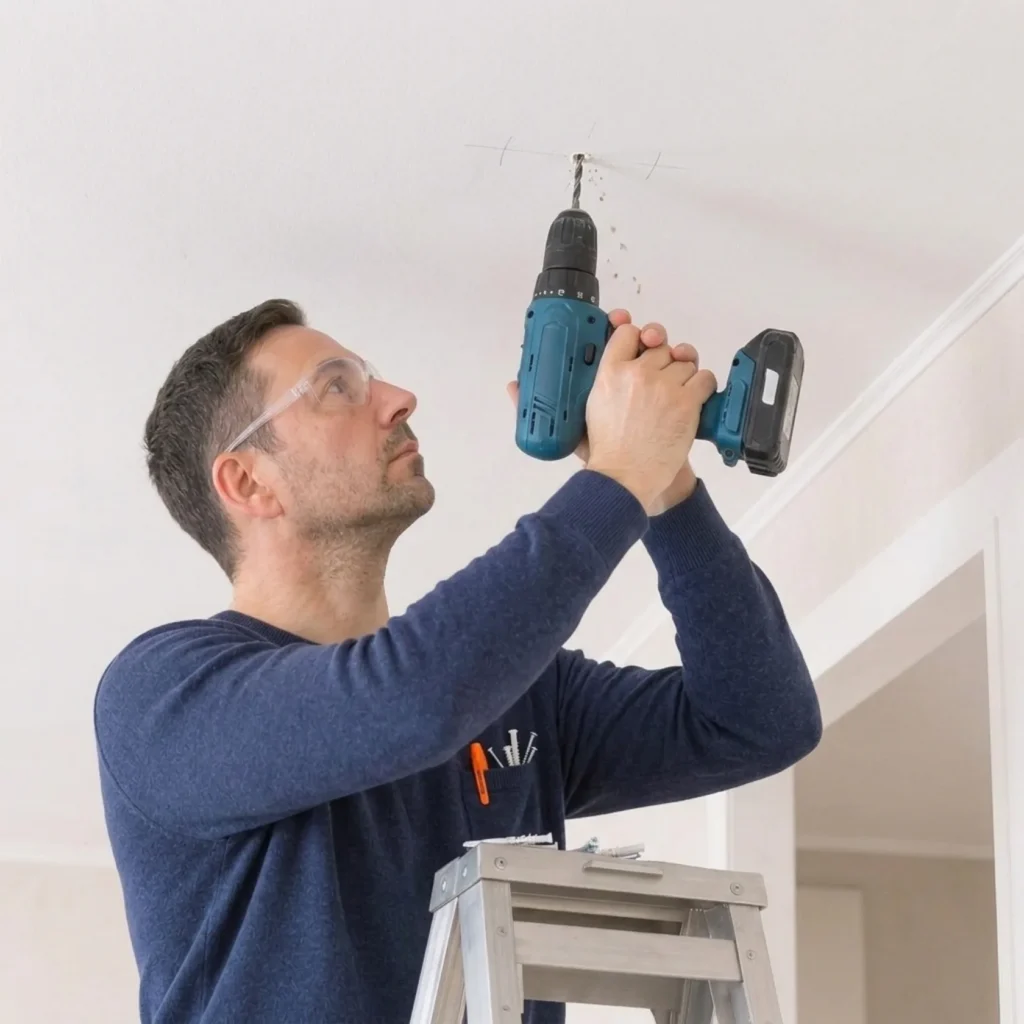
For a solid slab, use appropriate wall plugs; for plasterboard, use a fastener that actually holds in a hollow base. The detector is light, but it must not hang from a wobbly bracket, since then the first battery service or a firmer bump easily knocks it down.
6 Twist the detector body into place and immediately run a final test
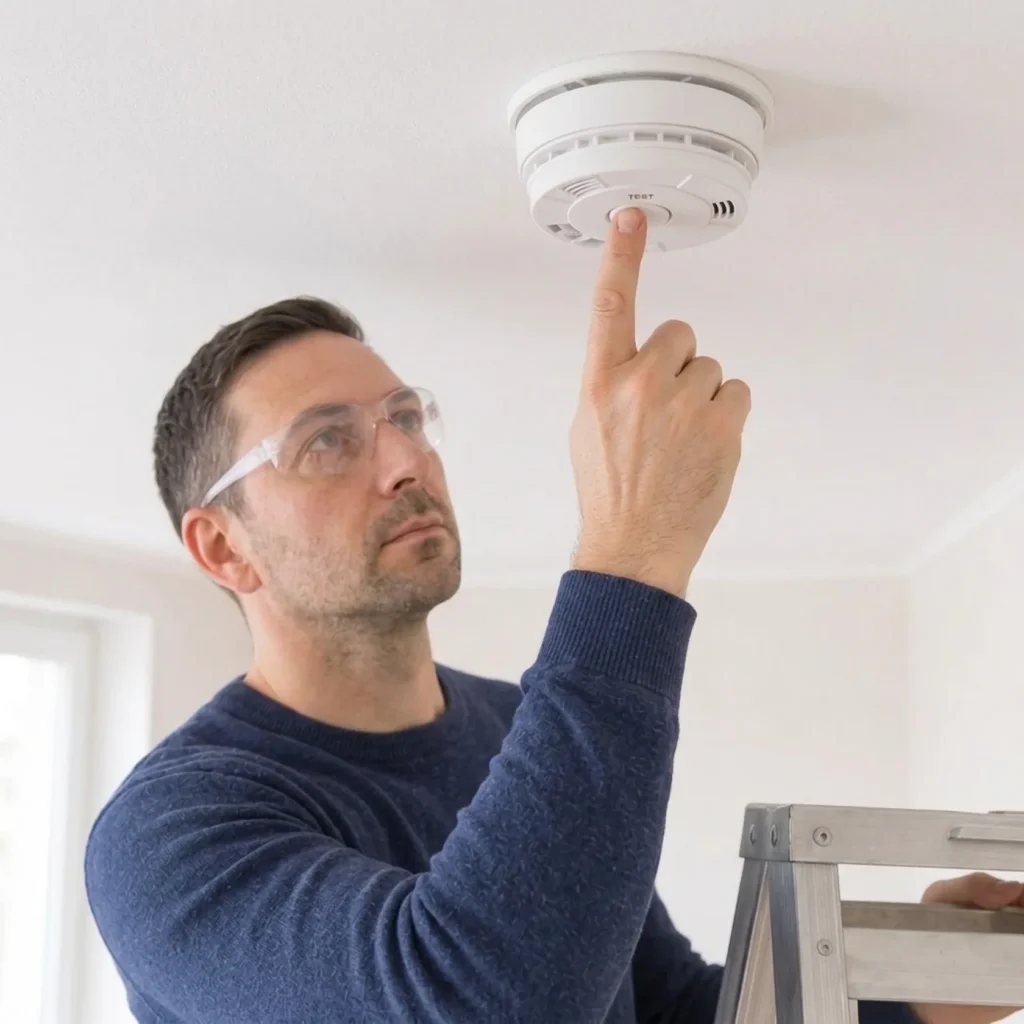
Once the body seats into the bracket and locks with the bayonet fitting, press the test button again and wait for the full alarm. Do the final test only once the device is in its actual location, since that's when you can also see whether the housing sits properly and whether the battery cover is closed correctly.
7 Set up a maintenance routine, not just the installation
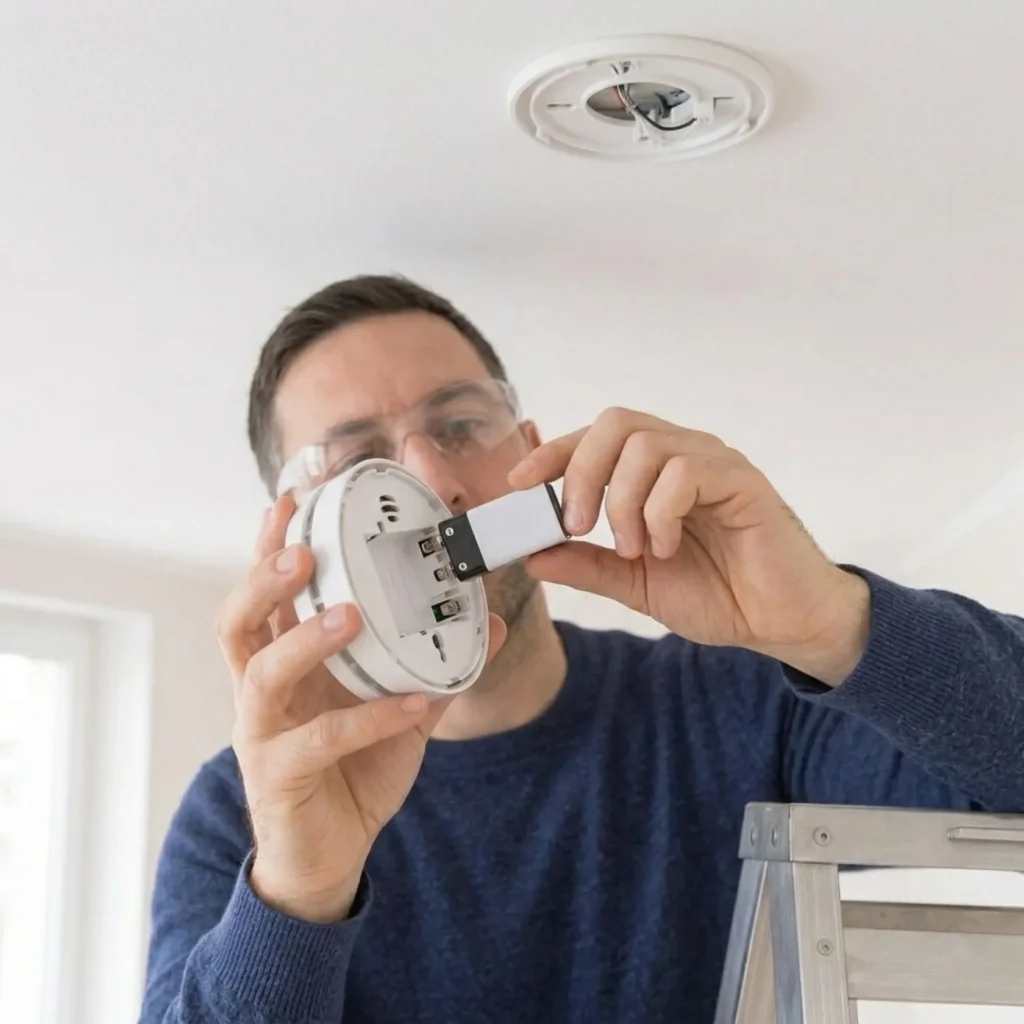
Set a reminder for a monthly test and replace the battery at least once a year, or sooner if the model requires it. A detector that's been silent for years because its battery is dead creates a false sense of security, which is worse than not having one at all.
Final check
- The detector is on the ceiling and isn't jammed into a corner, nor right next to the kitchen, bathroom, or a vent.
- The test button produces a full, clear alarm while the device is already mounted in its final spot.
- The bracket is firm and the unit doesn't turn loosely in the mount.
- There's a reminder set for monthly testing and regular battery replacement.
Common problems
- The detector occasionally chirps briefly even though there's no smoke.
- A single short beep at regular intervals almost always means a low battery or the end of its service life. Replace the battery right away and test again, instead of simply silencing the alarm.
- It false-alarms during cooking or after a shower.
- This is most often a location problem, not a fault. Move the unit to the hallway in front of those rooms and avoid direct steam and aerosols, which the optical sensor sees as smoke.
- After a few months, the device no longer responds even to the test button.
- First check the battery and the contact springs in the housing, then the detector's own expiry date. On cheaper models it's not unusual to replace the whole unit once the electronics start to fail.