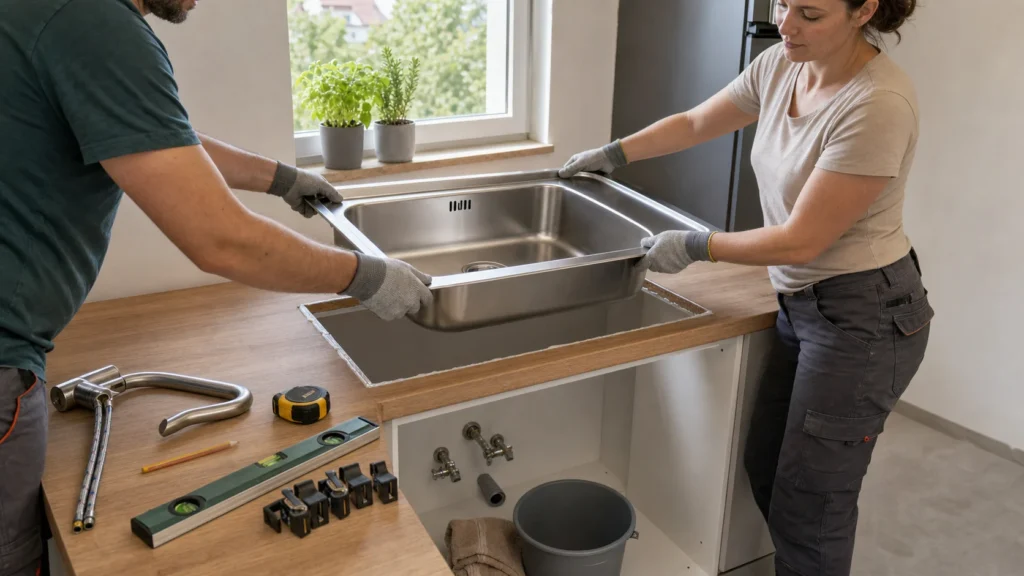
Installing a new sink or washbasin is the largest task in this section, but completely doable over a single weekend if you work in order: disassembly of the old one, preparing the spot, mounting the faucet before positioning (while the connections are easily accessible), then connecting the hoses and siphon. It requires a bit of drilling, some silicone, and precision with a level. First of all, shut off the angle valves and release the pressure at the faucet – half the work is done with open connections.
n
You need experience with basic plumbing joints (flexible hoses, siphon) and handling a drill for dowels; before disassembly, be sure to close the angle valves or the main water supply.
n
⚠ Safety note: This guide involves working with plumbing, load-bearing structure. If you're not completely sure about every step, stop and call a licensed professional. Before you start, always switch off the power at the breaker or close the main water/gas valve.
1 Close the shut-off valves and release pressure
Close the hot and cold water valves and open the faucet to release the pressure, as you will be disconnecting both the inlet and outlet connections of the old element.

2 Place a bucket and disconnect the fittings
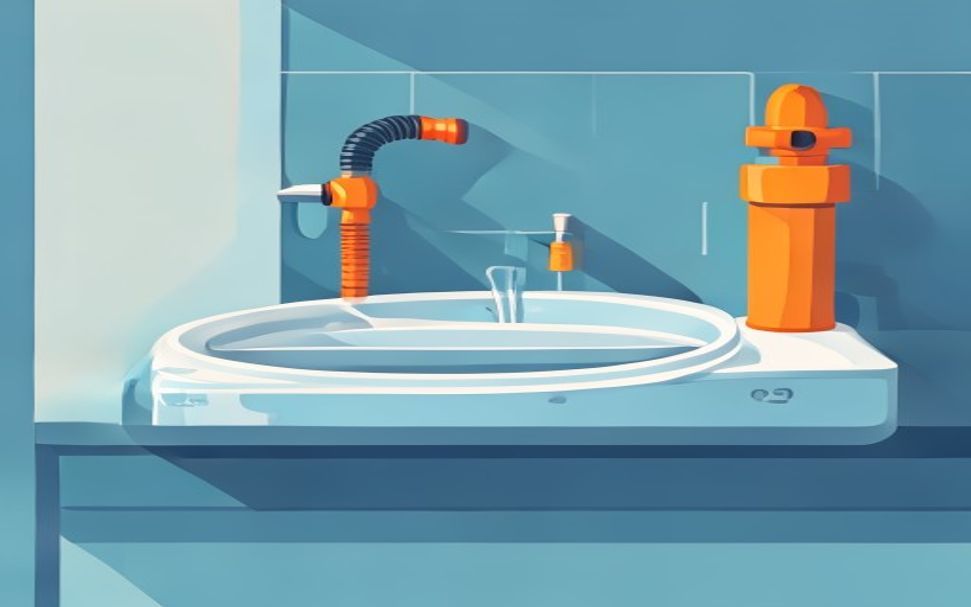
Disconnect the flexible hoses from the angle valves and unscrew the siphon from the drain pipe, then wait for any remaining water to drain.
3 Disassemble the old sink or washbasin
Unscrew the mounting screws or nuts under the countertop (for undermount sinks) or from the wall brackets (for washbasins), then carefully remove the old piece with the help of another person, as it is usually heavy and awkward to handle.
⚠️ Warning: Old sinks and washbasins, especially ceramic ones, are heavy and fragile – always work in pairs, as a drop or impact can crack a tile, the countertop, or cause personal injury.
4 Prepare the space for the new element
Clean the old silicone seal from the countertop or wall, verify that the new sink/washbasin fits the existing opening or brackets, and drill new holes for brackets if necessary using a level to keep them completely horizontal.

5 Mount the faucet before installation
It is much easier to secure the faucet to the sink or washbasin while the element is turned upside down on a workbench than after it has already been installed.
6 Position the new element and seal the edge
Position it, align it with a level, secure it to the brackets or countertop, and apply a thin layer of sanitary silicone around the entire edge where it rests on the surface, to prevent water from penetrating underneath.
? Tip: Before the silicone fully cures, draw a smooth line along the joint with a clean finger dipped in a little dish soap – it will look as neat as if the work were done by a professional.
7 Connect the hoses and siphon
Connect the flexible hoses to the shut-off valves and the faucet, mount the siphon to the drain, and hand-tighten all connections plus a gentle additional turn with a wrench.
8 Open the water and check for leaks
Slowly open the water supply, run water through the faucet, and check all inlet and outlet joints for leaks, then let the silicone dry for at least 24 hours before normal use.

When to call a professional: If the job involves changes to the electrical panel, the main gas line, or load-bearing walls/beams — or if you're not sure how it will turn out — this is not a DIY task. Hire a licensed professional.
Final check
- The element is level and firmly set, and the silicone seal against the wall/countertop is continuous – let the silicone cure for 24 hours before splashing with water
- Open the valves and run hot and cold water for a few minutes – joints of the hoses on the faucet, valves, and the entire siphon are dry on a paper towel
- Fill the basin up to the overflow and then drain it rapidly – the drain swallows without delay, and the overflow and siphon do not leak
Common problems
- The siphon of the new element does not match the height of the drain in the wall.
- A new washbasin/sink often has the drain at a different height than the old one. Use a siphon with a telescopic or flexible (accordion) drain part and an eccentric coupling – as a last resort, extend the drain with a piece of HT pipe with an elbow.
- Water appears along the edge of the sink/washbasin after the first use.
- The silicone seal has a gap or the element was moved before the silicone cured. Dry the edge, cut out the old seal with a utility knife, degrease with alcohol, and apply a new continuous line of sanitary silicone, then do not use the element for 24 hours.