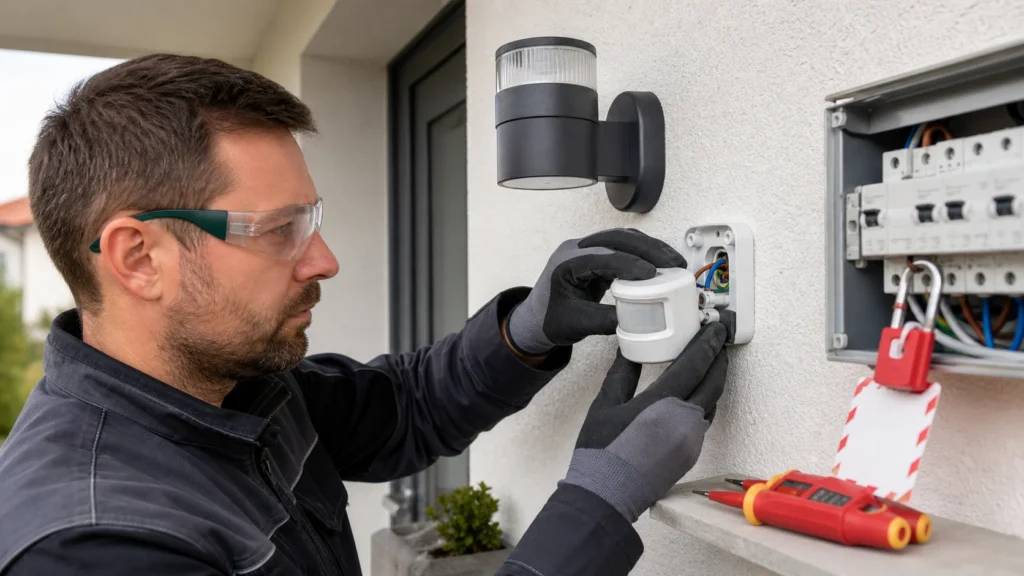
Installing a motion sensor for lighting only makes sense once you understand, beyond simply wiring it up, where the sensor will look, what height it goes at, and how it will be adjusted. Wiring it in is often simpler than the fine-tuning that comes later, since an oversensitive or badly aimed sensor causes more frustration than benefit. This is a good DIY job if the wires are neatly accessible and you have basic experience with a lighting circuit, but if there's no neutral in the box or the sensor's wiring diagram isn't clear, stop and call an electrician.
You need basic experience wiring lighting and reading the L, N, and output-to-lamp markings. It helps to be able to tell a poor connection problem apart from a poorly adjusted sensor, since these are two different things.
⚠ Safety note: This guide involves working with electricity. If you're not completely sure about every step, stop and call a licensed professional. Before you start, always switch off the power at the breaker or close the main water/gas valve.
1 Switch off the breaker and set up access to the installation spot
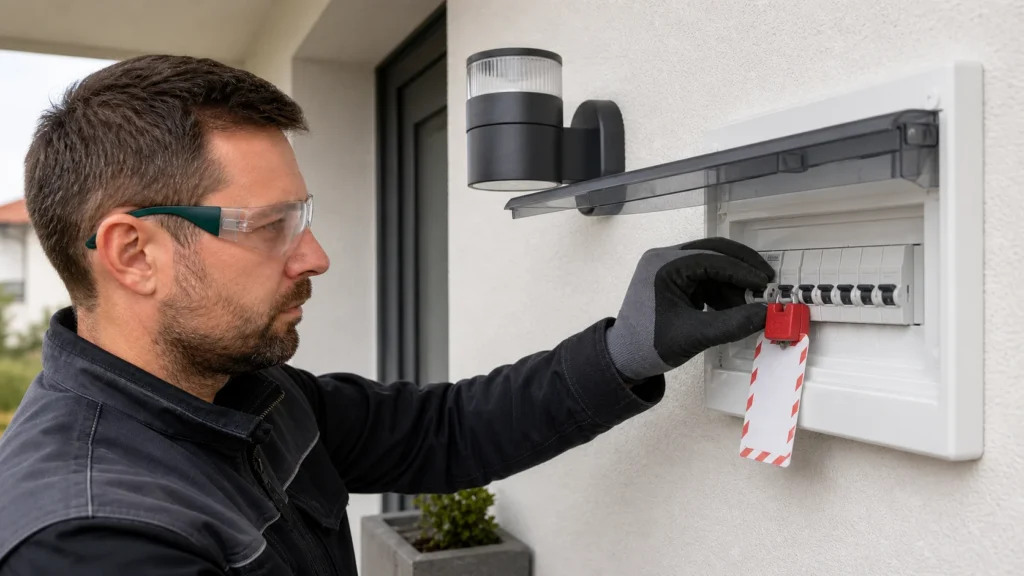
Switch off the breaker for the lighting circuit you're adding the sensor to, and get a ladder, screwdriver, and extra light ready to work. If you're working outdoors or in a garage, also make sure the area around the wall or ceiling is dry, since moisture makes both the wiring and later sealing of the housing harder.
2 Confirm no voltage on all conductors
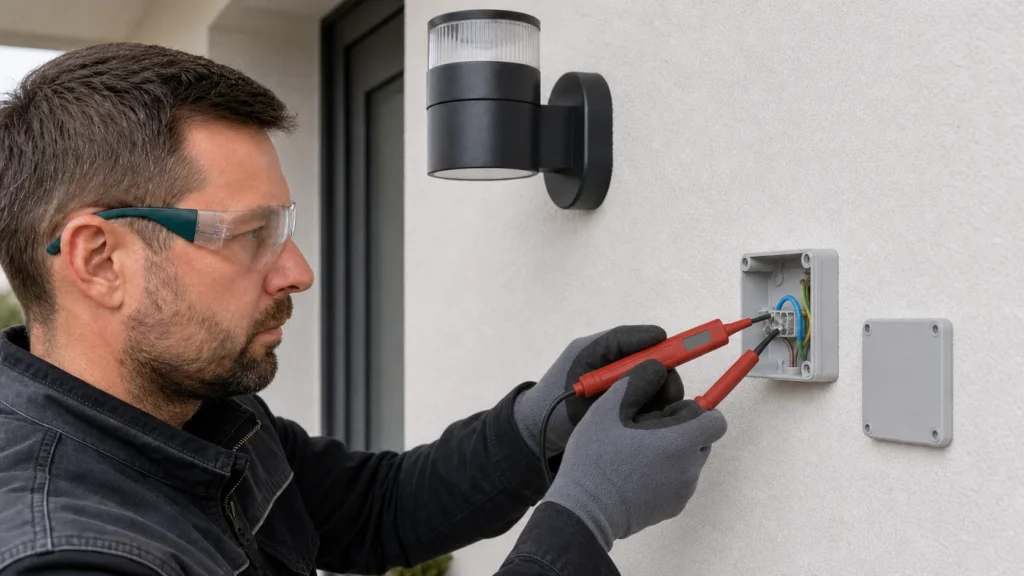
Remove the existing cover, fixture, or switch at the work location and test with the tester that there's no voltage on either the feed or the return wire. With outdoor lighting it's not uncommon for someone to have rewired the switching differently before, so test every accessible wire, not just one.
3 Choose the sensor's location and viewing angle
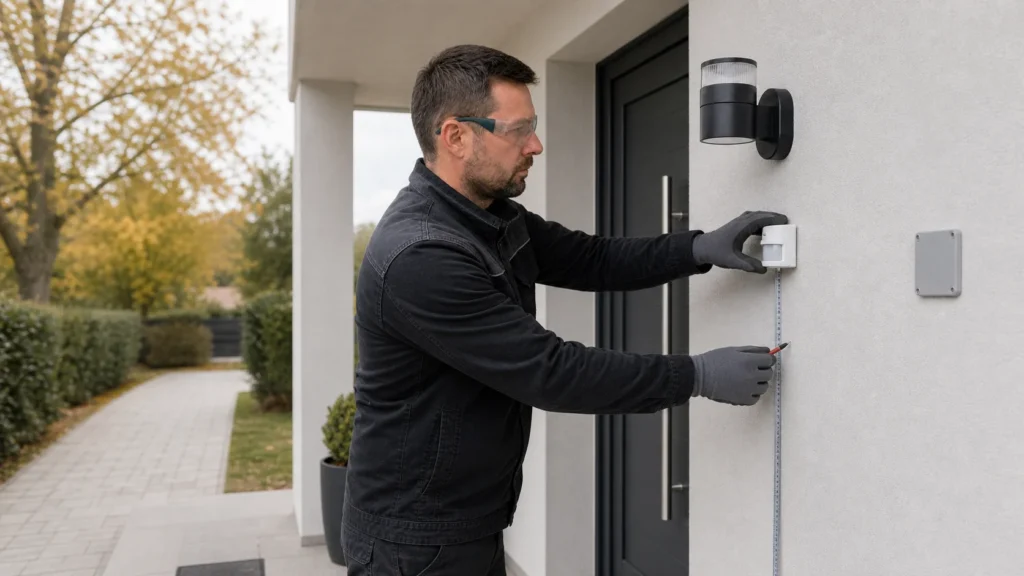
The sensor should 'look' at the zone people pass through crosswise, not straight at the sensor, since a PIR sensor most reliably detects movement crossing its detection zone. Avoid direct sunlight, air conditioner exhaust, heaters, constantly moving tree branches, and spots where the sensor's own light fixture could dazzle it.
4 Read the wiring diagram and connect L, N, and the output to the lamp
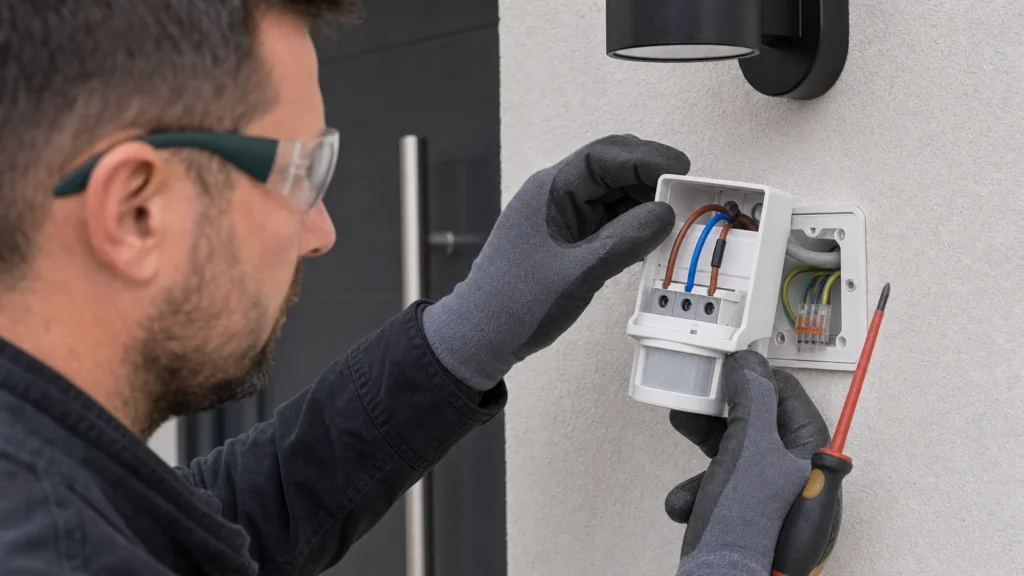
On most mains-powered sensors, the incoming live goes to L, neutral to N, and the output to the fixture goes to the terminal marked with an arrow, L-out, or similar. Don't rely only on wire colors; open the included diagram and read it for your exact model, since the difference between input and output looks minor on the housing but makes a big difference in operation.
5 Mechanically secure the sensor and seal the cable entry
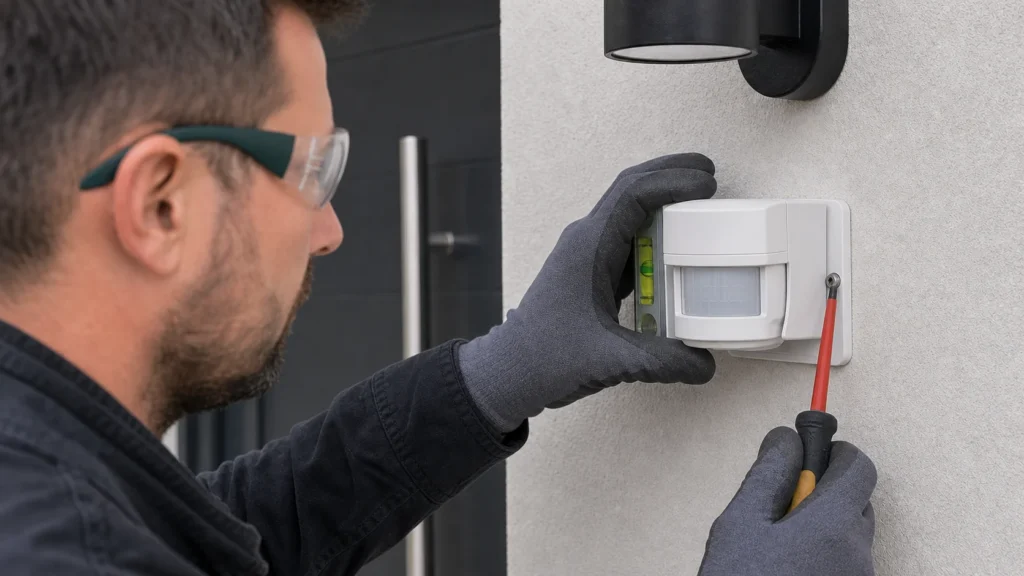
Only once you're satisfied with the connections should you fasten the sensor body so the housing sits level and the swivel joint can be adjusted without sticking. For outdoor mounting, pay special attention to the cable entry and sealing, since sensors fail from moisture far more often than from the electronics itself.
6 Switch on power and set TIME, LUX, and SENS in order
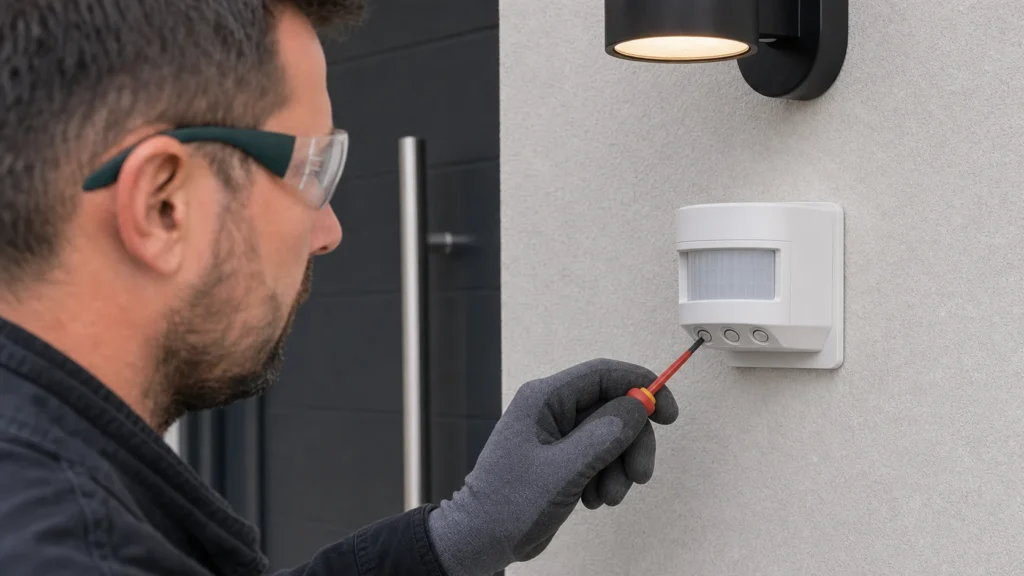
For the first test, set TIME to minimum, SENS to roughly the middle, and LUX according to a daytime test or the sun symbol so you can try it out while it's still light outside. Only once you've confirmed the light comes on reliably should you turn LUX back toward the moon symbol and extend TIME to a realistic value for a hallway, entrance, or yard.
7 Walk through the zone and fine-tune the settings
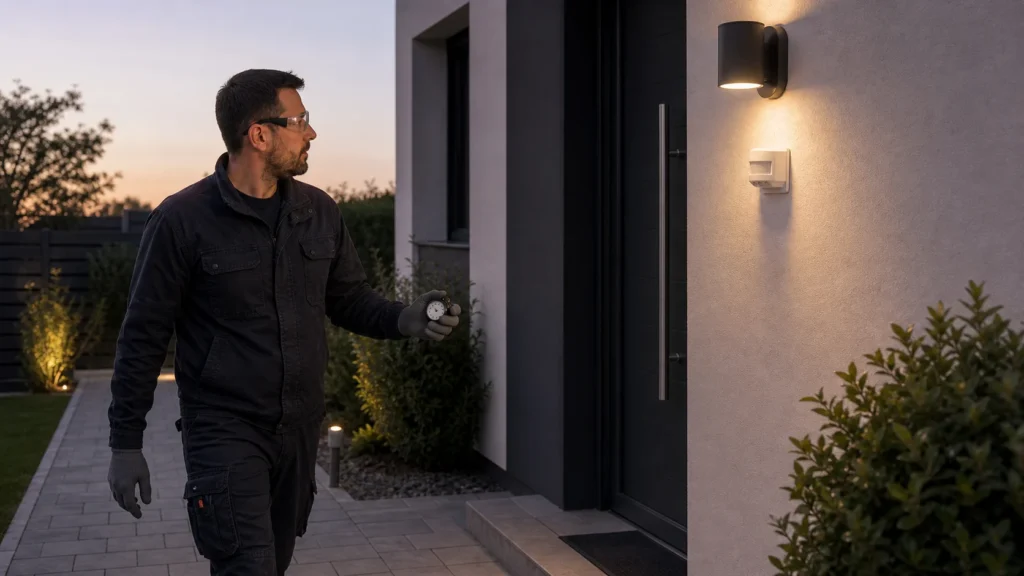
Move through the approach zone, not just straight toward the sensor, and observe when it turns on, how long it stays on, and whether it triggers for no reason. If it false-triggers, first reduce SENS or change the angle, and only then suspect a fault.
When to call a professional: If the job involves changes to the electrical panel, the main gas line, or load-bearing walls/beams — or if you're not sure how it will turn out — this is not a DIY task. Hire a licensed professional.
Final check
- The light comes on for real movement through the zone, not for random heat sources or branches.
- The off-delay time suits the space and doesn't leave the light on unnecessarily long.
- LUX is set so the sensor doesn't trigger unnecessarily during the day, but reliably reacts in the evening.
- The housing and cable entry are sealed and protected from moisture if the installation is outdoors.
Common problems
- The light stays on constantly and doesn't turn off.
- First lower TIME to minimum and check whether the sensor is looking at its own fixture, a vent, an air conditioner, or another heat source. If it still doesn't turn off, only then check whether L and the output to the lamp have been swapped.
- The sensor works, but the LED bulb glows faintly or occasionally flashes after switching off.
- This happens with certain combinations of sensor and LED source that let through a small residual current. A better-quality LED bulb, a sensor with a neutral connection, or an appropriate compensation element per the manufacturer's recommendation helps.
- The sensor turns on reliably at night, but doesn't detect a person until they're almost right underneath it.
- Most often the angle and height aren't right, not the electronics. A PIR sensor detects movement better crossing the zone than heading straight at it, so repositioning the sensor or adjusting the angle often solves the problem.