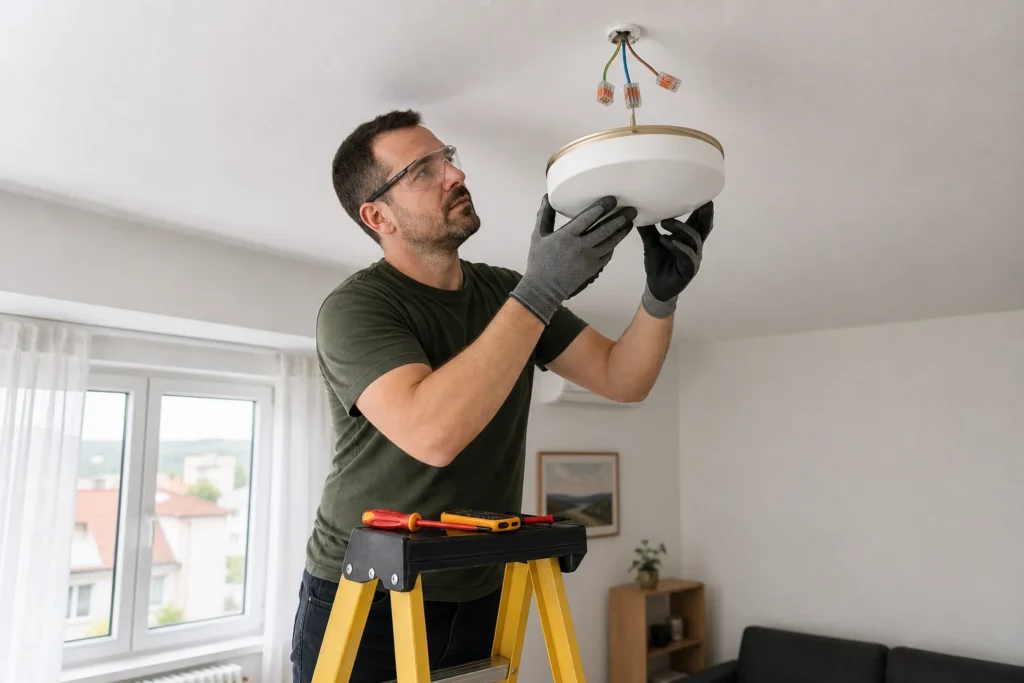
Installing a chandelier or ceiling light seems simple because usually only two or three wires are visible, but the real difficulty is in the mount and recognizing what your fixture requires from the installation. A light plastic LED panel isn't the same job as a heavier chandelier with a metal body, and a plasterboard ceiling isn't the same as a solid slab. In this guide everything stays within the safe DIY zone: connecting by color, checking the mount, and always stopping if an unclear tangle of wires comes out of the ceiling or there's no solid point to carry the weight. In that case, stop and call an electrician.
You need basic comfort with a ladder, a screwdriver, and recognizing wire colors. It helps to know the difference between a grounded metal fixture and a Class II appliance that has no connection for a protective conductor.
⚠ Safety note: This guide involves working with electricity, load-bearing structure. If you're not completely sure about every step, stop and call a licensed professional. Before you start, always switch off the power at the breaker or close the main water/gas valve.
1 Switch off power and set up the ladder securely
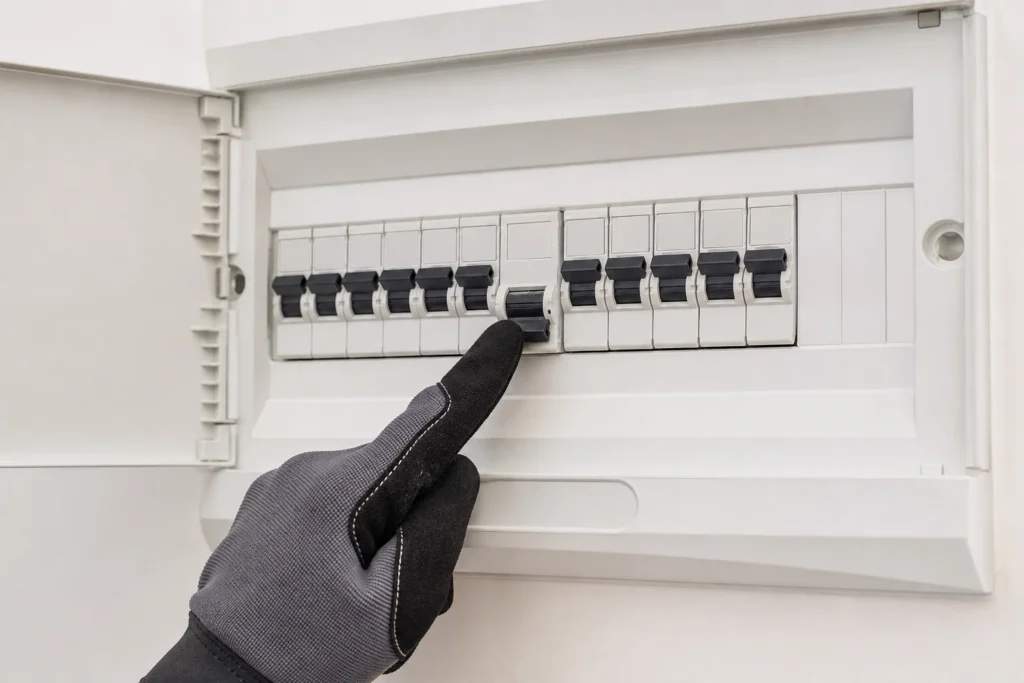
Before unscrewing anything, switch off the lighting circuit breaker and position the ladder so you have both hands free, rather than balancing on your toes. A good position at height is half the job, since terminal mistakes most often happen when you're rushing to keep your balance.
2 Take down the old fixture while supporting its weight
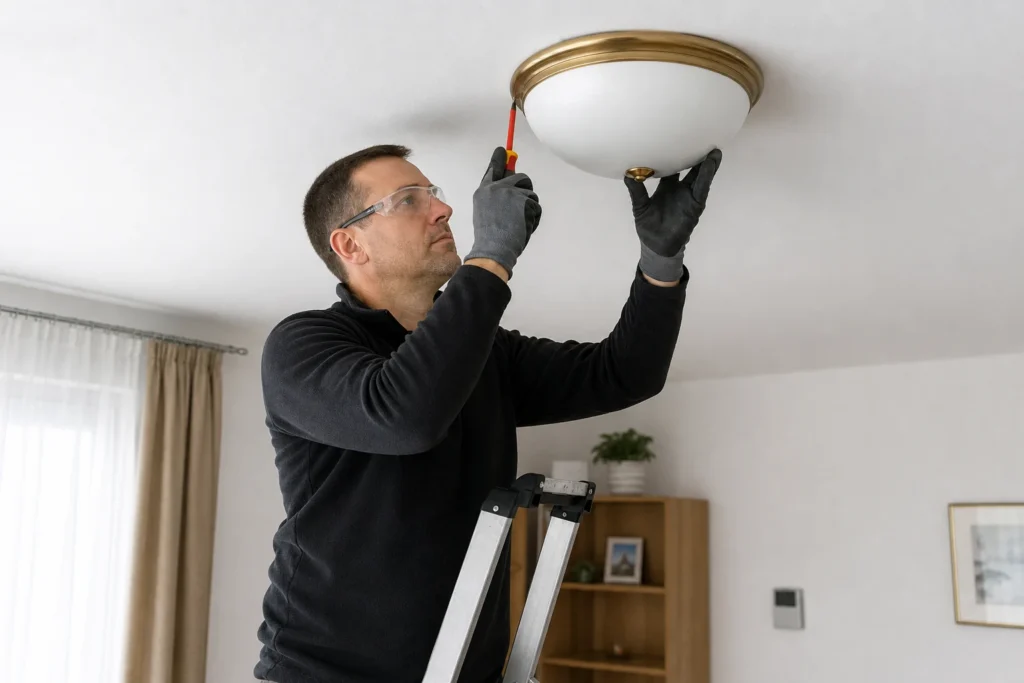
While removing the old ceiling light or chandelier, always hold the body of the fixture with one hand while loosening the mounting screws or nut with the other. Many fixtures feel light while hanging, then surprise you with their weight the moment the last screw comes loose.
3 Confirm no voltage on every conductor
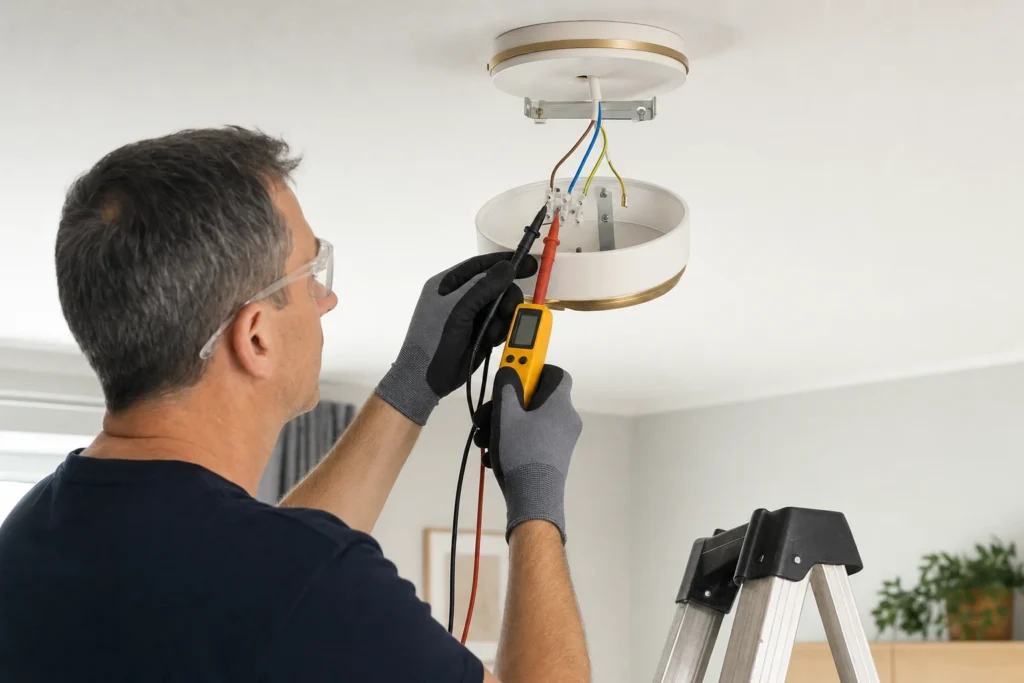
Only once the fixture is removed should you test every wire coming out of the ceiling with the tester, not just one. In some installations the switch interrupts the neutral instead of the live, or two separate circuits come out of the ceiling, so without measuring it's easy to get a false sense of safety.
4 Inspect the mount and identify the wires
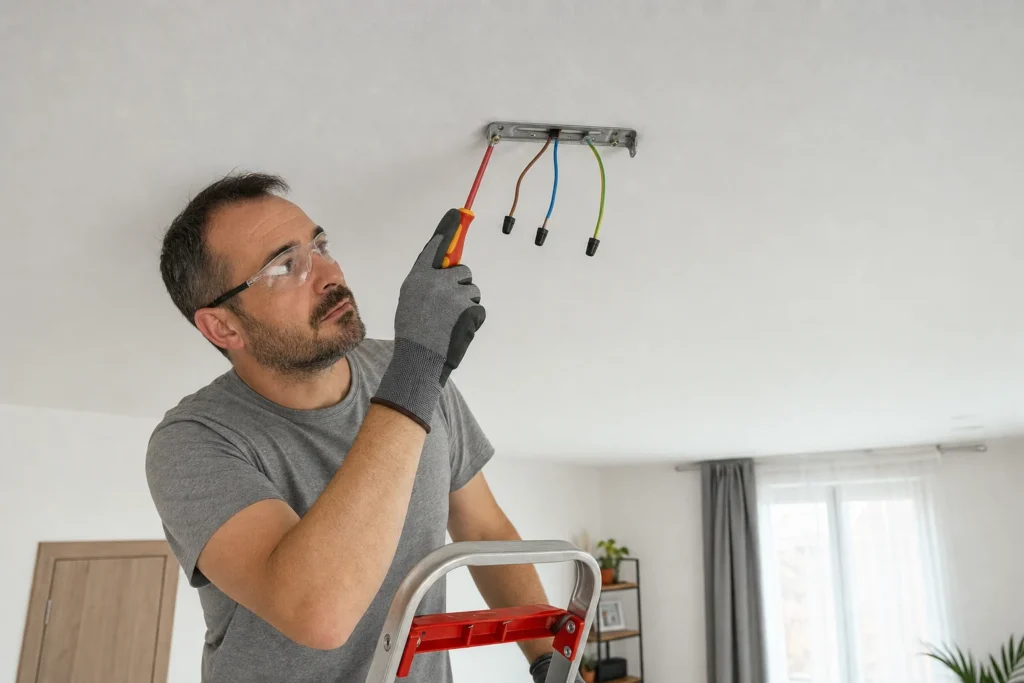
Check whether the ceiling has a solid hook, rail, or mounting box, and whether everything is anchored to the structural base rather than just the finish layer of plaster or plasterboard skin. At the same time, determine whether the ceiling has a standard live-neutral pair, possibly with a ground, or more conductors for two separate switching circuits.
5 Prepare the new fixture and mount before wiring
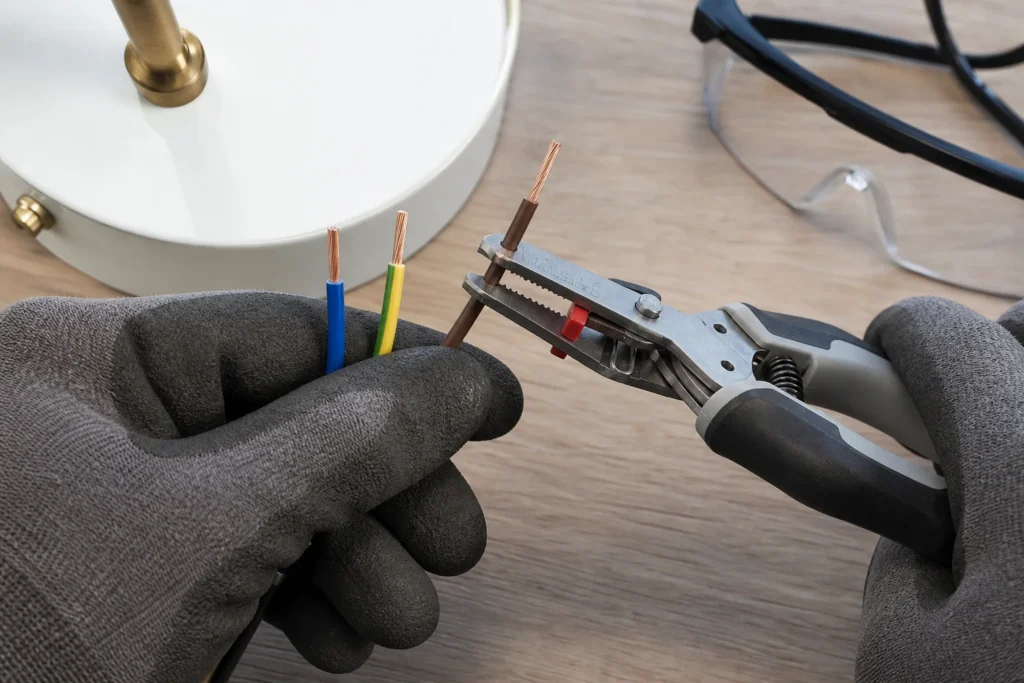
It's much easier to first mount the rail, check the holes, and prepare the fixture's cable than to hold the whole lamp in one hand while searching for a screw or wall plug with the other. If the fixture comes with special quick connectors or a mounting bracket, use them, since they're chosen for that model and for strain relief on the cable.
6 Connect the conductors according to the fixture type
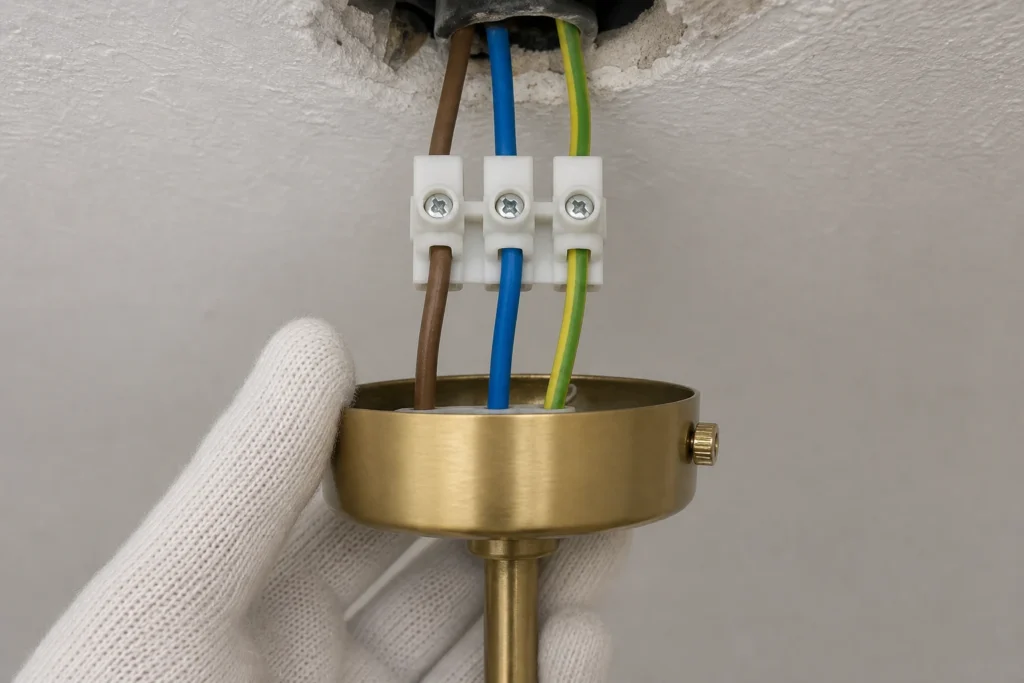
Connect live to live, neutral to neutral, and ground to the protective terminal if the fixture has one. Don't leave a metal housing that's designed for grounding without that connection just 'because it works without it'; that's exactly the part that protects the user if an internal fault occurs.
7 Secure the fixture body without putting pressure on the connections
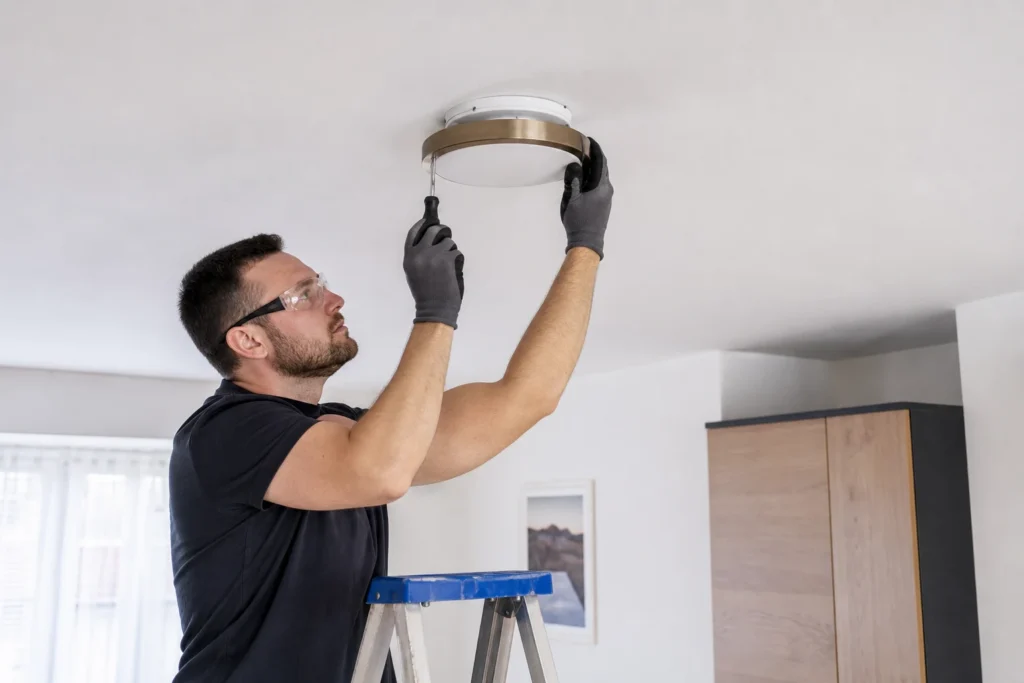
Before final tightening, arrange the connectors and any excess cable so the canopy or housing doesn't squeeze them under force. If, while mounting, you feel the bracket is carrying the weight and not the wires themselves, you're on the right track; if the entire lamp hangs from the connection, go back a step.
8 Switch on power and check every mode of operation
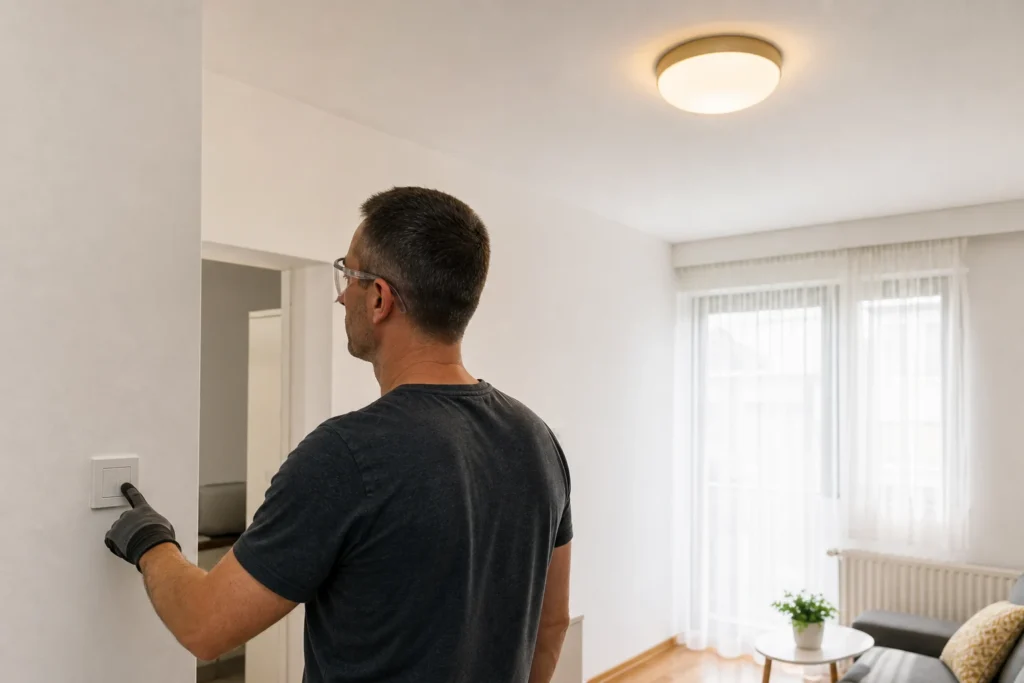
After switching the breaker back on, check that the fixture works without flickering and responds to every switch or circuit it's supposed to. Leave it on for a few minutes and gently check by hand that the canopy, housing, or mount isn't shifting.
When to call a professional: If the job involves changes to the electrical panel, the main gas line, or load-bearing walls/beams — or if you're not sure how it will turn out — this is not a DIY task. Hire a licensed professional.
Final check
- The fixture works without flickering, and the switch or switches control it exactly as they should.
- The mount carries the weight without creaking and without shifting when you gently pull the fixture by hand.
- The canopy or housing fully covers the connections and no wire is visible.
- A metal fixture, if of that type, has a properly connected ground.
Common problems
- More wires come out of the ceiling than the new fixture has connections for.
- This is most often two separate switching circuits, or an extra conductor the old fixture didn't use. Don't connect blindly; identify every conductor and safely insulate any unused ones in a separate connector.
- After installation, the chandelier hangs slightly crooked.
- Usually the mount is set at a slight angle, or the cables behind the canopy are pushing the body to one side. Loosen it, level the mount, and tidy up the connections before retightening.
- The LED ceiling light flickers or doesn't run steadily.
- Check the tightness of the connections and compatibility with any old dimmer or illuminated switch. Many modern LED fixtures don't get along with old dimmers, and then the problem isn't the installation itself.