⚠ Safety note: This guide involves working with plumbing. If you're not completely sure about every step, stop and call a licensed professional. Before you start, always switch off the power at the breaker or close the main water/gas valve.
1 Prepare for safe work
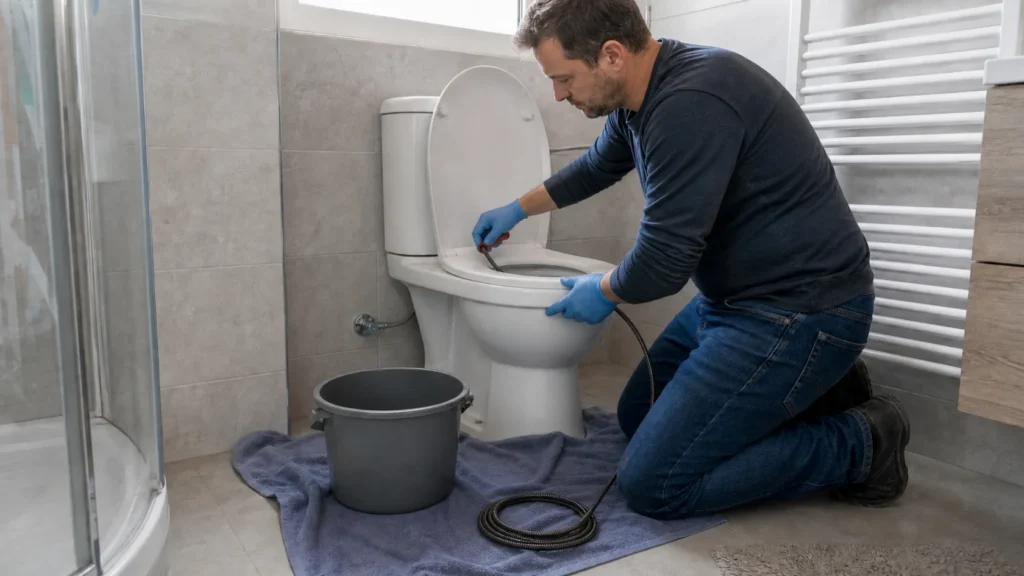
Close the corresponding valve, turn off the electrical power to the appliance if any, and wait for the water to cool. Protect the floor with a bucket and rags and photograph the initial position of the joints.
⚠ Warning: If you suspect a hard object, a shared main stack, or sewage backup, do not push the clog deeper; call a professional service.
2 Determine the pattern of the problem
Stop flushing if the level rises and close the toilet tank inlet to prevent overflow.
3 Check the most common cause
First use a toilet plunger, then exclusively a snake with a protective sleeve that will not scratch the ceramic.
4 Apply the appropriate solution
Introduce the snake slowly while rotating, without force; after pulling it out, test with a small bucket of water before full flushing.
? Tip: Photograph the initial state and change only one thing at a time so you know which check really affected the result.
5 Test the result and set a boundary
Assemble the connections without overtightening, slowly open the water, and monitor for leaks, pressure, and drainage for at least a few minutes. If the problem returns, close the supply and call a plumber.