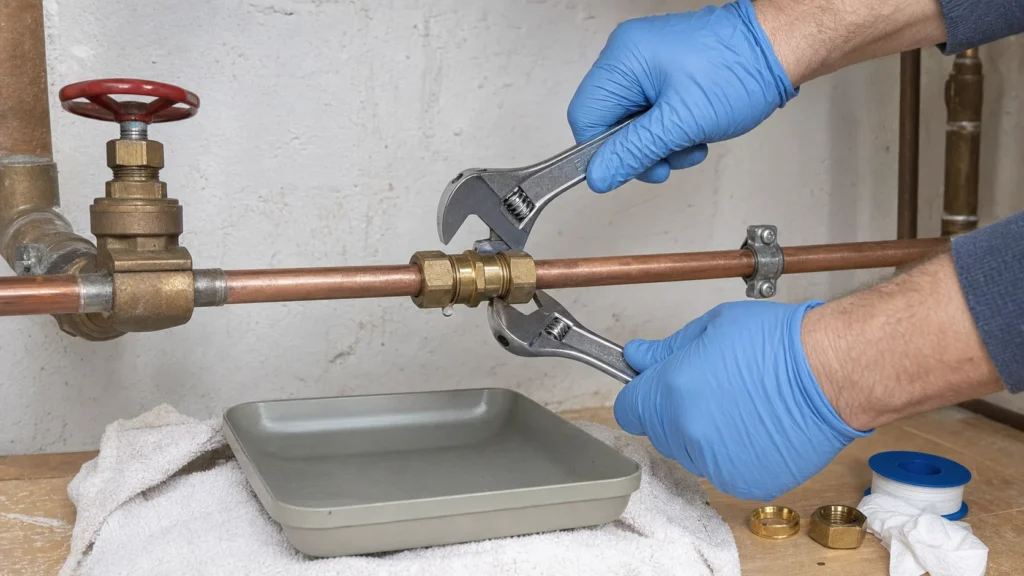
A leak at a water pipe joint is rarely a drama — most often a gasket has failed, a union nut has loosened, or Teflon on the thread has dried out, and all this can be solved with a wrench and a little patience. It is crucial to first determine what kind of joint it is (threaded or compression), because each is repaired differently; a cracked pipe is repaired with a clamp only temporarily, until a real replacement is made. Before any work, close the shut-off valve for that branch or the main water supply and release the pressure at the nearest faucet.
You need basic experience with a wrench and Teflon tape, and distinguishing a threaded from a compression joint; the first step is always closing the water supply and releasing the pressure.
⚠ Safety note: This guide involves working with plumbing. If you're not completely sure about every step, stop and call a licensed professional. Before you start, always switch off the power at the breaker or close the main water/gas valve.
1 Close the shut-off value
Close the main or local shut-off valve that supplies water to the section of pipe where the leaking joint is, so that you can work without pressure in the system.
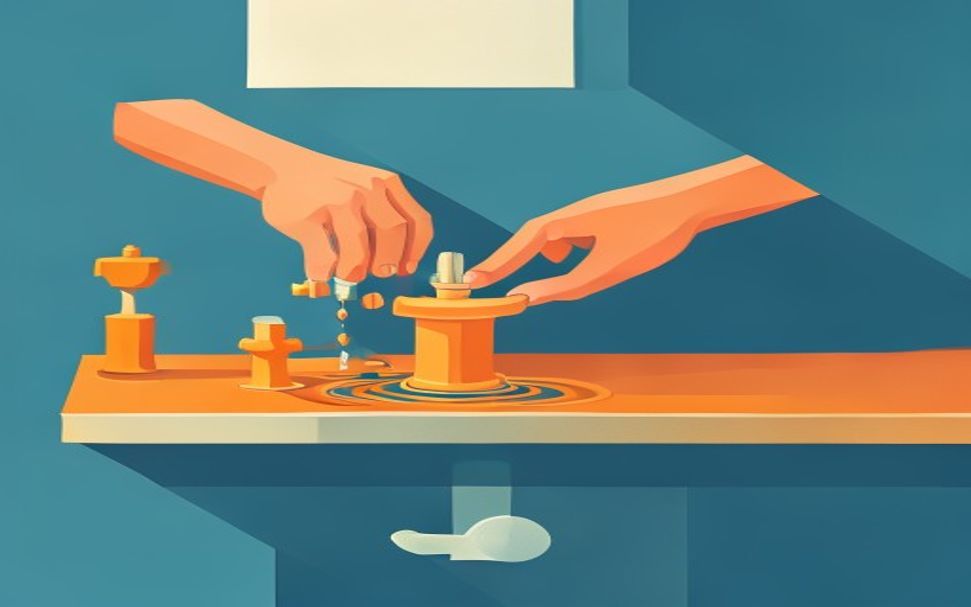
2 Release the pressure and place a bucket
Open the nearest faucet to release the remaining pressure, and place a bucket and rags under the joint as water will continue to leak from the pipes until that part of the installation is completely empty.
3 Determine the joint type
Check whether it is a threaded joint (the pipe screws directly into the fitting) or a compression joint (the pipe is compressed using a rubber gasket and a nut), as the repair is different.

4 Repair the threaded joint
Unscrew the fitting, remove the old Teflon tape or hemp, clean the thread, wrap new Teflon tape (3–5 layers) in the direction of the threading, and screw the fitting back on tightly by hand plus an additional turn with a wrench.
⚠️ Warning: Overtightening a threaded joint is a common cause of cracked fittings, especially old galvanized or plastic parts – if the leak does not stop even after reasonable tightening, the problem is likely a damaged thread that needs to be replaced, not extra force.
5 Repair the compression joint
Loosen the nut, check if the rubber gasket (ring) is cracked, warped, or out of place, replace it with a new one of the same diameter, put the nut back, and tighten evenly without sudden movements that would push the gasket out of its seat.
6 Repair a cracked pipe with a clamp (temporarily)
If the pipe itself is leaking and not the joint, a compression repair clamp with a rubber lining can serve as a temporary solution until you call a plumber for a permanent replacement of that part of the pipe.
? Tip: A repair clamp is never a permanent solution for a cracked pipe – it is only first aid until the plumber arrives or until you get the parts for a real replacement of that piece of pipe.
7 Slowly open the water and monitor the joint
If it is still dripping, turn off the water again and tighten by another quarter turn, avoiding excessive force.
8 Re-check after a few hours
Dry the area around the joint with a paper towel and check the place again after a couple of hours – this way you will notice even the smallest, slow leak before it causes more damage.
Final check
- The valve is slowly opened all the way, and the joint is dry when wiped with a paper tissue after 15–20 minutes under full pressure
- Check the joint again after a few hours and the next day – no drops in the bucket and no wet trace on the pipe below the joint
- If a clamp has been put on a cracked pipe, it holds even under pressure – but the replacement of that part of the pipe is scheduled, the clamp is not a permanent solution
Common problems
- Threaded joint leaks even after new Teflon tape
- Wrap more Teflon (8–12 wraps) in the direction of the threading and check that the thread is not damaged or corroded – a notched or worn thread will not seal even with Teflon, so that fitting should be replaced. Alternatively, try sealing hemp with paste.
- Compression joint drips, and tightening does not help
- Do not tighten indefinitely – an overtightened compression ring (olive) deforms and leaks even more. Disassemble the joint, replace the compression ring with a new one, check that the end of the pipe is cut straight and free of scratches, then tighten by hand plus one turn with a wrench.