⚠ Safety note: This guide involves working with plumbing. If you're not completely sure about every step, stop and call a licensed professional. Before you start, always switch off the power at the breaker or close the main water/gas valve.
1 Draw the garden layout
Measure the length and number of rows, the location of the water source and the plants that will be watered. Group plants with similar needs so one valve doesn’t water tomatoes and lower-water plants at the same time.
2 Install the filter and pressure control
Connect the backflow protection if needed, the filter, pressure regulator and main pipe in that order to the faucet. The filter is mandatory because small particles clog the emitters quickly.
⚠ Warning: A system connected to the water supply needs backflow protection according to local rules so water from the garden lines does not get into the drinking-water network.
3 Lay out the main pipe and side rows
Lay the main pipe across the start of the beds. Punch holes, install starter connectors with valves and run the tapes or hoses straight along the plant rows.
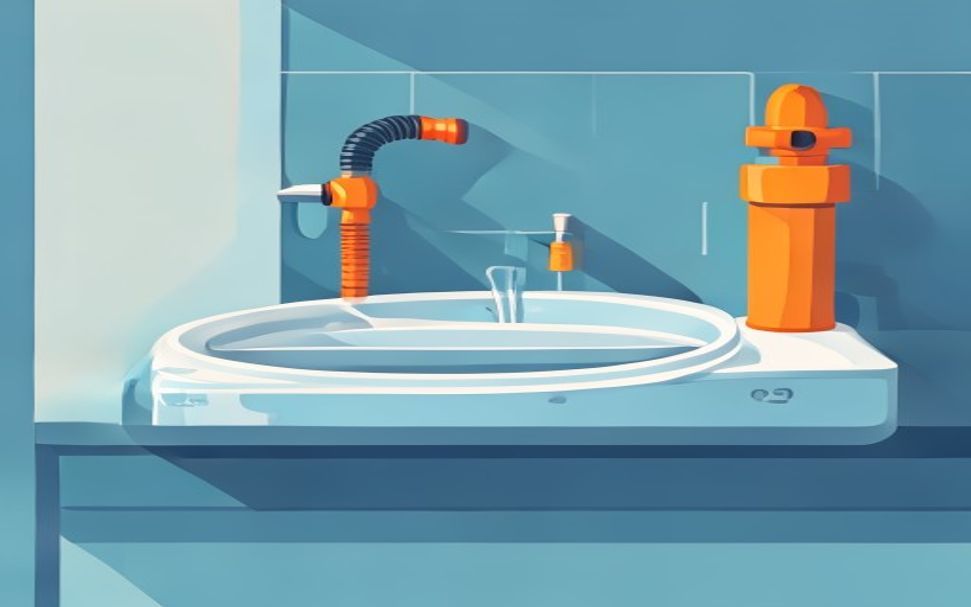
4 Flush the system before closing
Leave the ends of the side lines open, slowly turn on the water and flush until it runs clear. Then close the ends and inspect all connections and emitters.
5 Set the duration according to the soil
Run the system for 20–30 minutes, then dig a small cross-section and check the depth of the moisture. Sandy soil needs shorter, more frequent cycles, while clay soil needs slower and less frequent watering.
? Tip: Cover the hose with mulch, but leave the joints visible for the first few waterings so you can spot leaks quickly.