⚠ Safety note: This guide involves working with plumbing. If you're not completely sure about every step, stop and call a licensed professional. Before you start, always switch off the power at the breaker or close the main water/gas valve.
1 Check thread and operating pressure
Compare the tap thread, adapter, and allowable pressure of the timer. Install the device only on a working tap that shuts off completely and has no cracked thread.
2 Install the battery and set the clock
In a dry place, open the compartment, insert a new battery with the correct polarity, and close the seal. Set the current time before programming the cycles.
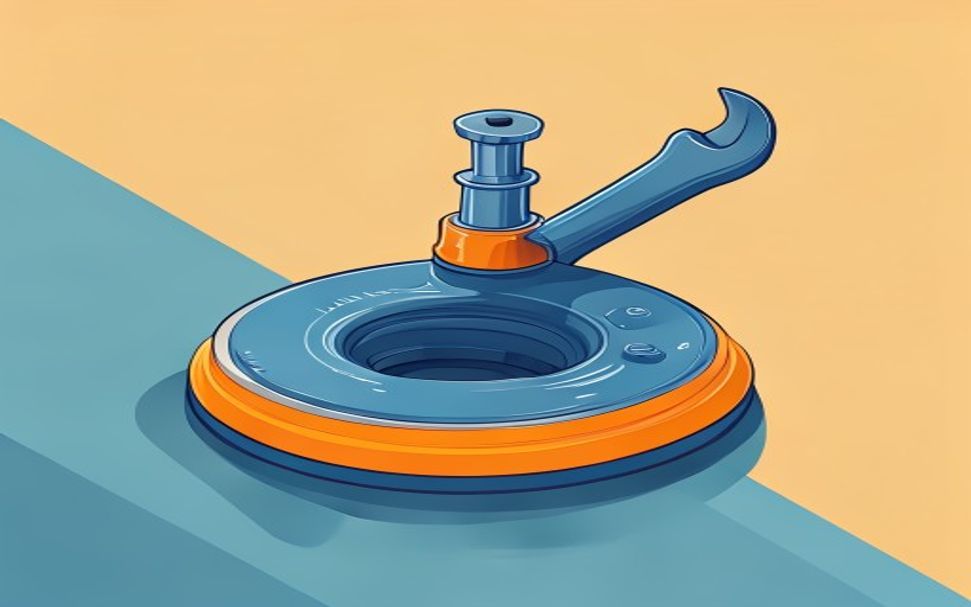
3 Connect the timer by hand
Close the tap, insert the mesh filter and rubber washer, then screw the timer on straight and tighten by hand. Connect a hose or drip irrigation system to the outlet.
4 Program a reasonable cycle
Select the days, start time, and duration according to the plants and soil. Watering early in the morning usually reduces evaporation and leaves leaves less wet overnight.
? Tip: After heavy rain, skip the next cycle or add a rain sensor if the timer supports it.
5 Open the tap and test manually
Slowly open the tap and leave it open for automatic operation. Run a manual test, inspect the joints, and confirm that the valve closes completely after the cycle.
⚠ Warning: The timer is not a safeguard against a burst hose. Close the supply when you are absent for a long time and do not use the device at temperatures below its rating.