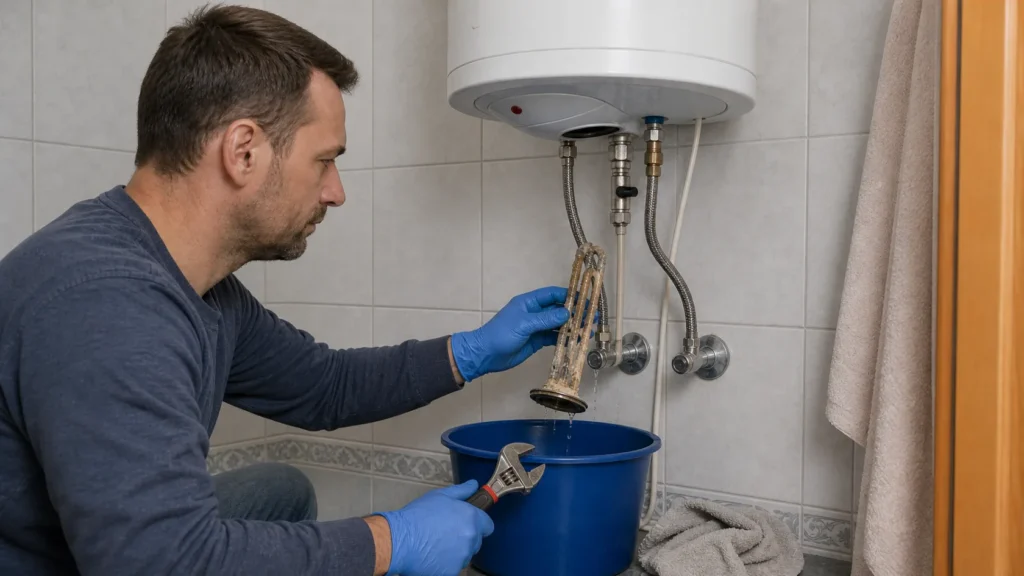
⚠ Safety note: This guide involves working with electricity, plumbing. If you're not completely sure about every step, stop and call a licensed professional. Before you start, always switch off the power at the breaker or close the main water/gas valve.
1 Prepare safe work
Close the appropriate valve, switch off the device’s power supply if it has one, and wait for the water to cool. Protect the floor with a bucket and cloths and photograph the initial position of the connections.
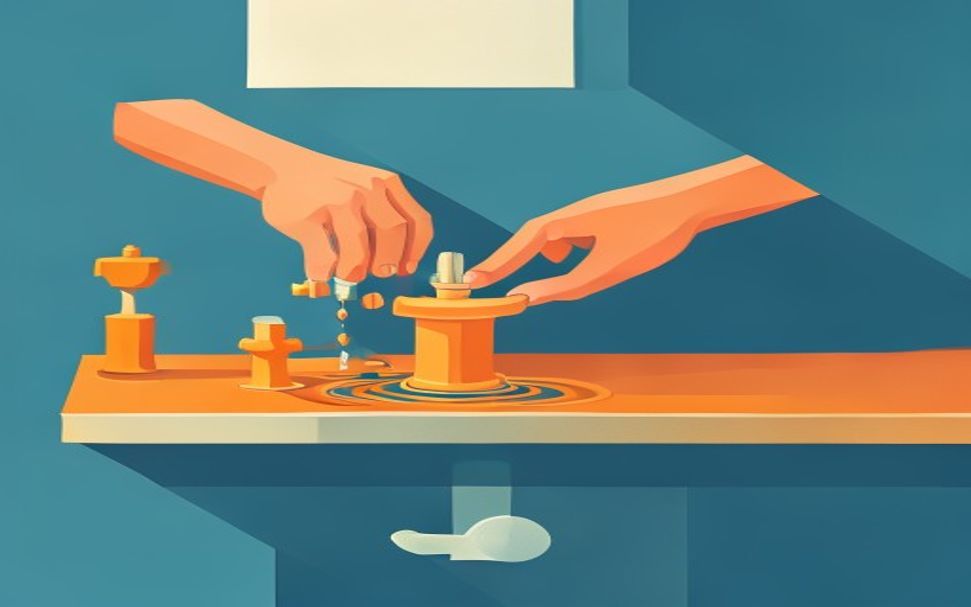
⚠ Warning: Hot water, mains voltage, and heavy wet scale make this job risky. If you do not have an electrical tester and a service manual, hire a service technician.
2 Determine the problem pattern
Turn off the water heater at the breaker and verify there is no voltage; simply turning down the thermostat is not enough.
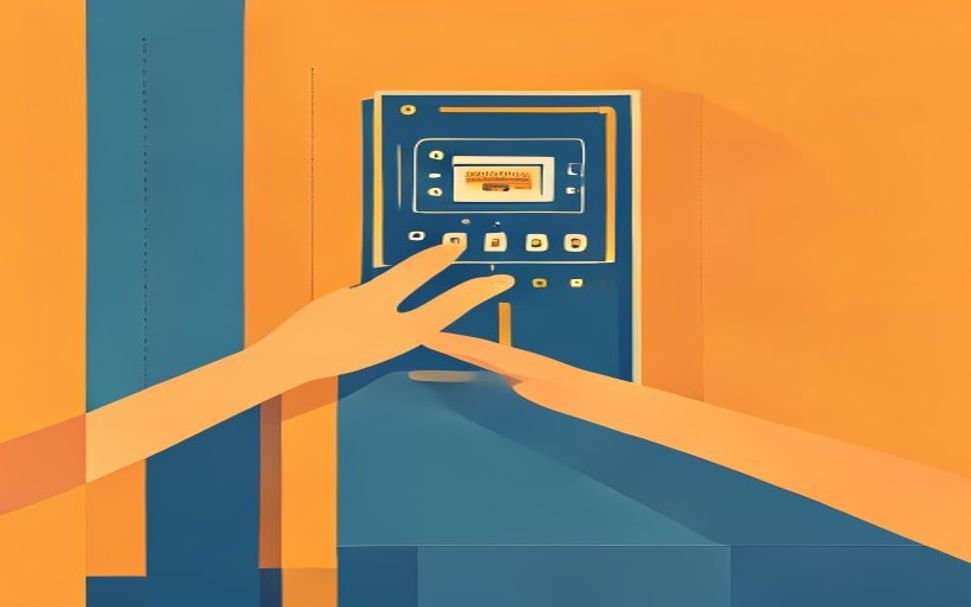
3 Check the most common cause
Drain the fully cooled tank according to the instructions and label every connection before removing the flange.
4 Apply the appropriate solution
Remove the scale mechanically without scratching the tank, replace the damaged gasket and anode, and leave the electrical connections to a qualified person.
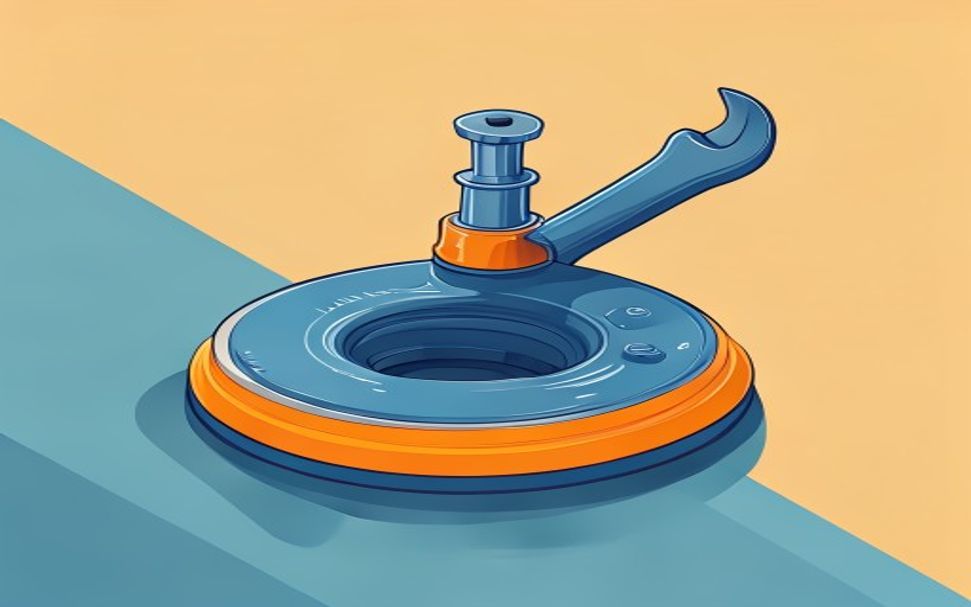
? Tip: Photograph the initial condition and change only one thing at a time so you know which check really affected the result.
5 Test the result and set the boundary
Reassemble the connections without overtightening, slowly open the water, and watch for leaks, pressure, and drainage for at least a few minutes. If the problem returns, shut off the supply and call a plumber.
When to call a professional: If the job involves changes to the electrical panel, the main gas line, or load-bearing walls/beams — or if you're not sure how it will turn out — this is not a DIY task. Hire a licensed professional.