⚠ Safety note: This guide involves working with electricity. If you're not completely sure about every step, stop and call a licensed professional. Before you start, always switch off the power at the breaker or close the main water/gas valve.
1 Prepare for safe work
Unplug the appliance, shut off the water supply if there is one, and wait for hot parts to cool down. Prepare the manual for the exact model, a lamp, and a dry work surface.
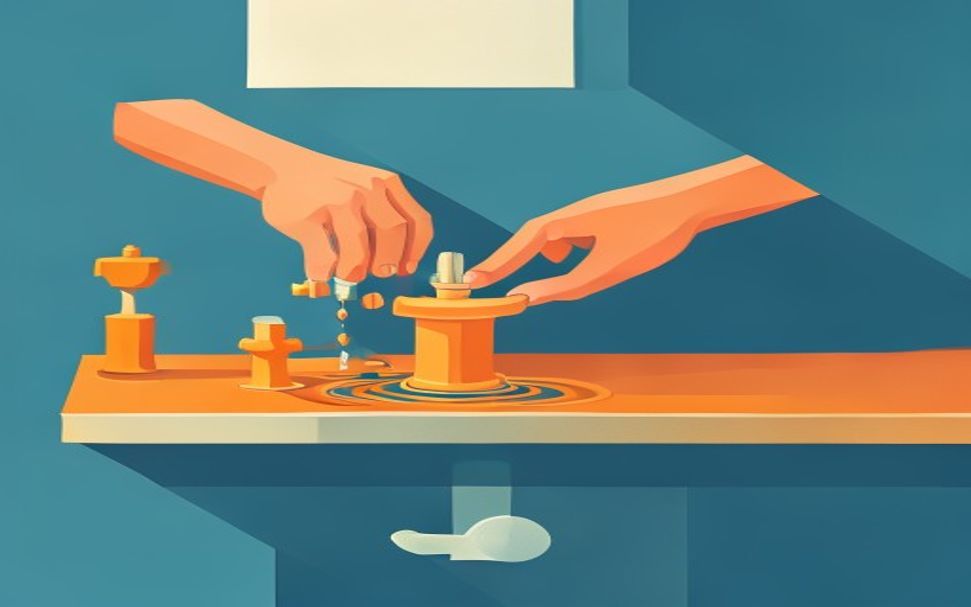
⚠ Warning: Do not open any part of the appliance that carries mains voltage, a capacitor, a heating element, or a refrigerant circuit. Leave that diagnosis to a qualified service center.
2 Identify the exact symptom
Unplug the blender, remove the jar, and inspect the motor coupling and the jar’s bottom drive for worn teeth or cracks.
3 Check the most common cause
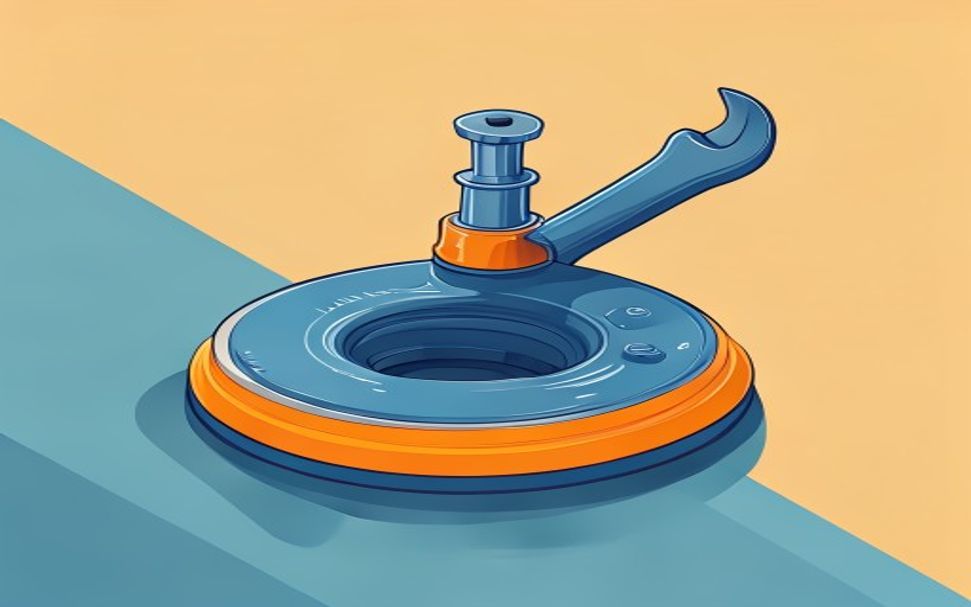
Check whether the blade turns by hand while wearing protective gloves and without touching the cutting edge. A seized bearing or a leaking seal requires replacement of the assembly.
4 Fix the cause without improvising
Lock the empty jar properly and run a very short test. Do not try to stop or start the coupling with your fingers.
? Tip: Take photos of the initial state and change only one thing at a time. That way it’s easier to see what really solved the problem.
5 Assemble and test safely
Reassemble all accessible parts and run a short supervised test. If you notice leaks, a burning smell, sparking, or a tripped protection device, switch the appliance off immediately and call service.
When to call a professional: If the job involves changes to the electrical panel, the main gas line, or load-bearing walls/beams — or if you're not sure how it will turn out — this is not a DIY task. Hire a licensed professional.