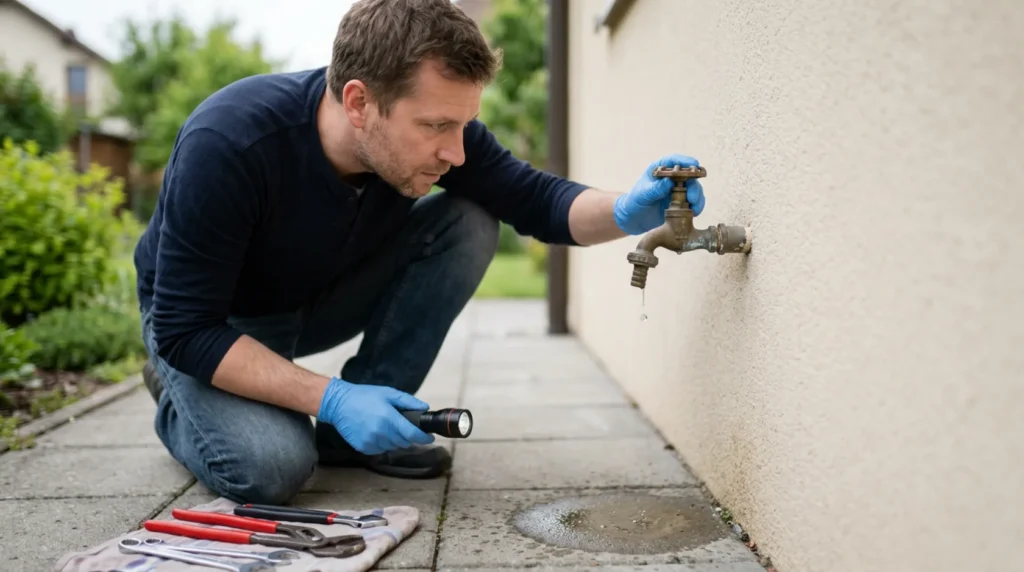
A garden faucet that drips after being turned off can be a minor annoyance, but it can also be a sign of a worn rubber, poor fit, a damaged stem, or a frost crack. The most important thing is to first determine where exactly the water is coming out, because it is not the same whether it drips on the spout itself, around the spindle (handle) or from the connection with the wall. This guide helps you avoid fixing the wrong part and helps you recognize when a faucet is frost cracked and needs a replacement, not just a new rubber.
You need to know how to close the supply to the external faucet if there is a separate internal valve and to distinguish the classic rubber faucet (which closes by pressing the seat) from the model with a cartridge (ceramic head). It is useful to inspect for signs of freezing or cracking if the faucet was full of water and exposed to frost during the winter, because then replacing the consumable part rarely helps.
⚠ Safety note: This guide involves working with plumbing. If you're not completely sure about every step, stop and call a licensed professional. Before you start, always switch off the power at the breaker or close the main water/gas valve.
1 Close the internal supply and determine where exactly the water is coming out
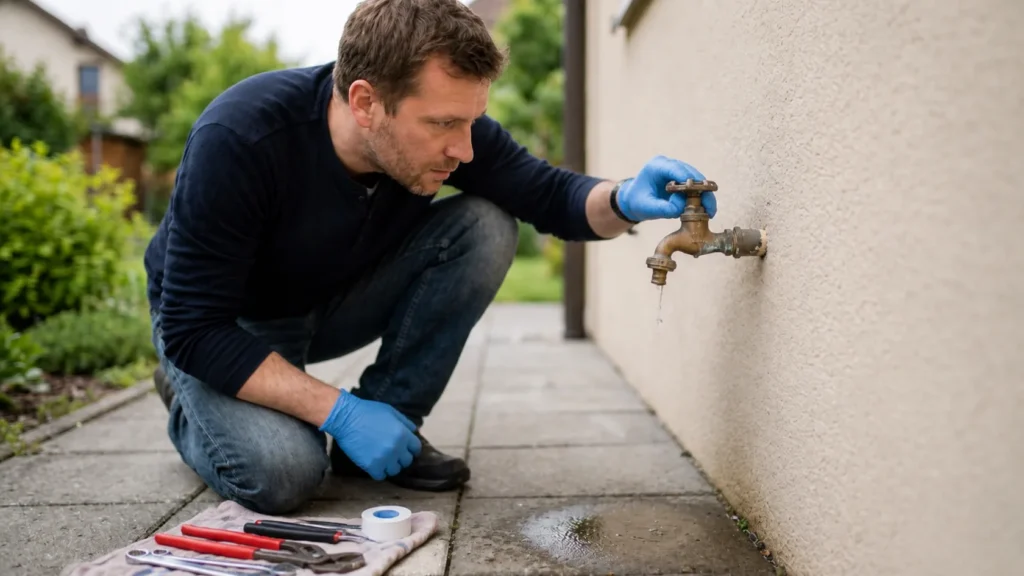
If there is an internal valve for the outside faucet, close it and drain the rest of the water by turning on the faucet. Then wipe the faucet completely and look carefully to see if a drop appears on the spout (nose), around the stem/handle or at the junction with the wall. This is crucial because the repair is different for each of those places. Beginners immediately disassemble the faucet nose even though water is leaking around the stem, so they replace the correct part in vain.
2 Identify if it is leaking at the spout, around the stem or from the wall
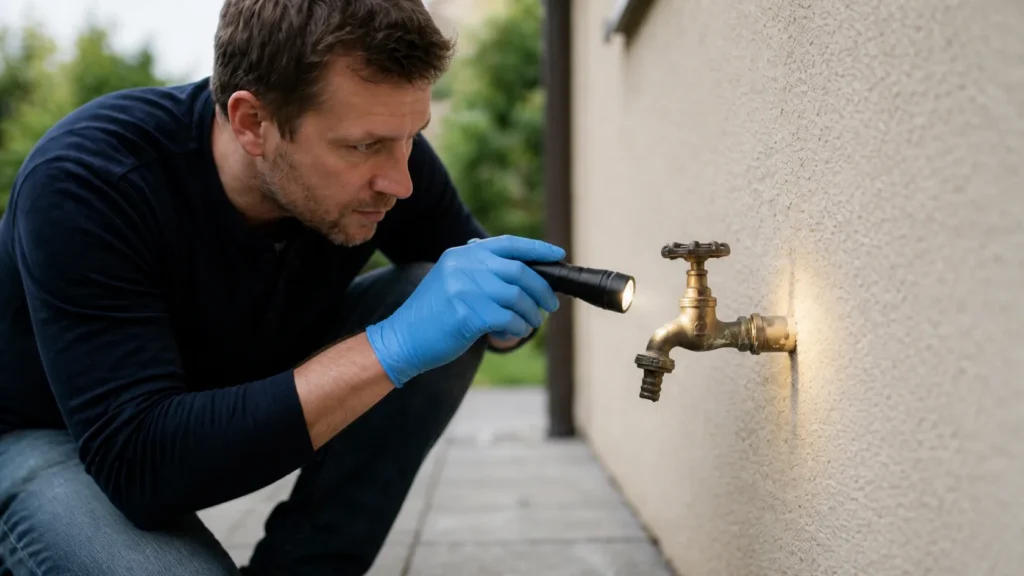
Run the water for a short time, then close it and watch for the first half minute. A drop falling from the nose after closing indicates a worn rubber or cartridge; moisture around the spindle means a spindle seal; wet at the wall connection means a loose or cracked connection. If the faucet has been exposed to frost, look for a fine crack in the body or thread. A frost crack is the limit of your work — such a faucet changes and requires inspection of the pipes behind the wall.
3 Remove the handle and replace the rubber or cartridge according to the correct type
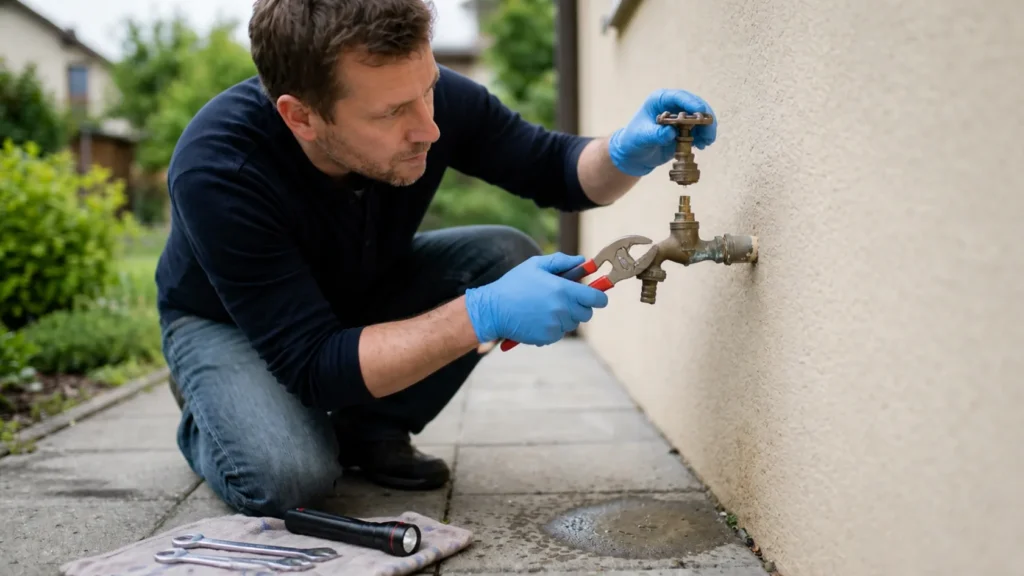
If the cause is closing, remove the handle and stem according to the type of faucet and look at the rubber on the bottom of the stem or the ceramic cartridge. Replace it with an identical part — the wrong rubber size or a different cartridge will not fit properly. Wipe the stone from the seat carefully, without deep sanding, which will permanently damage the seat. This step is your part of the classic garden faucet job; leave everything that involves cutting pipes in the wall to a plumber.
4 Assemble the faucet and, if necessary, decide whether to replace the entire faucet
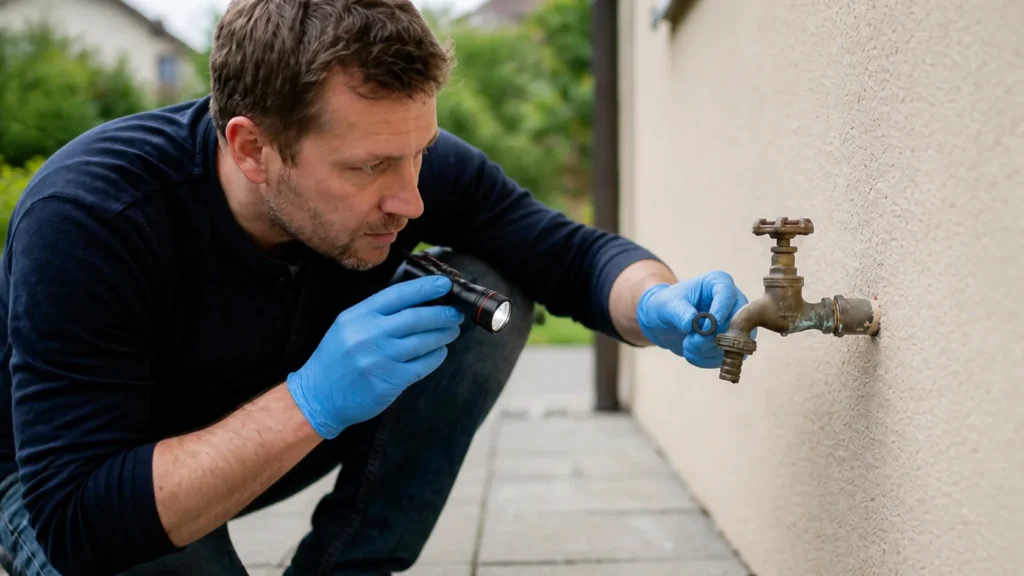
Replace the spindle and crank, tighten slightly and prepare for the test. If during disassembly you find a frost crack, loose or corroded joint with the wall, do not 'to stick' — such a faucet is replaced, and the connection in the wall and the pipe is checked by a plumber. Here you decide whether you solved the problem with a consumable part or whether the case goes to replacing the entire armature.
5 Open the inlet and check that there is no dripping after closing
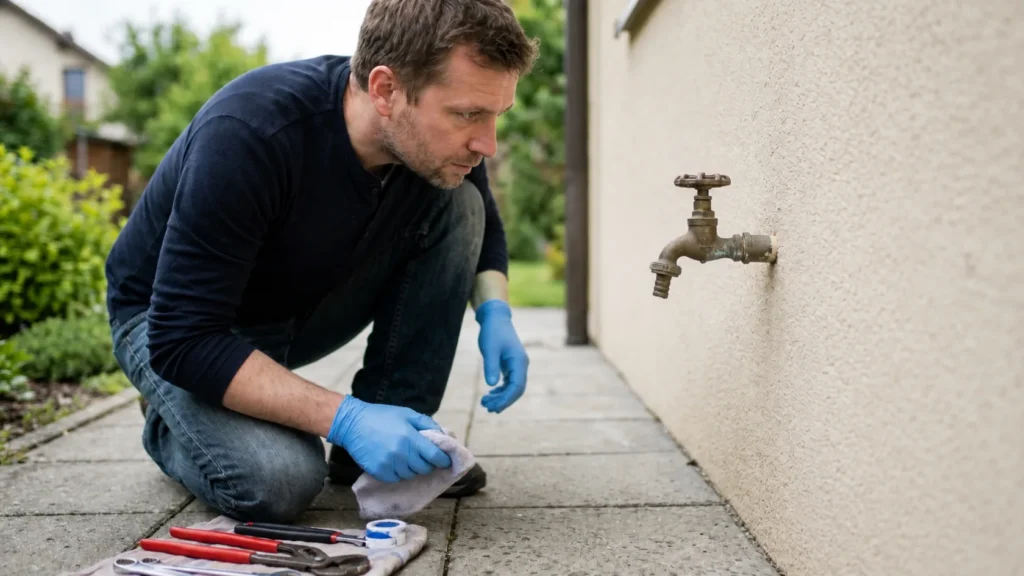
Slowly open the internal valve, run full water, then close the faucet and watch it for a few minutes, not just the first few seconds. The desired outcome is that the faucet remains completely still after closing, without a drop on the nose, a dry stem and a dry connection to the wall. A slow drip that 'stop in a minute' still means closure is not good; if there is moisture on the body or joint, the cause is deeper and requires replacement, not retightening.
Final check
- It is clearly established whether the faucet drips at the spout, around the handle or at the junction with the wall.
- It was checked for signs of freezing, cracks or major damage to the faucet body.
- The appropriate consumable part for the correct type of mechanism (rubber or cartridge) has been replaced.
- After closing the faucet, it remains still for several minutes, without persistent dripping.
Common problems
- The rubber band is changed, but water still comes out around the handle.
- The cause was not the closure of the spout but the sealing of the spindle or another part of the mechanism. Therefore, first locate the exact location of the leak and replace the stem seal, not the seat rubber.
- The faucet was full of water in the winter, but now it drips gently and moistens the body.
- The cause is probably frost cracking, which is not immediately visible as a large crack. Replacing a consumable part is rarely a permanent solution; a burst faucet is replaced, and before winter the internal valve is emptied and closed.
- The drip just slows down and is declared resolved.
- The cause is an incomplete closure, because a slow drip still means a leak. Observe the faucet long enough after turning it off, not just the first few seconds, before concluding that it is fixed.