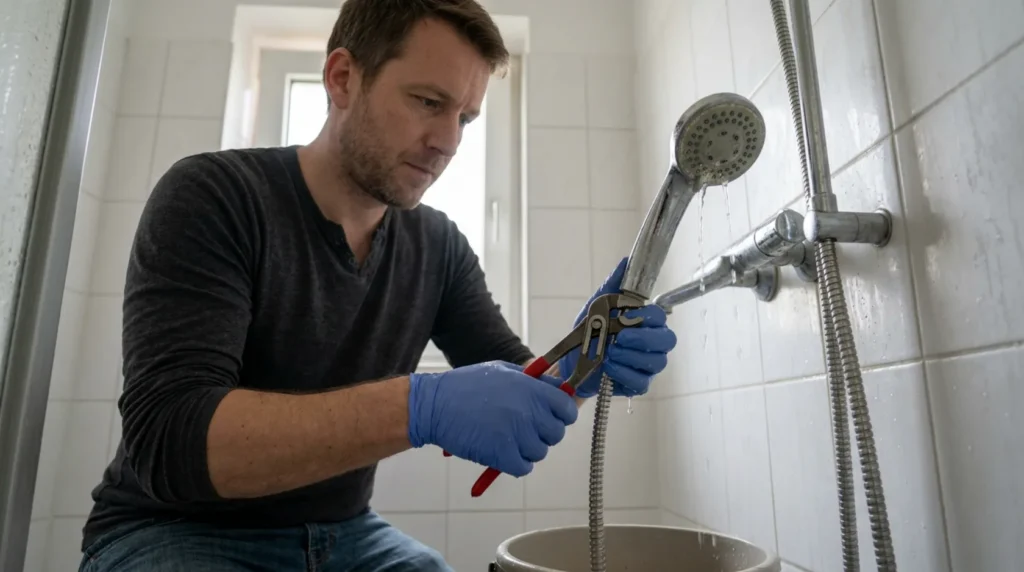
A shower head with a weak and uneven stream most often suffers from limescale, clogged nozzles or small dirt on the water path, but it is not always the handle itself that is to blame. First, you need to separate the problem in the handle from the problem in the hose, faucet or the total pressure of the installation. This avoids cleaning the wrong part while leaving the real cause intact.
You need to be able to unscrew the handle and put the gasket back in place without losing the small parts. It is also useful to know that chrome and painted finishes do not tolerate every anti-limescale agent for the same amount of time.
⚠ Safety note: This guide involves working with plumbing. If you're not completely sure about every step, stop and call a licensed professional. Before you start, always switch off the power at the breaker or close the main water/gas valve.
1 First, compare the flow from the hose and from the handle
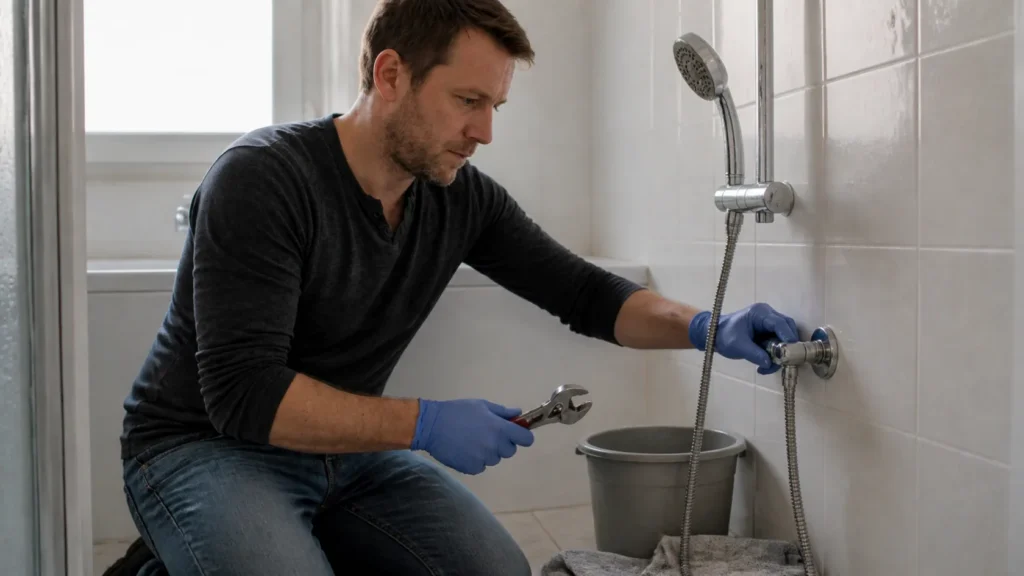
Unscrew the handle and briefly compare how the water goes directly from the hose and then through the handle. If the stream from the hose is lively and neat, the problem is very likely in the handle itself. If it is weak and without a handle, the trace should be sought further back in the hose, faucet or pressure.
2 See if the nozzles are clogged or acting differently
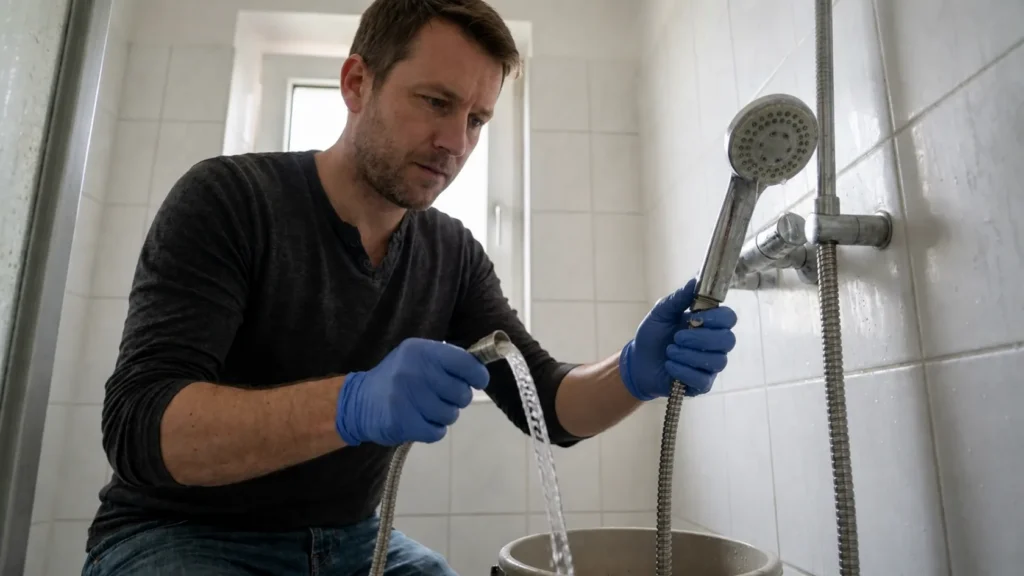
An uneven stream often means that some rubber nozzles are full of scale and some are still passing through. Then the shower not only weakens but also sprays in several strange directions. Take a good look to see if the openings are equally active or if some of them practically do not work.
3 Remove the scale gently and purposefully
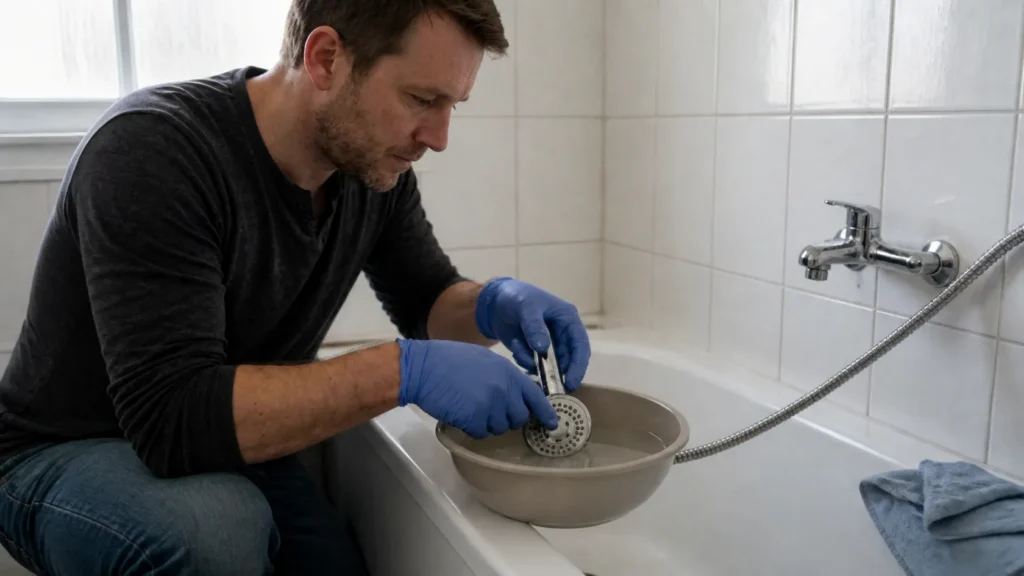
Immerse only the part with the nozzles in an agent suitable for finishing or use a milder solution according to the material of the handle. Rub the rubber openings with your fingers or a soft brush, without needles and rough metal that easily damage the opening. The goal here is to get the pass back, not widen the holes.
Tip: If the handle is a cheaper model with badly worn nozzles, sometimes a replacement makes more sense than a long revival. Neutral examples available with us are e.g. Rosan, Minotti, Grohe Vitalio or Hansgrohe Crometta series, but only if the dimensions and thread match.
4 Also check the seal and small impurities at the inlet of the handle
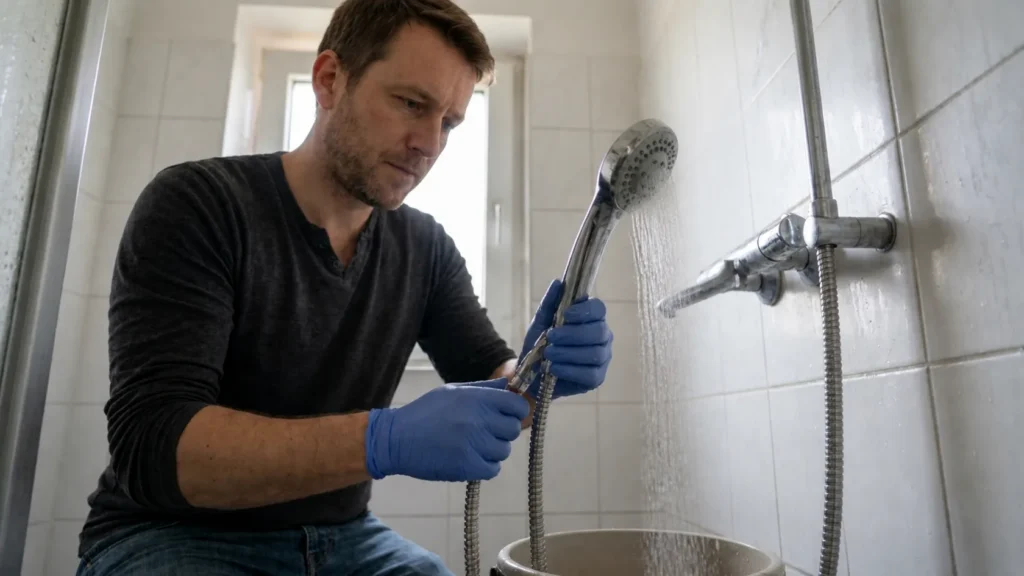
A small filter, a piece of scale or a gasket that has become deformed and chokes the flow is often retained at the connection of the handle. If everything comes down to just cleaning the nozzles, it is easy to miss the real bottleneck at the entrance itself. Therefore, inspect the beginning of the water path, not only the exit.
5 Test all jet modes after returning the lever
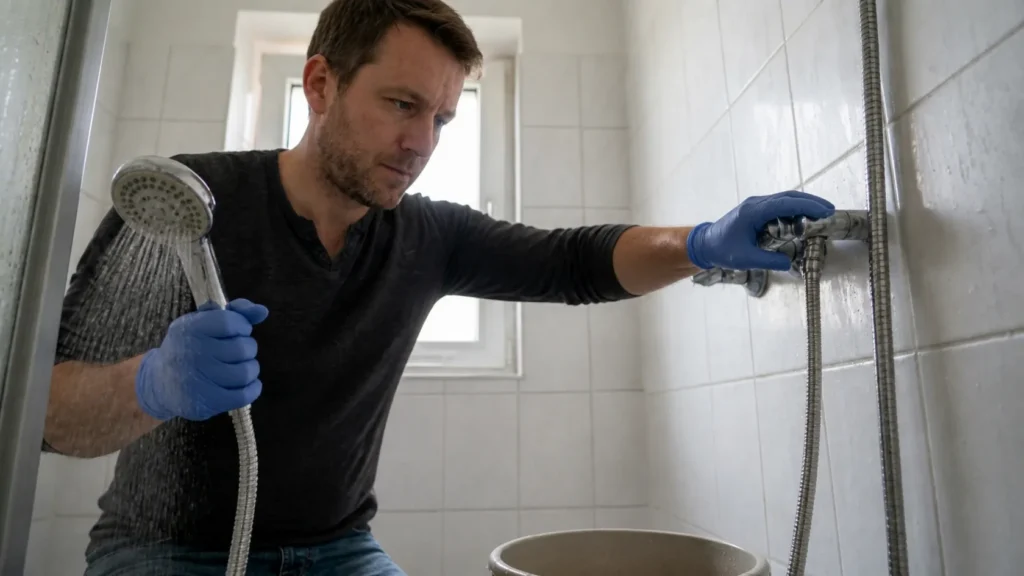
When you return the handle, turn on the water and try all modes if the model has them. A good result is not only a stronger jet, but also uniformity without spraying to the side and without noticeable suffocation when changing the regime. If even without the handle the flow is weak, the problem is not closed at this point.
Final check
- It is separated whether the problem is caused by the handle itself or the flow weakens before it.
- The nozzles and the inlet of the handle were inspected for scale and small blockages.
- Cleaning is not done with rough objects that damage the openings or the finish.
- After returning, all modes give a more even and convincing stream.
Common problems
- The handle is cleaned, but the stream remains as weak as before.
- This often means that the problem was not in the handle but in the hose, faucet or the pressure of the installation itself. That's why the comparison with no-handle flow is a crucial step.
- The jet is stronger, but still throws to the side from several holes.
- This indicates that part of the nozzles is not yet clean or is permanently deformed. It is not enough to look only at overall strength if water distribution remains poor.
- The nozzles are cleaned with a needle and then they work even worse.
- Coarse metal easily damages or widens the orifice, causing the jet pattern to be permanently damaged. It is better to work gently and with a product that really dissolves limescale.