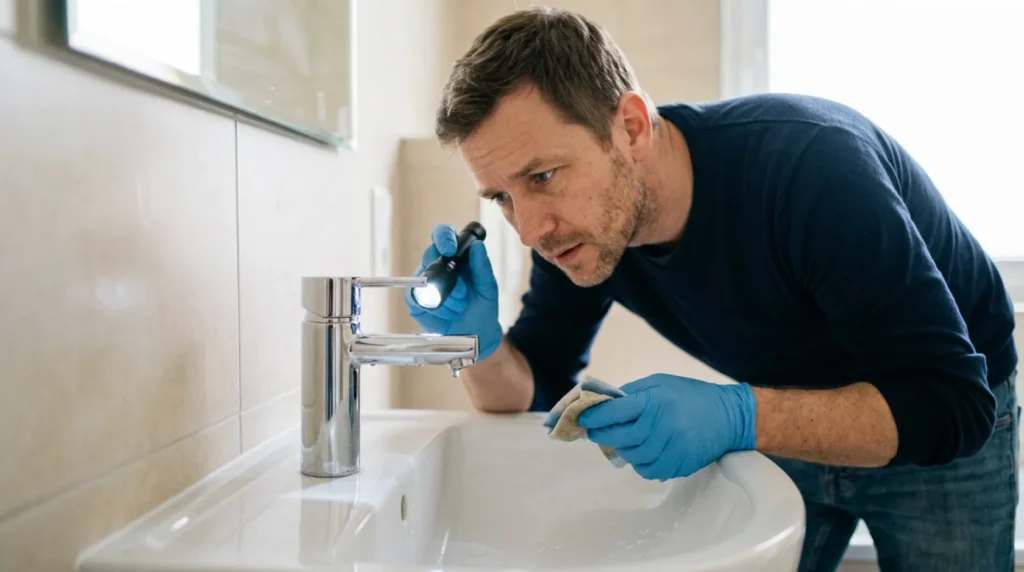
When a faucet leaks around the handle, the cause is often a loose cartridge nut, a worn O-ring, or the cartridge itself, but not every drip in that area is evidence of the same failure. Water sometimes reaches the handle from another connection and "deceives" where it comes from, so first you need to see exactly when and where it appears. This guide helps to keep the inspection accurate and to prevent chrome and trim parts from being damaged by unnecessary or violent disassembly.
You need to know how to turn off the water to the faucet (most often angle valves under the sink or sink) and remove the handle according to the type of fitting without tearing off the decorative caps. It is useful to distinguish between a situation where a slight tightening of a loose part is sufficient and one where an O-ring or cartridge requires actual replacement. For one-handed mixers there is usually a ceramic cartridge, and for older two-handed mixers there are separate heads with a rubber band.
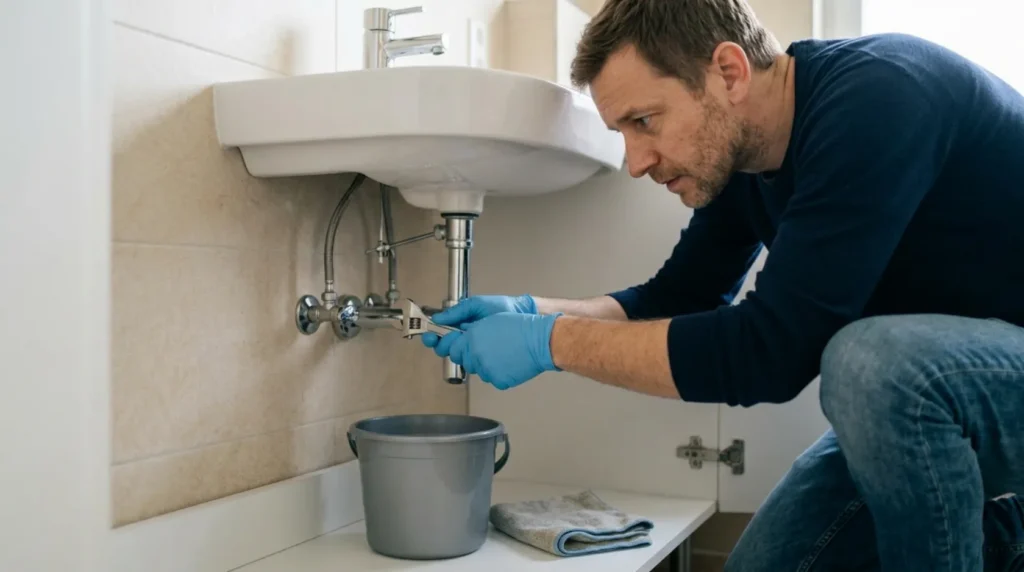
⚠ Safety note: This guide involves working with plumbing. If you're not completely sure about every step, stop and call a licensed professional. Before you start, always switch off the power at the breaker or close the main water/gas valve.
1 Wipe the faucet and move the handle to find where the water appears
First, wipe the entire faucet and the surrounding area dry, then slowly move the handle through all positions and turn on the water. Watch to see if the moisture appears just below the handle or if it drains from the spout connection and collects at the handle. Water travels across the chrome body and easily fools the eye, so this drying and observation is key. If it only leaks at one position or temperature, that already narrows down the cause to the cartridge or its O-ring.
2 Close the water and remove the handle according to the type of fitting
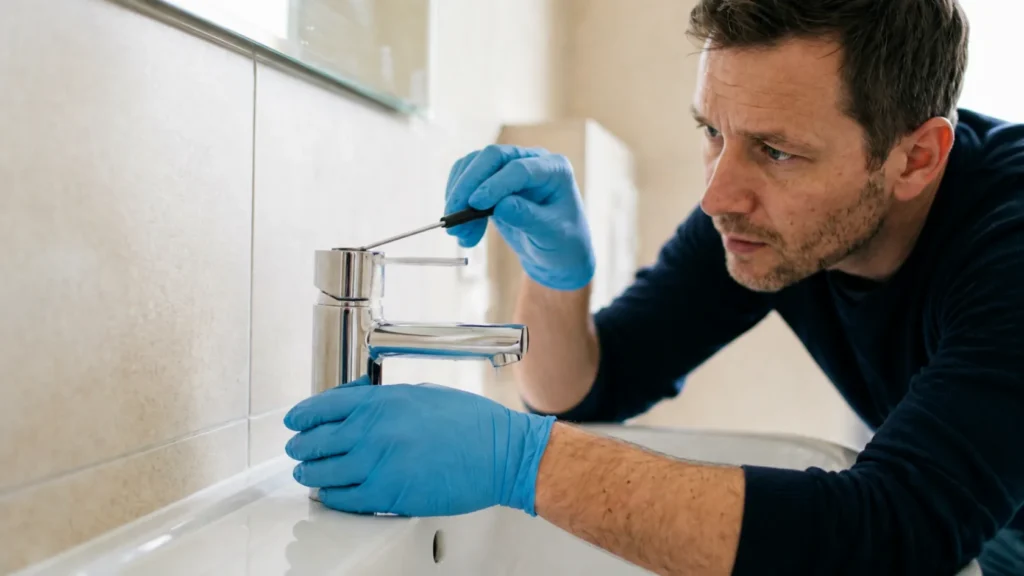
Close the angle valves under the faucet and open the faucet to release the pressure. Find the decorative cap (usually the red and blue markings) or the hidden hex screw and remove the handle according to that type’s instructions, without violent yanking that bends and scratches the chrome. If the screw does not loosen, do not lift with force; look for another type of attachment. The goal is to get to the nut of the cartridge cleanly, because scratched decorative parts later spoil the appearance and fit.
3 Check the cartridge nut and O-rings without scratching the chrome
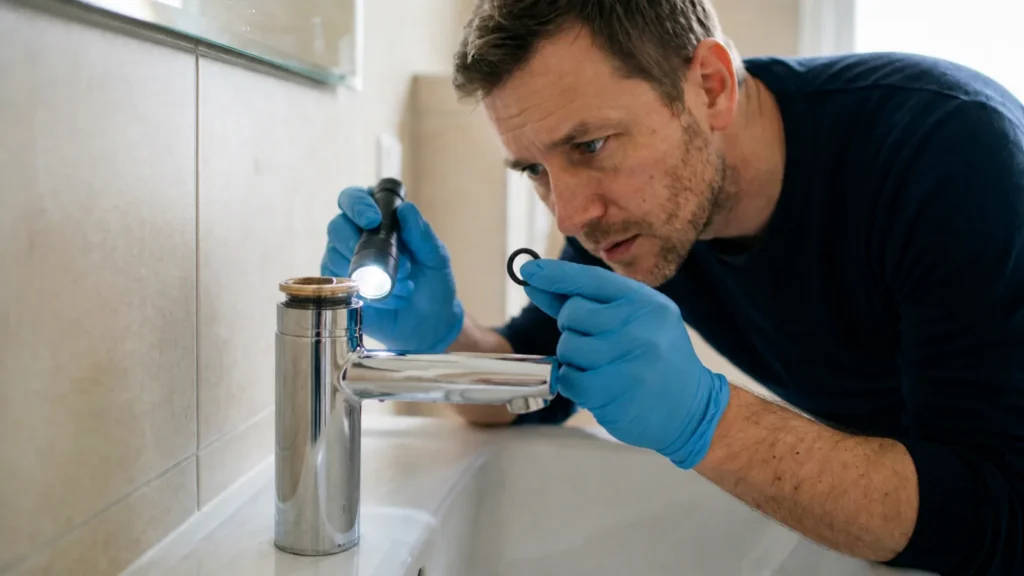
With the crank removed, look at the ring nut that holds the cartridge and the available O-rings. Check to see if the nut is just loose or if the O-ring is flattened, hard and cracked. Work with a soft tool and be careful not to scratch the chrome surfaces and the cartridge seat. This is where you decide: if everything is in place and only the nut has loosened a little, it is tightened; if the seal is visibly worn, replace it, not retighten over the worn part.
4 Tighten the nut minimally or replace the seal or cartridge with an identical part
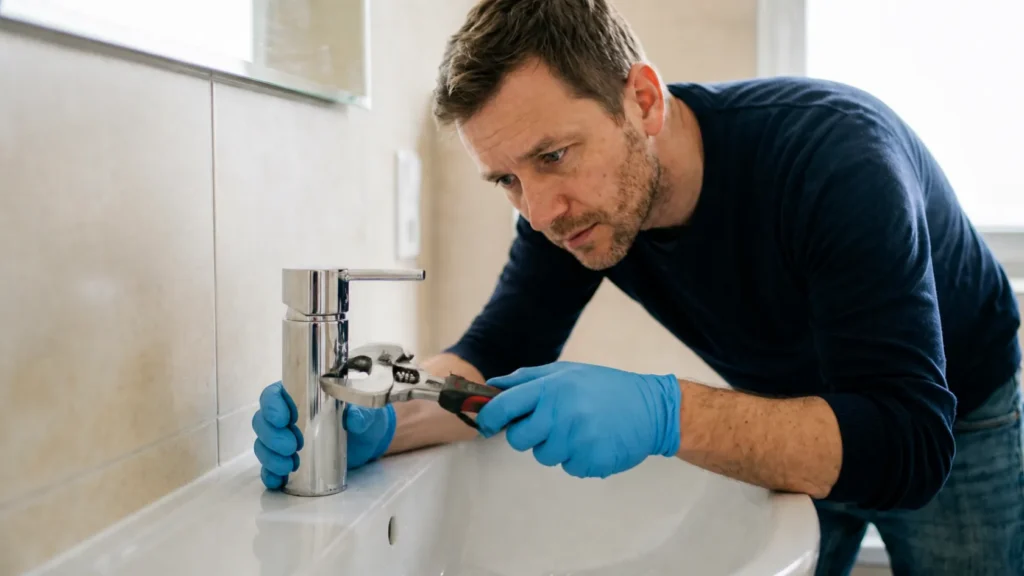
If the nut was loose, tighten it minimally, just until it is seated, because over-tightening the cartridge creates a hard crank stroke and new leakage. If the cause is a worn O-ring or cartridge, replace them with a part identical in type and size (take the old part or the correct faucet marking to the store). A similar but not the same cartridge will not fit well and will leak quickly. After replacing, assemble the handle in the same order as you removed it.
5 Run the water and check that the handle area is dry in all positions
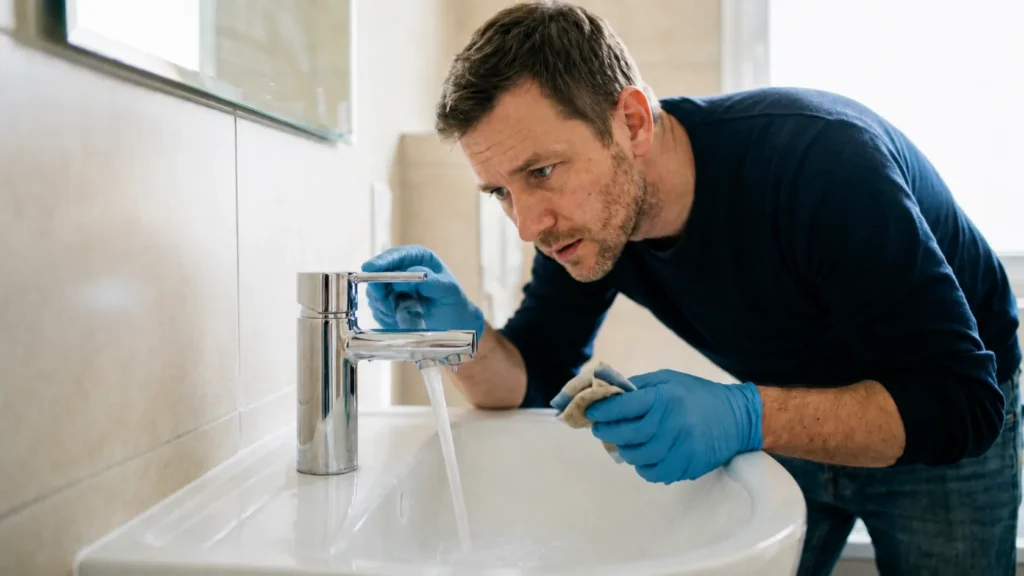
Slowly open the corner valves and run full water, then with a dry finger or tissue, check the lever zone in the hot, cold and mixed position, throughout the lever stroke. Hold on for a few minutes, because the tiny leak only gradually moisturizes. The desired outcome is a completely dry handle in all positions. If the moisture returns, the cause was not just a loose nut but a cartridge or O-ring, or water is still coming from the spout connection that has yet to be inspected.
Final check
- It has been correctly confirmed that the water is coming out of the crank area and not from another connection.
- The handle was removed without damaging the decorative and chrome parts.
- The nut, O-rings and cartridge were checked as the main causes of leakage at that location.
- The faucet remains dry through the full stroke of the handle in both cold and hot mode.
Common problems
- The drip appears at the handle, but actually comes from the spout connection.
- The reason is that the water travels along the body of the faucet and collects at the handle, thus deceiving where the source is. That's why initial drying and observation is important; wipe dry and see which spot gets wet first before disassembling the handle.
- The nut is tightened a little, but the leak quickly returns.
- The cause was not just a loose connection, but a worn gasket or cartridge, so tightening temporarily postpones the problem. Replace the O-ring or cartridge with an identical part instead of further tightening over the worn element.
- A similar but not identical cartridge is installed.
- In the case of fittings, small differences in measurement lead to bad fitting and new failure. The replacement part must match in type and size, not just roughly in shape; bring the old part or exact faucet model for exact replacement.