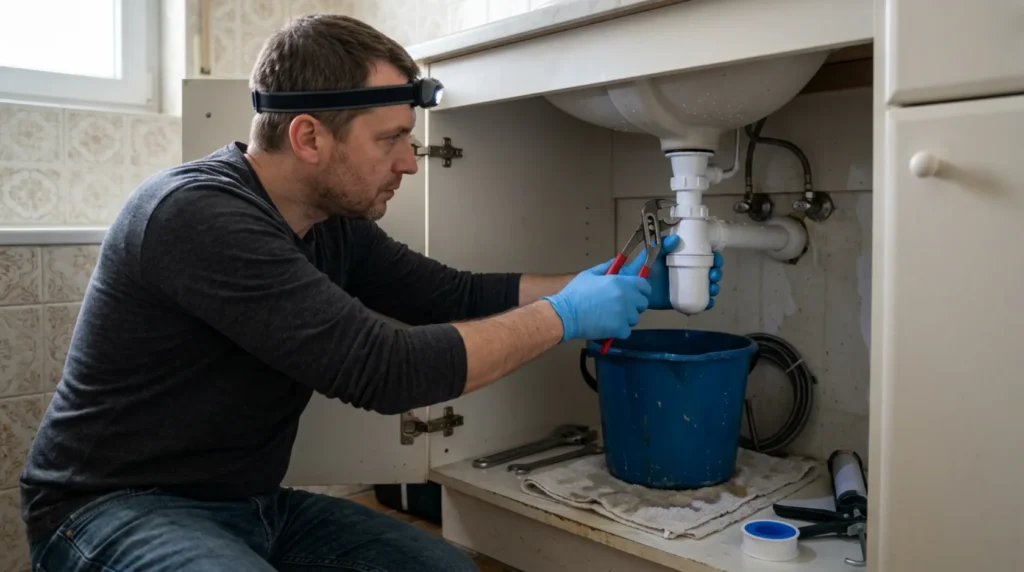
A siphon under the sink that keeps leaking doesn't always require major replacement; very often the problem is a misaligned gasket, a poorly fitted joint or a cracked segment that is overlooked because it is already wet from all sides. The most important thing is to first accurately find the exact location of the leak. Without it, it is easy to tighten the wrong joint and deform the plastic.
You should know how to shut off the water if necessary and work with a bucket and rags under the siphon. It is also useful to distinguish a conical seal from a flat seal, because the wrong position of the seal causes just as much trouble as a cracked part.
⚠ Safety note: This guide involves working with plumbing. If you're not completely sure about every step, stop and call a licensed professional. Before you start, always switch off the power at the breaker or close the main water/gas valve.
1 First, completely dry the siphon and the surrounding area
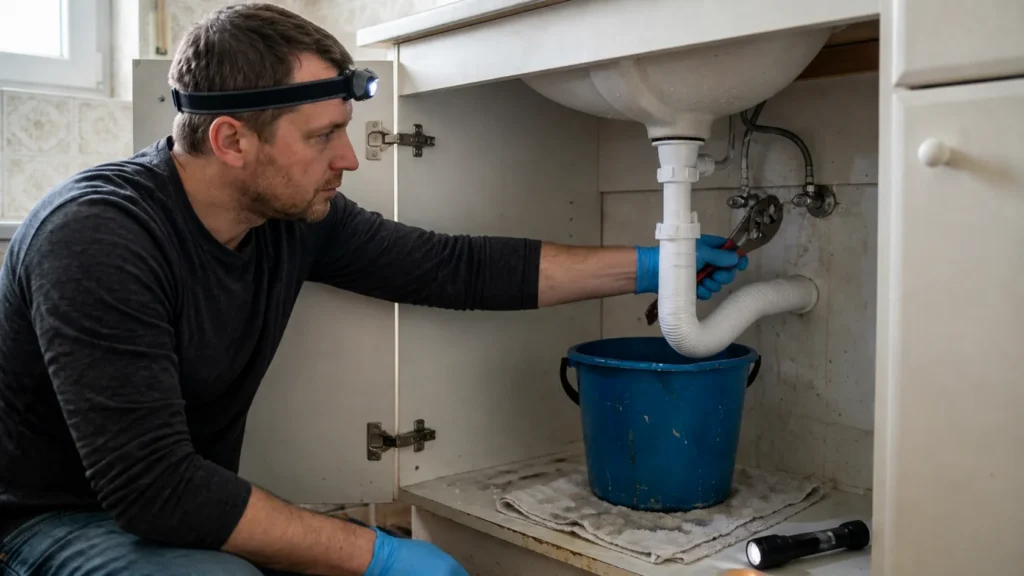
If everything is already wet, it is very difficult to judge where the water is actually coming from. Wipe the siphon, nuts and surrounding pipes dry before turning on the water again. Only when the joint is clean and dry does the leak become clear.
2 Let the paper or dry cloth show the exact point of the leak
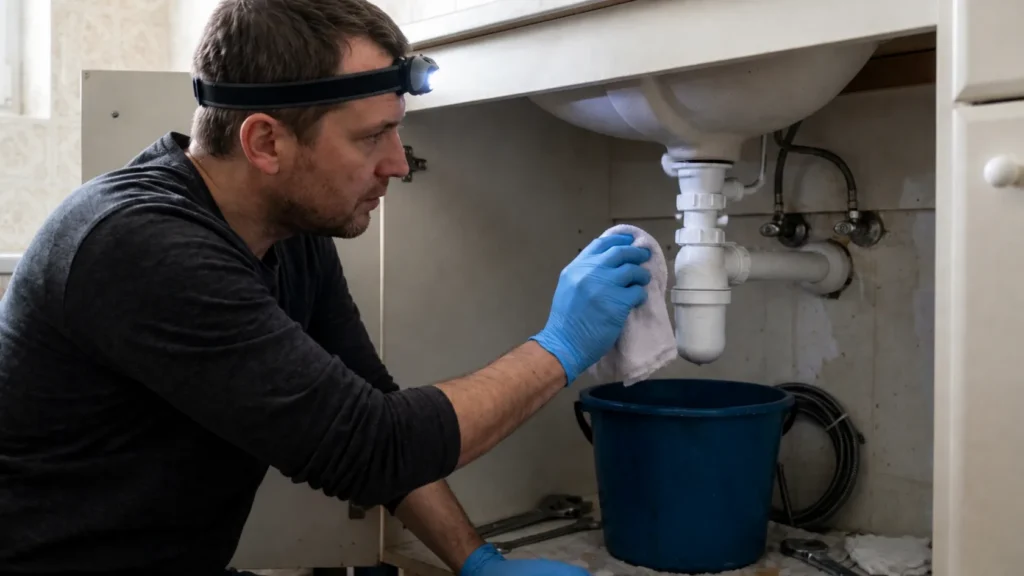
Wrap suspicious joints with dry paper or touch them with a dry cloth while running water in several modes. One is when it leaks during a light rinse, and the other is when it leaks only when the sink is fully emptied. This detail tells a lot whether the problem is in the joint, sealing or the crack itself.
3 Disassemble only the affected joint and check the seal
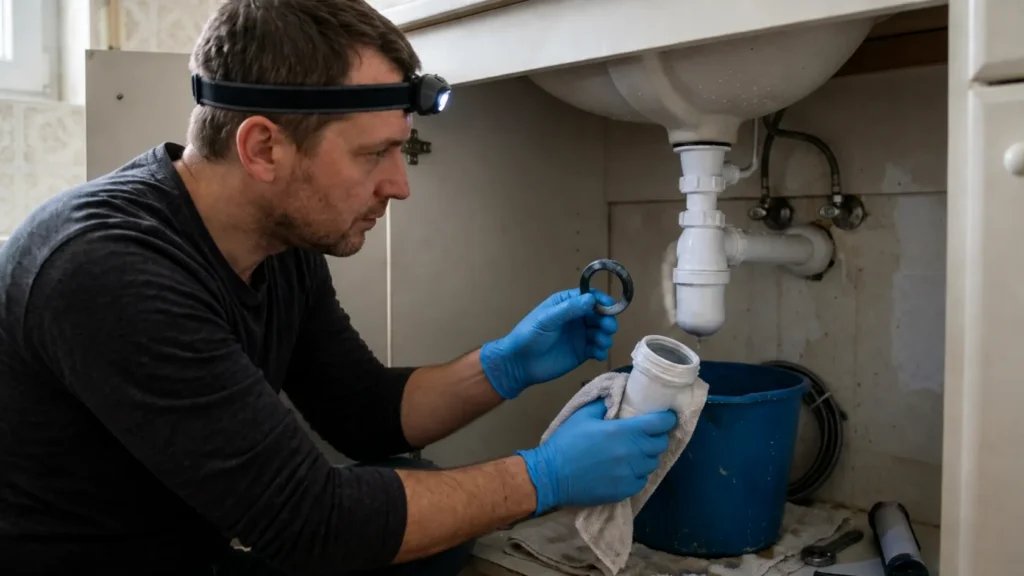
When you know the exact location of the leak, disassemble only that part instead of the entire siphon. Check whether the conical seal is facing correctly, whether it is flattened, has fallen out of its seat, or whether there is dirt left on the seat. Often the cause is more banal than it seems while everything is falling apart.
4 Inspect the pipe for cracks or misalignment
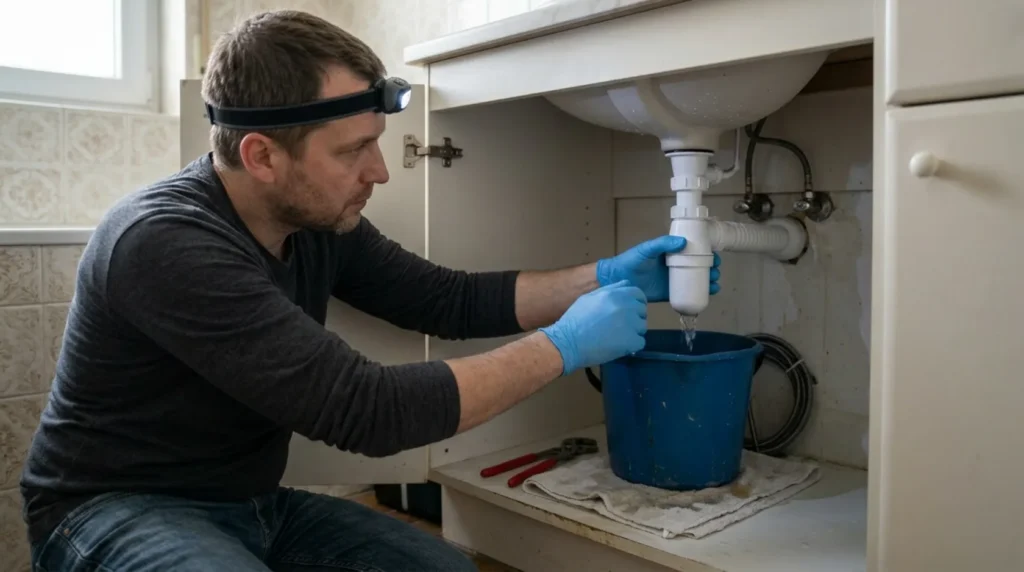
If the seal looks good, look to see if the plastic is cracked somewhere or if the pipe is at an angle that pulls the joint to the side. A siphon that is constantly under tension often leaks even after a new tightening. Then the problem is not in the strength of the hand, but in the bad position of the assembly.
Warning: If the plastic is cracked or the joint can only be aligned by force, don’t count on re-tensioning to fix it. Such a part goes for replacement, not for a little more tightening.
5 Run a full sink and watch the entire rapid emptying
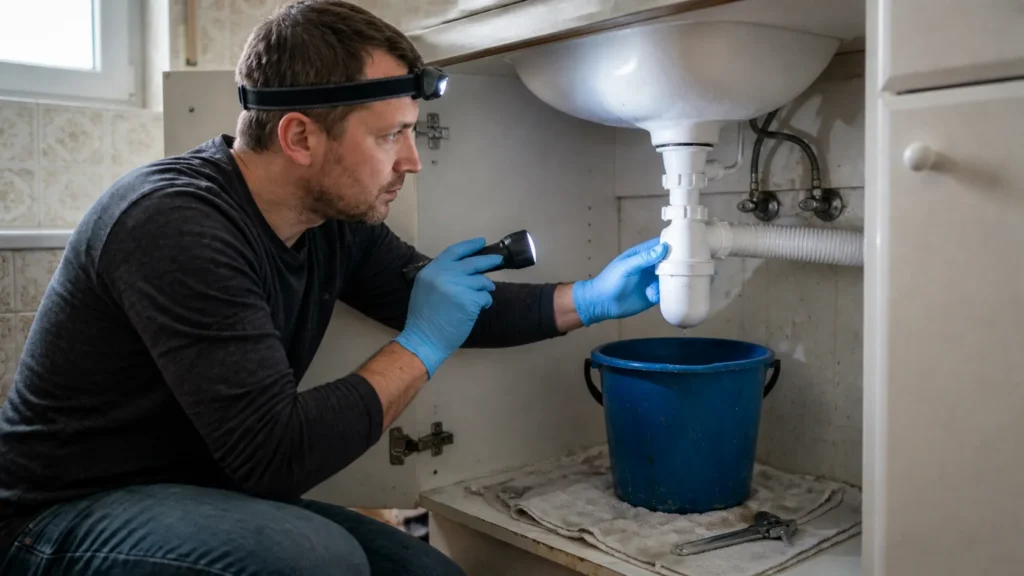
The final check must be realistic: fill the sink and let it drain so that the siphon gets a full flow, not just a thin stream. Many joints remain dry in light water, and only show a problem when a full container is suddenly emptied. If it stays dry then, the repair is probably good.
Final check
- It is confirmed exactly from which connection or part of the siphon the water comes out.
- The correct position and condition of the seal on the affected joint was checked.
- No leaking part is left because it has temporarily subsided after tightening.
- The siphon remains dry even when emptying a full sink quickly.
Common problems
- The joint is tightened further, but the leak returns after a day or two.
- This often means that the problem was not a loose nut but a gasket, crack, or misalignment of the part. Only a stronger tightening then briefly masks the failure.
- The leak is only seen occasionally so it is not clear where it is coming from.
- That's why you should first dry everything and repeat the test in several flow regimes. Only then can it be seen whether it leaks during slow release or only under full load.
- A new gasket was put on, but the pipe still pulls the joint crooked.
- If the geometry of the assembly is bad, the new seal will not last long either. The joint must lie naturally, without constant lateral stress.