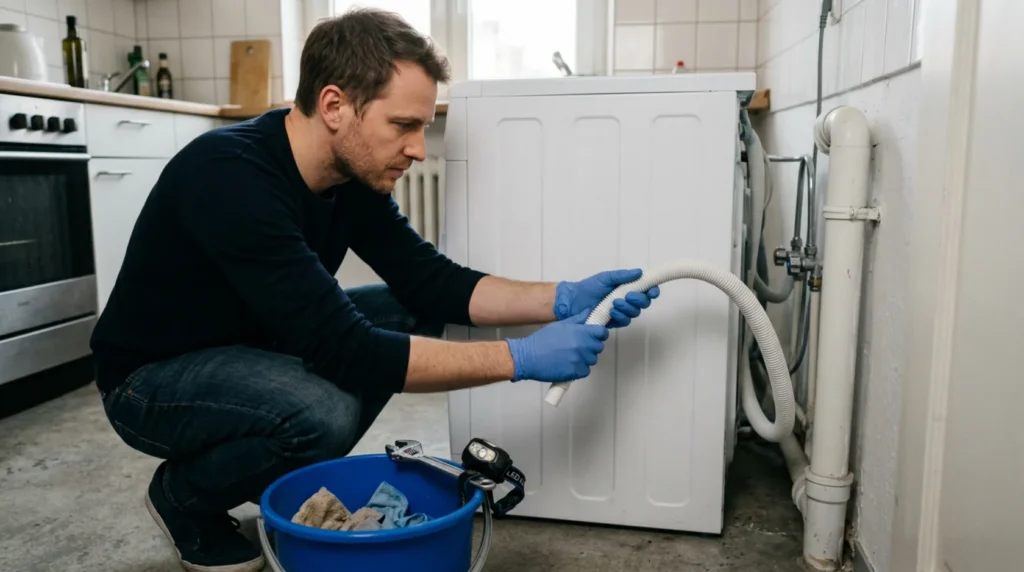
The drain hose of the washing machine must be connected so that the water flows freely, but does not return and does not leak around the connection. The most common mistakes are too low or too high a loop, bending of the hose and bad fit on the siphon or pipe. Here the details of height and position are just as important as just 'that the hose is in'.
It is enough that you know where the hose goes towards the siphon or drain pipe and that you can safely access the connection behind the machine. It is useful to have a cloth and a container, because even a small correction can release the rest of the water from the hose.
⚠ Safety note: This guide involves working with plumbing. If you're not completely sure about every step, stop and call a licensed professional. Before you start, always switch off the power at the breaker or close the main water/gas valve.
1 Prepare the space behind the machine
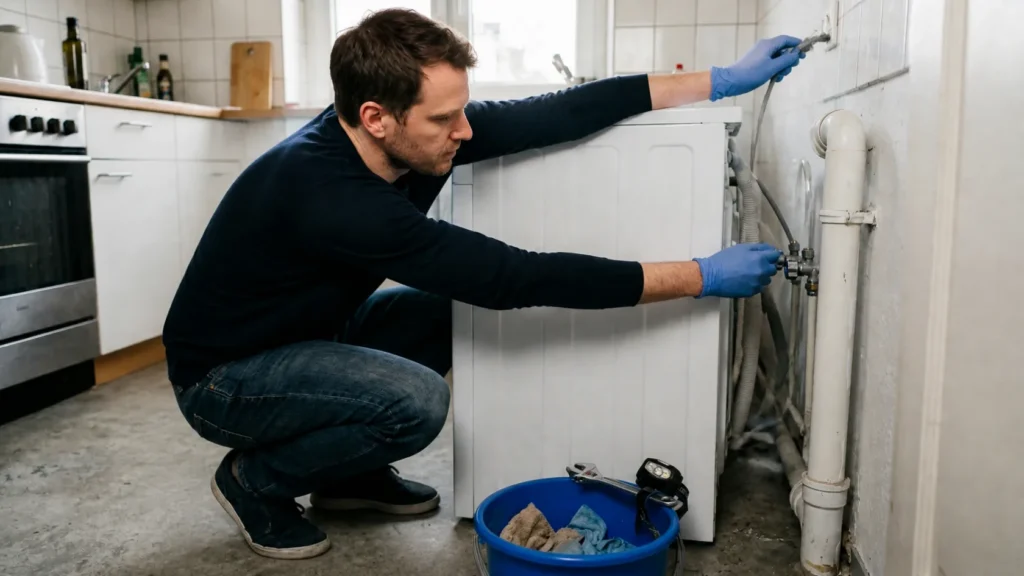
Move the machine only as far as necessary and provide enough room to see the entire drain hose from the outlet to the drain. Prepare a cloth and a container, because water often leaks out of the hose even when you don’t expect much. In a confined space, a bend or poor support of the intestine is most often overlooked.
2 Check the height and shape of the drain loop
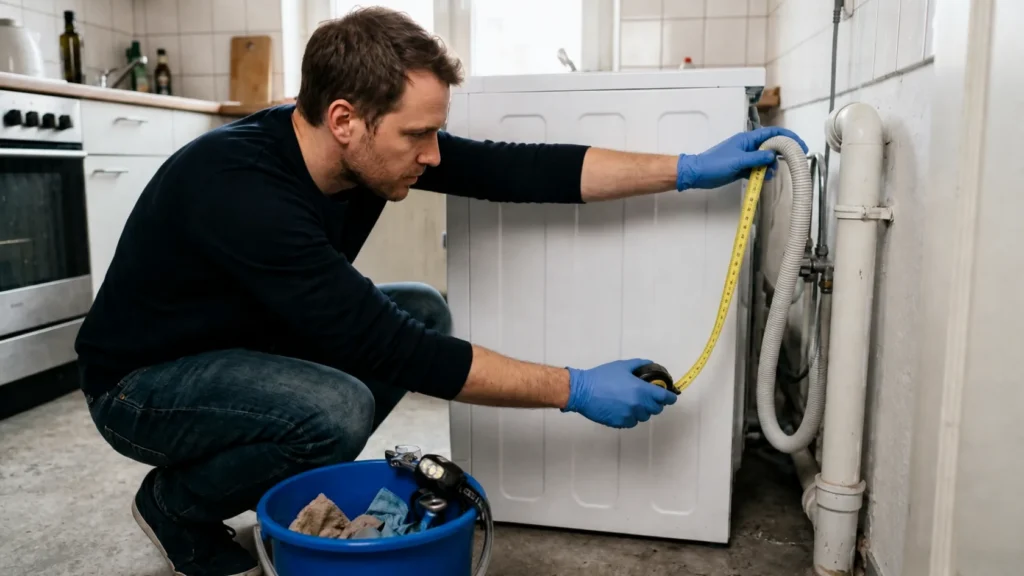
The drain hose should have the correct arc and height required by the machine manufacturer, and not fall straight to the floor or be pushed too deep. If it’s too low, water may back up or the machine may empty improperly. If it is too high or broken, the pump struggles unnecessarily and the drain becomes slower.
Warning: Do not lower the hose too low or push it deep into the drain 'stands firmer'. Incorrect height and position often cause water backflow or poor pump performance.
3 Inspect the siphon or pipe connection
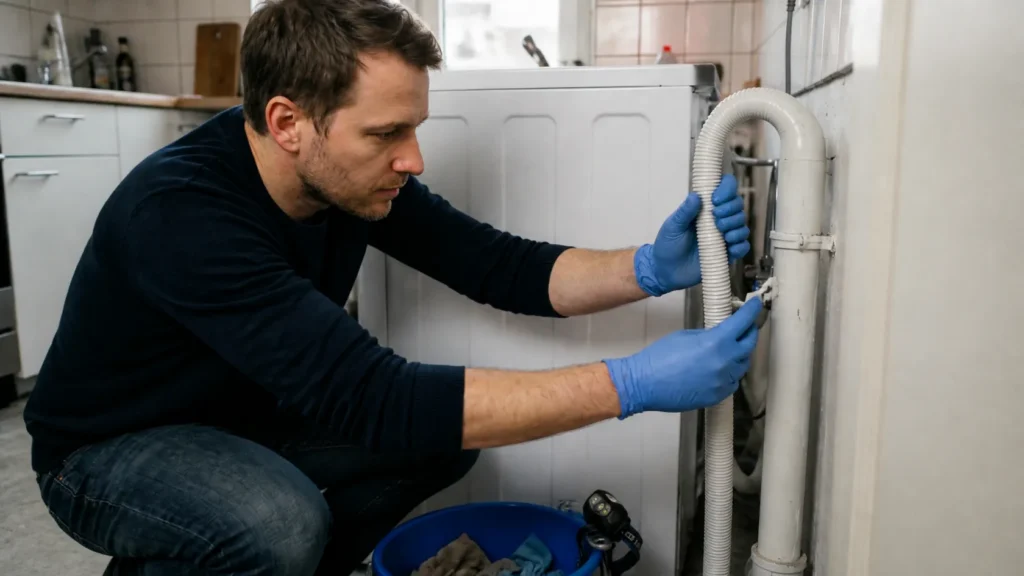
See if the hose fits straight, if the clamp is in place, and if there is an adapter that doesn’t actually match the diameter. A bad match often seems 'almost good', but release the water as soon as a stronger discharge starts. That’s exactly why you should look at the joint when it’s dry, not just when it’s already dripping.
4 Adjust the position and secure the hose
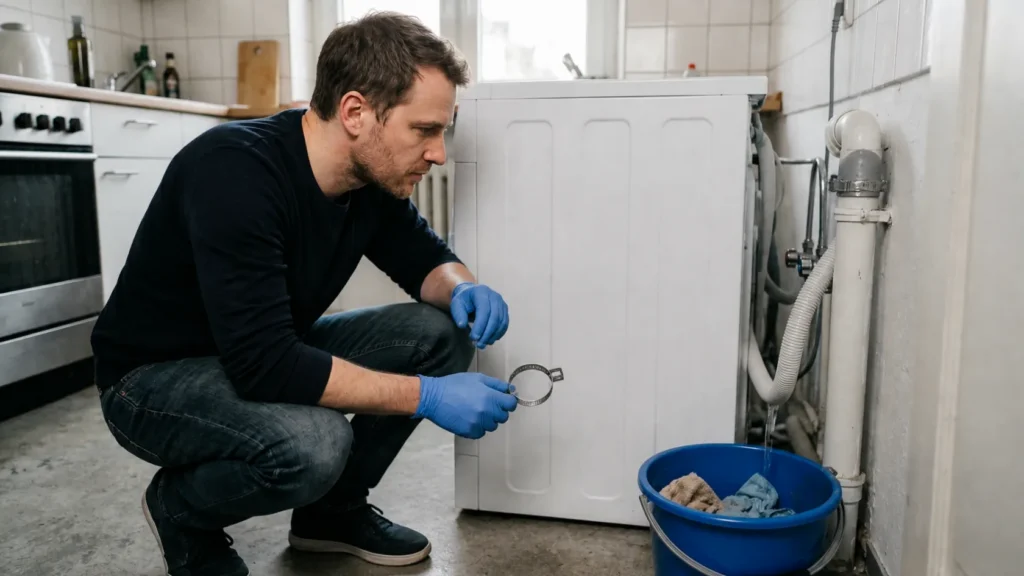
Straighten out the kinks, restore the prescribed arc and tighten the thing that really holds the joint, without forcing the plastic. If you use an adapter, check that it is firmly seated and that the hose cannot pop out under water pressure. Here, errors are usually solved by one calm, precise adjustment.
5 Run one flush cycle
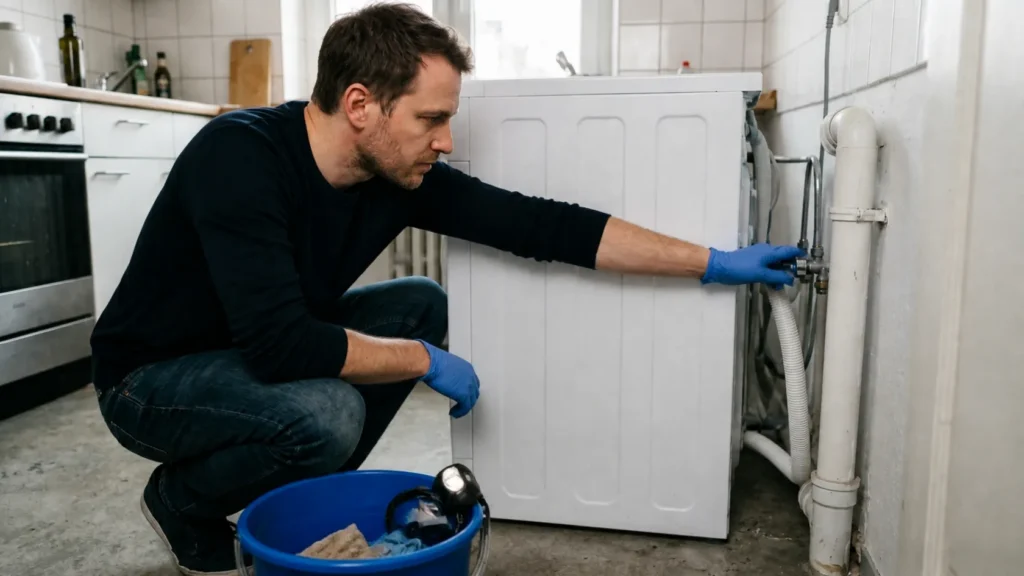
Run a short flush or test cycle and watch the connection as the pump actually sends water through the hose. Only then can you see if it returns foam somewhere, splashes or leaks under load. If the joint remains dry and still throughout the discharge, the job is probably affected.
Final check
- The entire route of the hose was inspected from the exit of the machine to the drain.
- The loop is at the correct height and without kinks that choke the flow.
- The joint on the siphon or pipe lies flat and does not appear wobbly.
- Through the actual expulsion of water, the compound remains dry and calm.
Common problems
- The hose is firmly inserted, but the machine still throws out water poorly.
- This often means that the problem is not in the strength of the connection itself, but in the wrong height of the loop or a bend along the route. With drains, the position is just as important as the fit itself.
- The joint is dry when the machine is idle, but leaks when the pump actually starts.
- That is why the test cycle is a mandatory part of the check. Many bad connections only show up under full flow and ejection pressure.
- The adapter corresponds to 'approximately', so it is left without further checking.
- With drains, 'about' often means that the joint will drip or fall out under operation. The diameter and fixture must actually match.