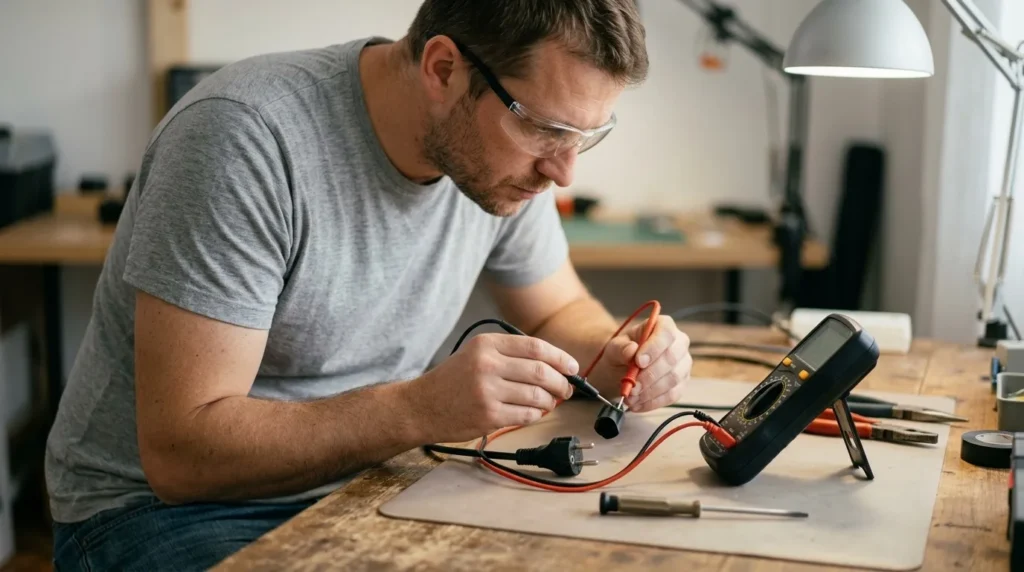
⚠ Safety note: This guide involves working with electricity. If you're not completely sure about every step, stop and call a licensed professional. Before you start, always switch off the power at the breaker or close the main water/gas valve.
1 Prepare safe work
Unplug the tool from the outlet or remove the battery. Clean the work area, secure the item, and wear eye, hearing, and respiratory protection as appropriate for the job.
⚠ Warning: Do not bypass safety guards, switches, or grounding. Leave electrical faults and damaged housings to a professional service.
2 Determine the exact symptom
Fully disconnect the circuit, remove the battery, and confirm there is no voltage using the proper method before measuring resistance.
3 Check the most common cause
Insert the black probe into COM, the red probe into the resistance jack, and select continuity. Touch the probes together to confirm the beep and a low resistance reading.
4 Eliminate the cause without improvising
Measure an isolated conductor or component. A beep means electrical continuity, but it does not confirm the joint can safely carry operating current.
? Tip: Photograph the starting condition and change only one thing at a time. That makes it easier to tell what actually solved the problem.
5 Reassemble and test safely
Put all guards back and do a short no-load test, then a test on scrap material. Stop if the tool vibrates, sparks, overheats, or makes unusual noise.
When to call a professional: If the job involves changes to the electrical panel, the main gas line, or load-bearing walls/beams — or if you're not sure how it will turn out — this is not a DIY task. Hire a licensed professional.