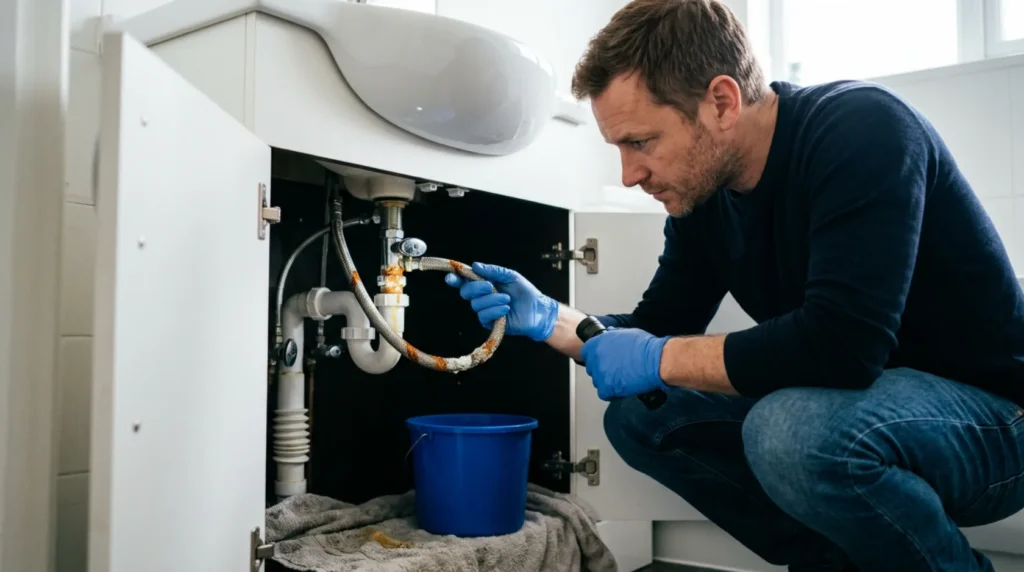
A corroded flexible hose (flex) under the sink is not a fault that should be waited for until the first major leak. When the braid rusts, swells or leaves a wet mark, the part has already left the reliable zone and can give way suddenly. This guide helps you do the replacement calmly, without breaking the angle valve and without over-tightening the new hose. It's cold water and an affordable joint, so replacing it is a job you can do yourself with a little care.
You need to know how to close the angle valve and hold the valve or faucet body with another wrench while unscrewing the old hose, so that the force does not go to the installation. It is useful to measure the length of the hose and the type of thread in advance (most often 3/8" on the valve and 3/8" or 1/2" on the faucet), because the most time is wasted when the replacement part is not correct. If the hose is on the hot water supply of the boiler, wait for the water to cool.
⚠ Safety note: This guide involves working with plumbing. If you're not completely sure about every step, stop and call a licensed professional. Before you start, always switch off the power at the breaker or close the main water/gas valve.
1 Close the angle valve and release the pressure by opening the tap
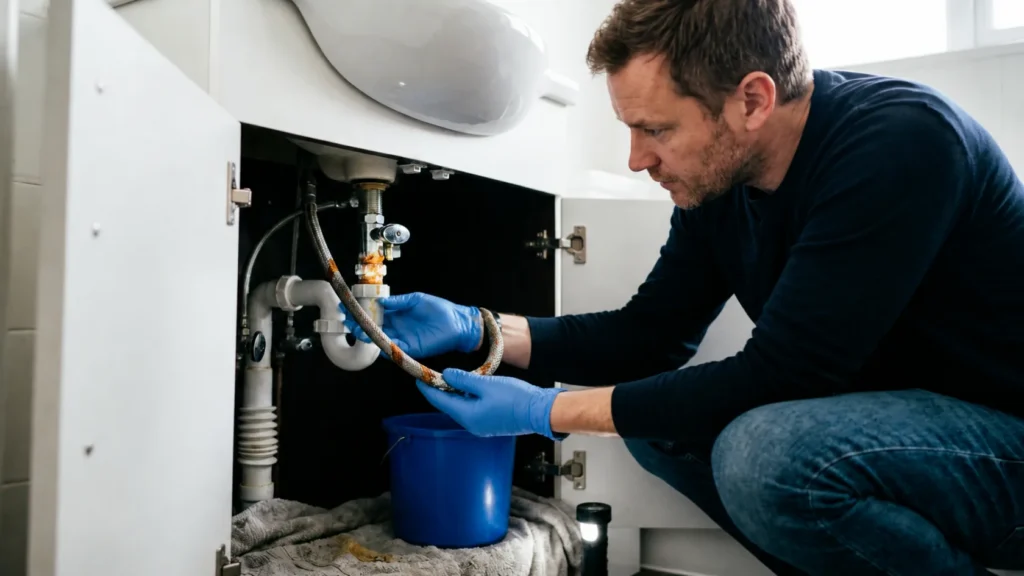
Close the corner valve under the sink (or the main valve if there is no separate one), then open the faucet to reduce the pressure and drain the residual water. Place a bucket and absorbent cloths under the joint, because water always remains in the hose. If there is an outlet or extension cord close to the cabinet, put it away in a dry place. Make sure the faucet is really dry before you touch the fitting — if it’s still leaking, the valve isn’t closing and you’re looking for an upstream valve.
2 Photograph the joint and measure the length and threads before removing
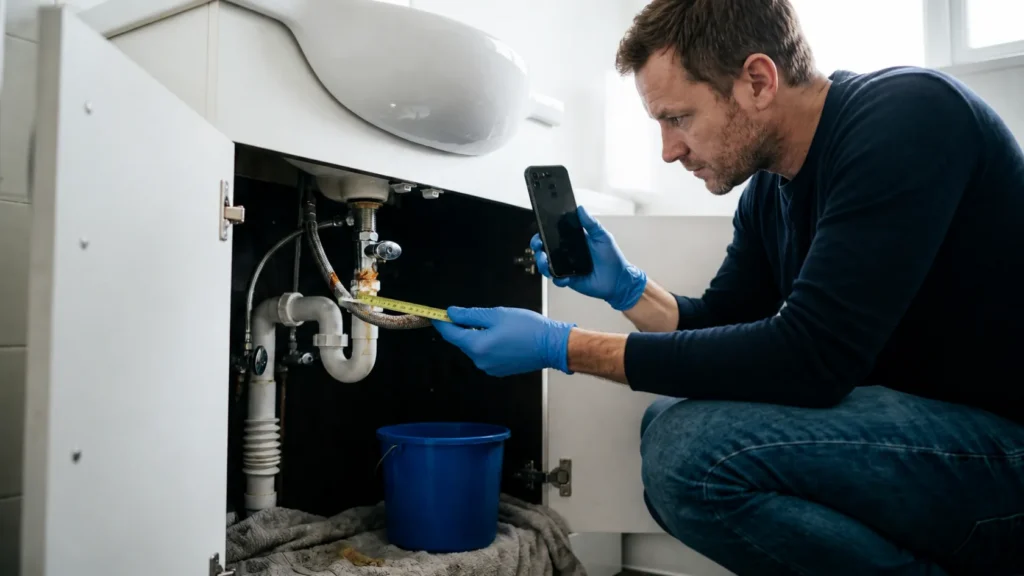
Before removing, take a picture of how the hose is connected and measure its length from thread to thread, then check the thread diameter at both ends. This is crucial because most mistakes happen when you buy the wrong length or thread hose. Do not bend and do not 'correct' corroded braid to see better — a rusted hose can break there. With the correct measurements, you buy a suitable replacement from the first.
3 Unscrew the old hose while holding the valve and faucet with another wrench
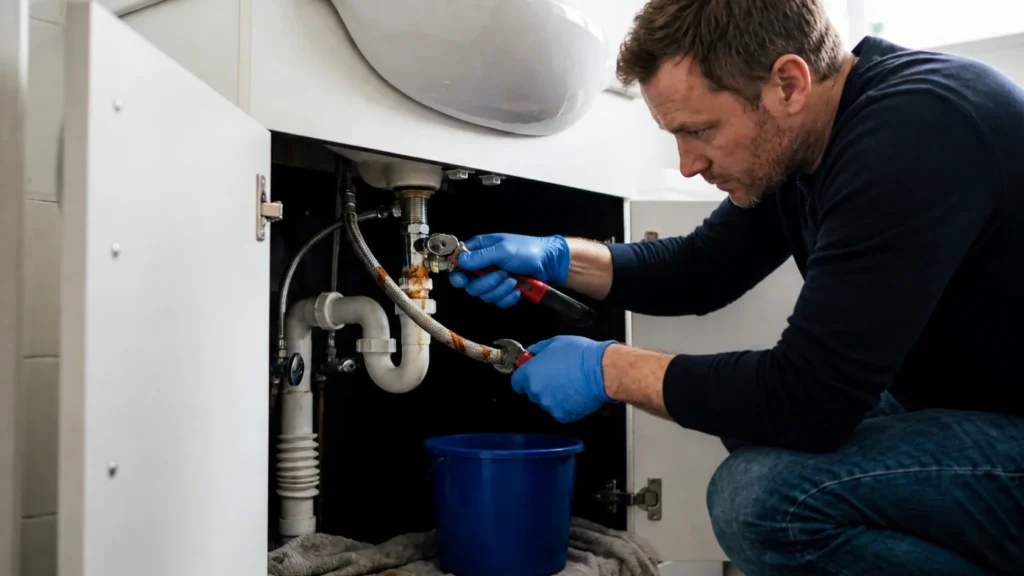
With one wrench, you unscrew the hose nut, and with the other, hold the body of the angle valve, i.e., the faucet connection, so that they do not twist or move. This is the most important moment: without holding it, you can easily break the valve or unscrew the joint in the wall. Work slowly; if the nut is very rusty, wait a few minutes with the screwdriver. After removing the hose, use a soft cloth to clean the flat seats on the valve and faucet without scratching.
4 Install a new certified hose without force tightening
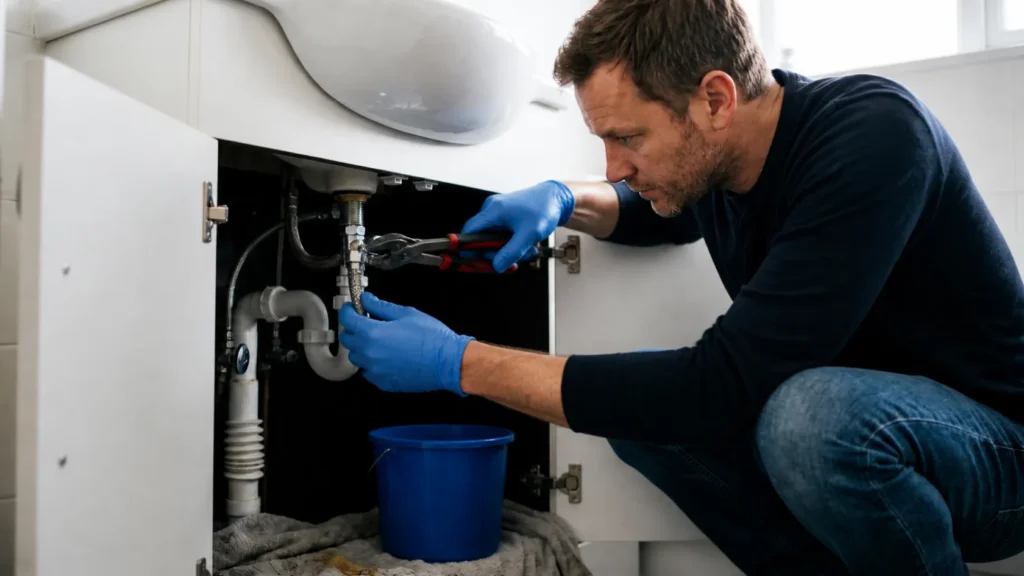
Screw on a new hose that has built-in rubber seals on the ends; first by hand to the end of the thread, then with the wrench just tighten slightly – about a quarter to half a turn. Over-tightening squashes the gasket and creates a new leak, and a barely-tight joint leaks. The hose must be in a slight arc, without twisting and without tension between the valve and the faucet. If you have to forcefully stretch it to reach, it’s too short and go back for a longer one.
5 Slowly release the water and monitor both connections for a few minutes
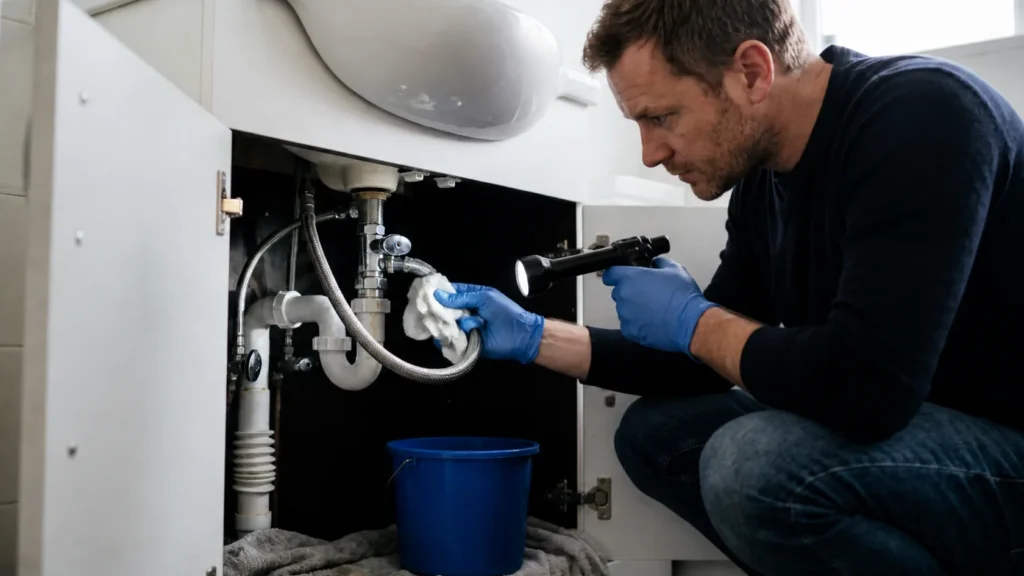
Open the angle valve slowly and check both connections with a dry finger or paper tissue, first without the tap open and then at full flow. Hold on for a few minutes because the tiny trickle only moisturizes after a while. The desired outcome is completely dry on both ends and a calm drop that does not appear. A wet streak, dripping or falling jet means that the joint needs to be re-examined; if, despite the correctly clamped hose, it leaks at the valve, it is the valve that needs to be replaced.
Final check
- The corroded hose was removed without additional stress on the valve or armature, while holding it in place with another wrench.
- The new hose corresponds in length and threads and stands in a slight arc, without tightening or twisting.
- The joints are threaded straight, with proper gaskets and without over-tightening.
- At full pressure there is not even a tiny bit of wetting on both ends of the joint even after a few minutes.
Common problems
- The new hose is threaded correctly, but is too short and pulls on the joint.
- The cause is an incorrectly chosen length, and a tight connection sooner or later creates new weakness and leakage. The hose must also match the size, not just the thread; replace it with a longer one that stands in a slight arc without strain.
- When unscrewing, the entire valve or tap is moved.
- The reason is that the other end of the connection was not held, so the force went to the installation. Always work with two wrenches when there is a risk of force transmission; if the valve is already screwed into the wall, stop and check that it is not leaking behind the tiles.
- The compound does not drip immediately, but it moistens after a few minutes.
- The cause is an insufficiently fitted seal or a slightly uneven fit, so it's still a leak, just slower. Solve it immediately by tightening it to some degree or by checking the seal, because moisture under the cabinet is not noticed for a long time and mold forms.