⚠ Safety note: This guide involves working with plumbing. If you're not completely sure about every step, stop and call a licensed professional. Before you start, always switch off the power at the breaker or close the main water/gas valve.
1 Prepare for safe work
Check the weather conditions, installations and terrain, put on gloves and eye protection and keep children and pets away from tools and preparations.
⚠ Warning: Use preparations only for the stated purpose and dose on the label. Don’t use electrical tools in the rain, and identify unknown plants and pests properly first.
2 Determine the condition and cause
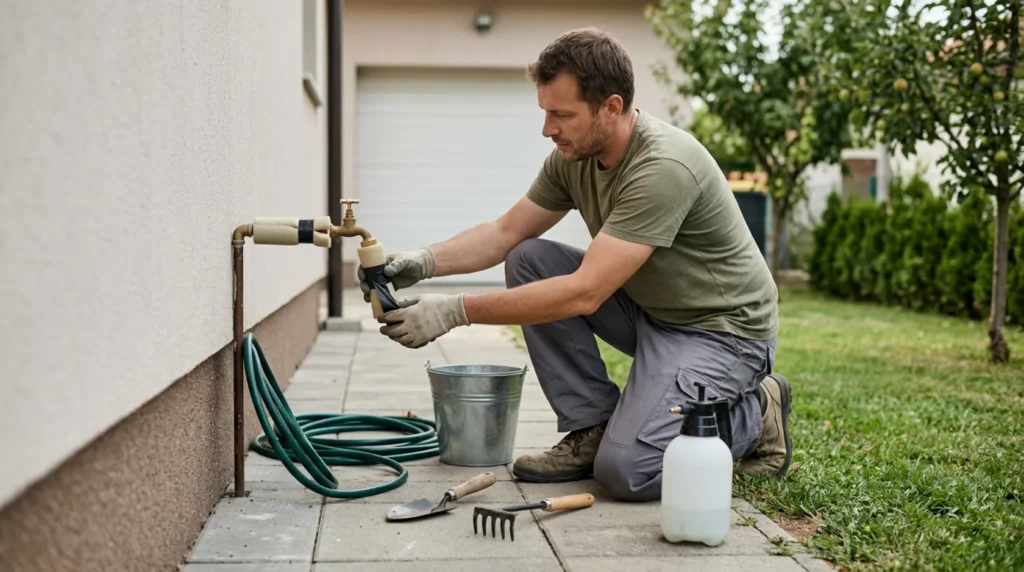
Before the frost comes, disconnect the hose, close the interior valve if you have one and open the outdoor faucet so the water can drain.

3 Perform a key inspection
Drain the section of pipe through the drain plug and check that there are no indentations where water remains. Don’t leave disconnected distributors connected.
4 Perform a repair or maintenance
Install an insulation cap as additional protection, but not as a replacement for draining. Check a crack after freezing before restarting the water.
? Tip: Take a photo of the initial condition and change only one thing at a time. That way you can more easily determine what actually solved the problem.
5 Test the result
After completion, water or test only what the process requires, clean the tools and monitor the plant or system over the following days. Don’t repeat the treatment before the recommended time interval.