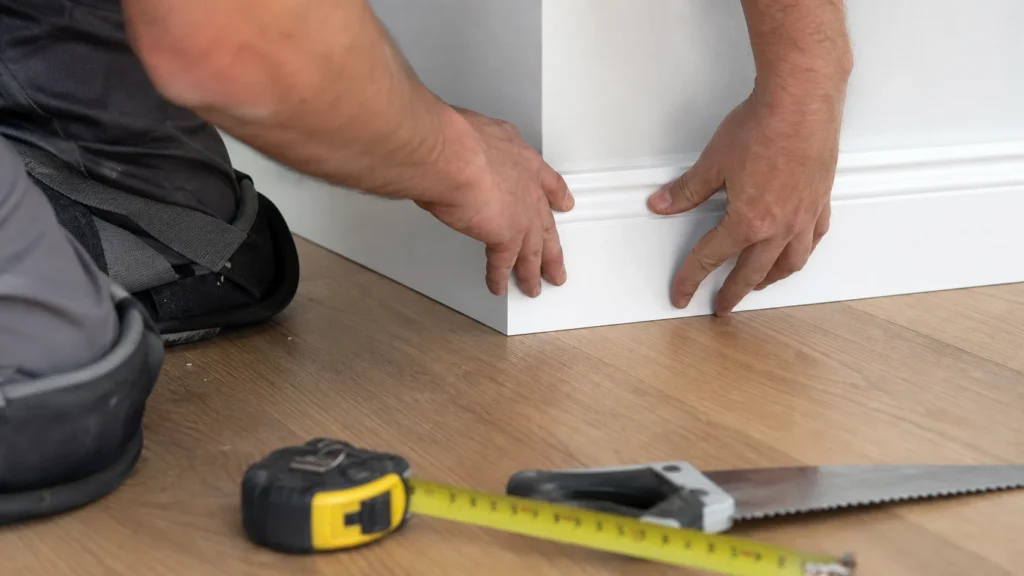
Installing baseboards looks like a small finishing job, but it's precisely where it's easiest to see how carefully someone worked. A baseboard doesn't just 'dress up the finish' - it covers the expansion gap and creates a neat joint between floor and wall with no gaps that collect dust. Most of the time doesn't go into gluing or screwing, but into measuring, dry-fitting, and correcting corners that are almost never exactly 90 degrees. If the walls are very wavy or the floor has noticeable unevenness, you can still do the job yourself, but expect more touch-up work and a more realistic final result.
Basic experience with measuring and cutting to size is helpful. Speed isn't what matters most - what matters is being able to mark a piece carefully, tell an inside corner from an outside corner, and check the joint before final fastening.
1 Measure the room and plan the layout
Measure each wall separately and immediately note down where you want the joints between pieces, rather than letting them 'fall wherever'. It's best for joints to be in less noticeable spots, not right on the most visible part of the wall. Add some extra allowance for test cuts, since with baseboards a single wrong cut very easily shortens an entire piece.
2 Determine the actual angles of the room
Don't assume every corner is 90 degrees. If you have an angle finder, measure the actual angle; if not, at least dry-fit scrap pieces before cutting the main ones. On uneven walls, a difference of just one or two degrees already creates a gaping joint that's hard to hide later.
3 Cut the inside and outside corners
Cut the ends of the baseboards carefully, and before each cut mark which side faces the wall and which stays visible. The beginner mistake isn't just the wrong angle, but cutting the correct measurement on the wrong side of the piece. If you're making several identical joints, always check the first pair on the wall before continuing to cut the rest in series.
4 Dry-fit the baseboards without gluing
Hold each piece in place before fastening it and check whether it touches the wall along its entire length and how the corners close up. It's much easier to make small corrections while the piece is still loose than later once it's already glued or screwed. This check also immediately shows whether the joint needs slight adjustment or the length needs correcting.
5 Fasten the baseboards
On flatter walls you can use construction adhesive, while on more problematic subfloors or with heavier baseboards, mechanical fastening into the wall is safer. Don't fasten into the floor itself if it moves and expands, particularly with laminate or other floating floors. Apply adhesive evenly, but not excessively, so it doesn't squeeze out onto the visible edge when you press the piece into place.
6 Press and secure the joints
Once a piece is in place, press it along its entire length and pay special attention to the joints and corners. If you're using adhesive, check whether the piece tends to pull away from the wall in any area and hold it in place temporarily if needed until it grabs. A joint that looks good in the middle but is open at the top is still a bad joint.
7 Finish the end pieces
At the ends near doors, cabinets, or where a wall breaks off, use the system's end caps if the baseboard set has them, and if not, finish the cut edge so it isn't sharp or unsightly. It's precisely these small finishing touches that often visually give away rushed work. If the decorative finish is delicate, take extra care not to damage the foil on the visible side while cutting.
8 Seal small gaps at the end
Close small gaps along the wall with paintable acrylic caulk, not silicone, if you need a neat, matte finish against the wall. Apply the caulk sparingly and smooth it immediately, since a thick bead of caulk looks worse than the small gap you were trying to hide. Only finish off screw heads and joint spots once you're sure no more adjustments to the pieces are needed.
Final check
- The baseboards sit flush against the wall and floor along their entire length, with no major gaps and no bowing.
- Corners and joints are closed and don't stand out to the eye at a normal viewing angle across the room.
- The baseboards are properly fastened to the wall or with adhesive as appropriate, and a floating floor hasn't been pinned down by the fastening.
- Small gaps, end pieces, and fastener heads are neatly finished, with no rough traces of caulk or adhesive.
Common problems
- A corner joint still gapes even though the cut is supposedly at 45 degrees.
- The cause is most often the wall's actual angle not being 90 degrees, or a small error in how the piece was oriented when cutting. Instead of immediately filling the joint with caulk, check the angle and make a test cut on a scrap piece, then adjust the main piece accordingly.
- The baseboard pulls away from the wall in the middle or near the top.
- This means the wall is wavier than the adhesive can follow, or the piece wasn't pressed firmly enough while the adhesive was setting. In such spots, a combination of mechanical fastening and a light bead of acrylic caulk afterward helps, instead of relying solely on a thick layer of adhesive.
- After finishing, marks from the decorative foil or nicked edges are visible.
- Decorative baseboards are sensitive to dull blades and rough handling when cutting. Use a sharp tool, protect the visible side when needed, and fix small damage right away, before you finish the whole room.