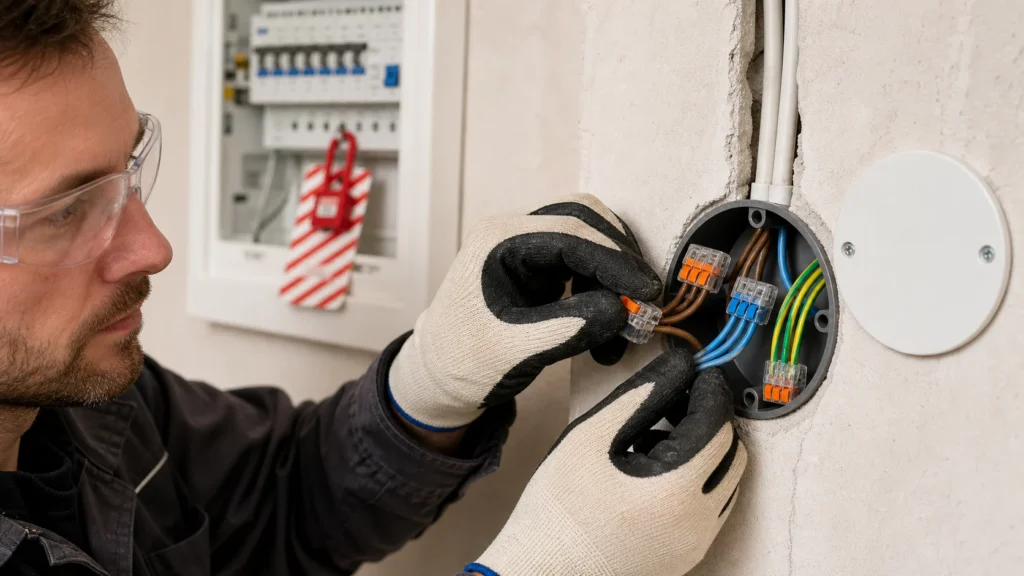
Extending household wiring through a junction box is no longer a minor part swap — it's real work on a circuit that will carry a new load. That means that besides making a tidy connection, you need to know what you're feeding, what cable cross-section to use, which existing line you're branching from, and which breaker protects it. Surface-mounted trunking work like this can still be a homeowner job if the layout is clear to you; but the moment the plan isn't clear, or you're going into a wall, or adding a bigger load, stop and call an electrician.
You need real basic knowledge of electrical wiring, not just courage with a screwdriver. It must be clear which circuit is for lighting and which for outlets, why 1.5 mm² isn't treated the same as 2.5 mm², and why every connection is made inside an accessible box using proper connectors.
⚠ Safety note: This guide involves working with electricity, load-bearing structure. If you're not completely sure about every step, stop and call a licensed professional. Before you start, always switch off the power at the breaker or close the main water/gas valve.
1 Check whether the existing circuit can even carry the new load
Before buying trunking or cable, find out what's already hanging on that breaker and what you plan to add on the new tap. An extra outlet for chargers and a lamp is not the same as an outlet for a heater, water heater, or a higher-power kitchen appliance.
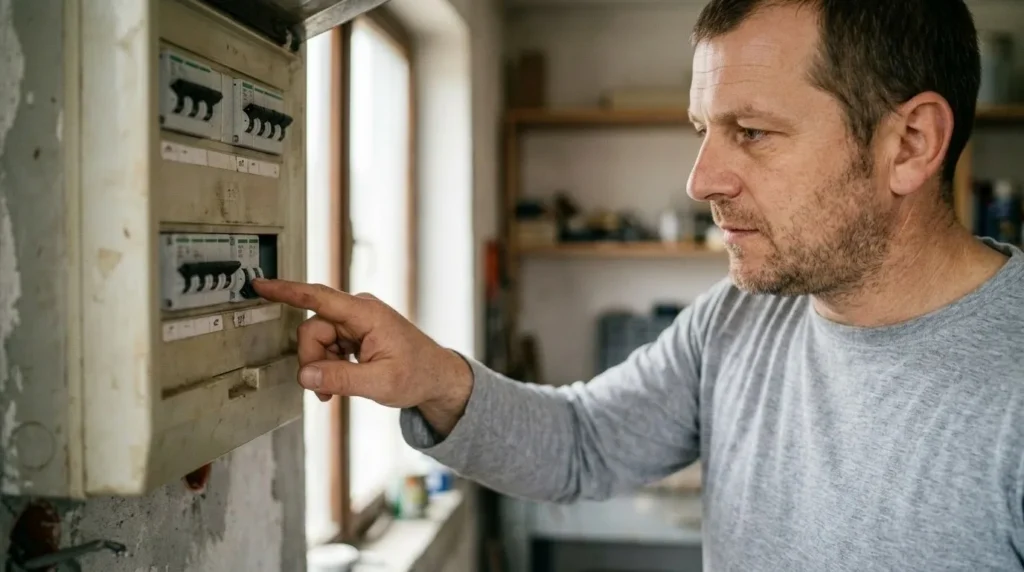
2 Choose a branch point that's logical and accessible
Branch the new line from an existing junction box, distribution box, or tap on the same circuit — not from whatever spot is physically closest when you don't know what it carries. The branch point must stay accessible for later inspection, not end up hidden behind a cabinet or wall cladding.
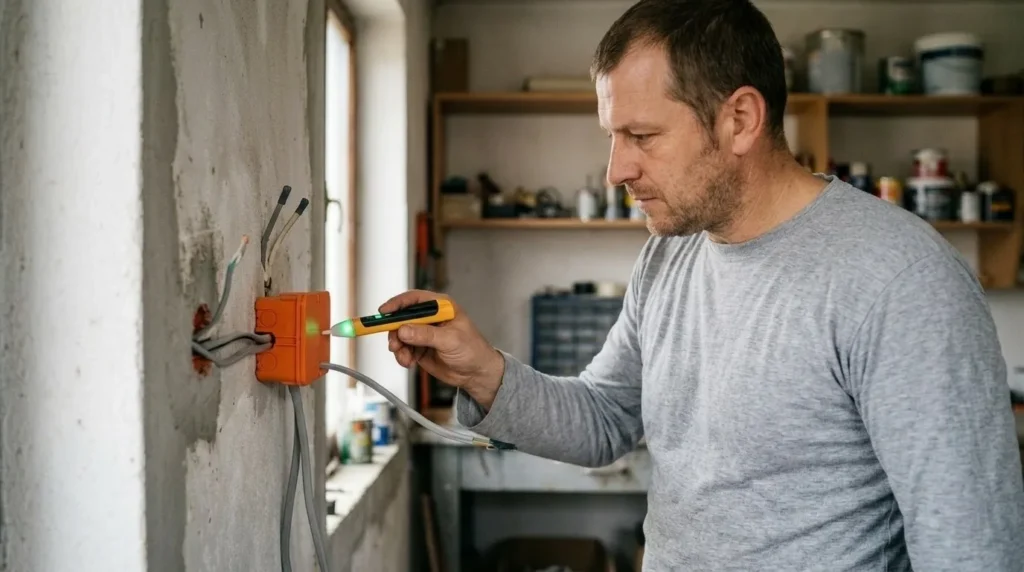
3 Switch off the breaker and confirm there's no voltage at every work location
Test not only at the starting point but also where you plan to finish the new line, especially if the space has multiple circuits or earlier improvised wiring. On a job like this, one wrong assumption that 'it's probably that breaker' is enough to cause real problems.
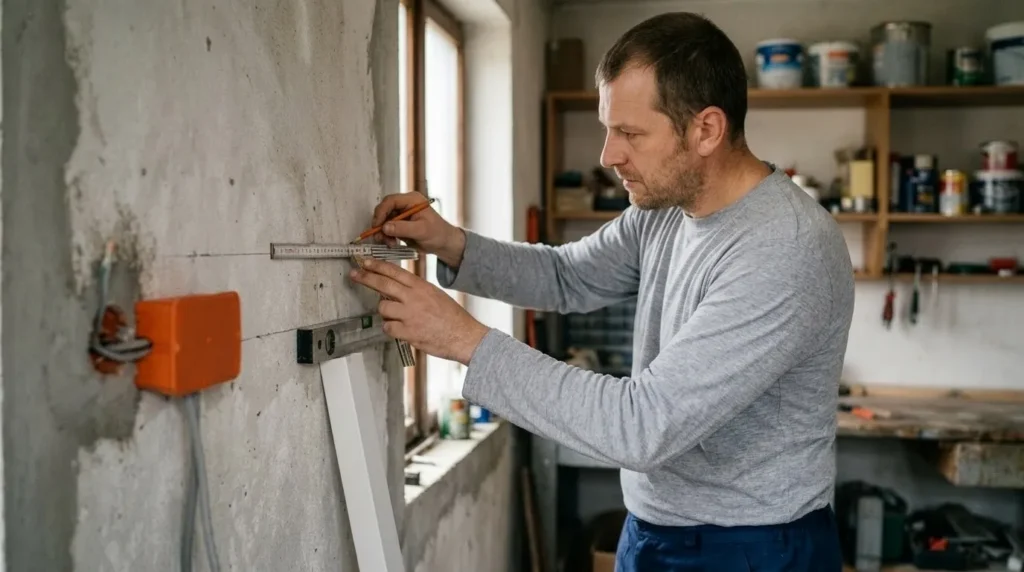
4 Plan the route so it stays legible and serviceable
For surface mounting, run the line straight, horizontal or vertical, through trunking neatly fixed along the room's edges. Diagonal routes look shorter, but later become a trap when drilling into the wall, and no one remembers where the cable actually runs.
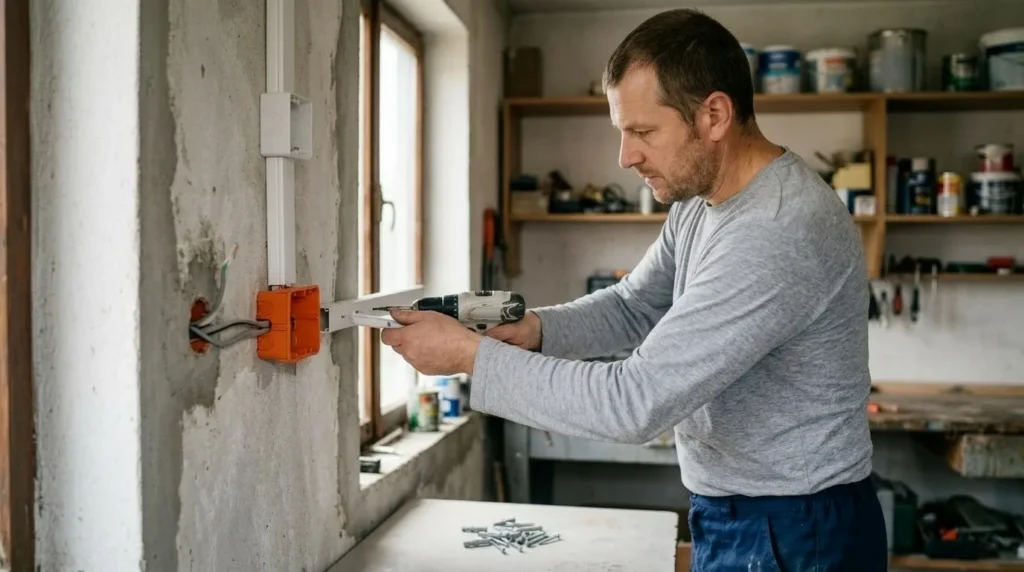
5 Mount the trunking and junction box before pulling the cable
When you fix the trunking and boxes in place first, it's much easier to measure the route and leave a tidy reserve at the ends. The junction box needs to be big enough that the connections aren't crammed in and the cover closes without pressing on the connectors.
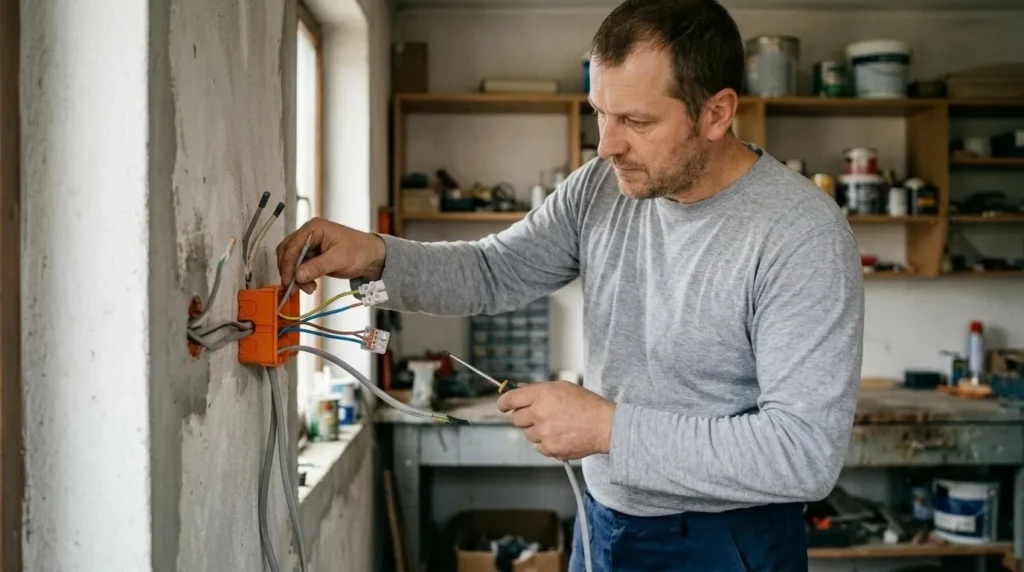
6 Pull in a cable of the right cross-section and mark the line's function
Lighting cable and outlet cable aren't just differently colored boxes at the store — they're different permitted operating regimes. If there's even the slightest doubt about the cross-section of an existing line or the breaker protecting it, don't connect blindly just because 'it looks the same.'
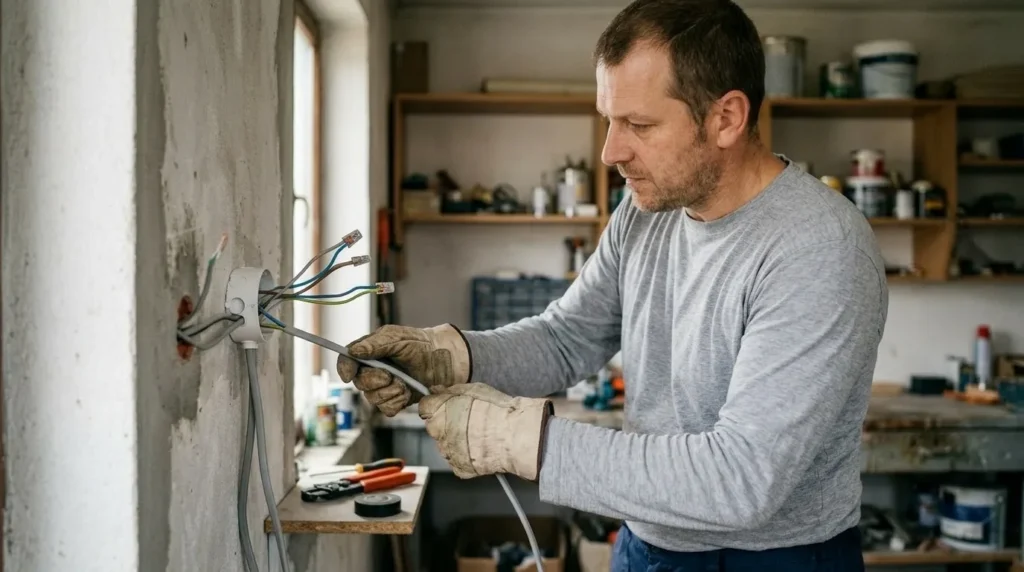
7 Connect the conductors by function through proper connectors
Live to live, neutral to neutral, protective earth to protective earth, all through appropriate terminals or connectors inside the box. There's no room in this job for twisting wires together in mid-air and wrapping them in electrical tape as a permanent fix.
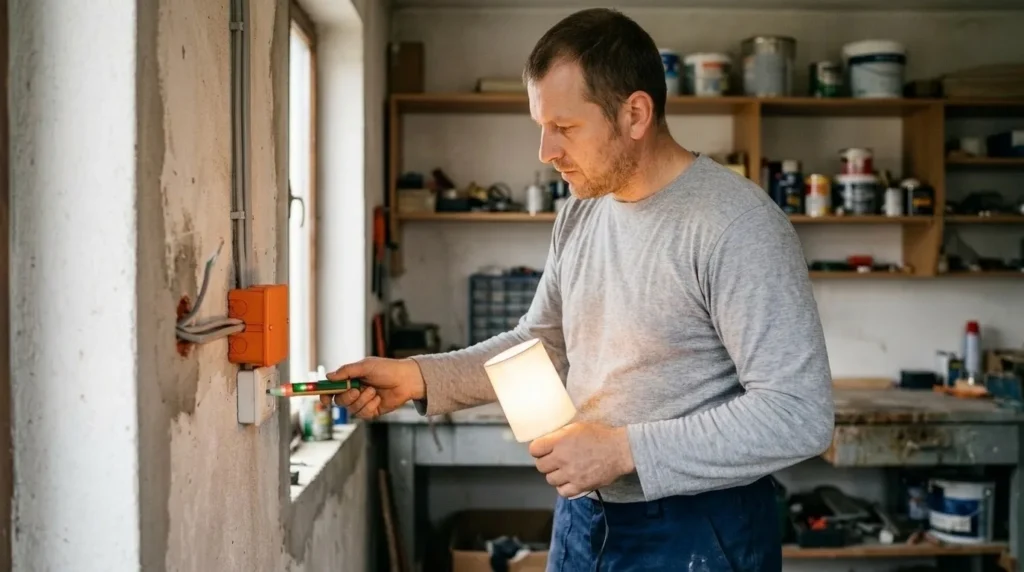
8 Close the boxes and test the circuit under real load
When you're done, put the covers back on, switch on the breaker, and first measure basic correctness, then test the actual appliance the line is meant for. Watch whether the breaker stays stable and whether any point heats up abnormally.
When to call a professional: If the job involves changes to the electrical panel, the main gas line, or load-bearing walls/beams — or if you're not sure how it will turn out — this is not a DIY task. Hire a licensed professional.
Final check
- The new outlet works and belongs to exactly the expected breaker.
- All connections are inside closed boxes through proper connectors, with no improvised joints.
- The trunking and boxes are mounted straight and remain accessible for inspection.
- The circuit doesn't trip under real load, and there's no heating or burning smell anywhere.
Common problems
- The breaker trips as soon as you switch on the new line.
- The most common cause is a swapped conductor function at a connector, or a bare strand touching a neighboring terminal. Cut the power and systematically check every connection point instead of trying your luck again.
- You're not sure exactly where existing cables run inside the wall.
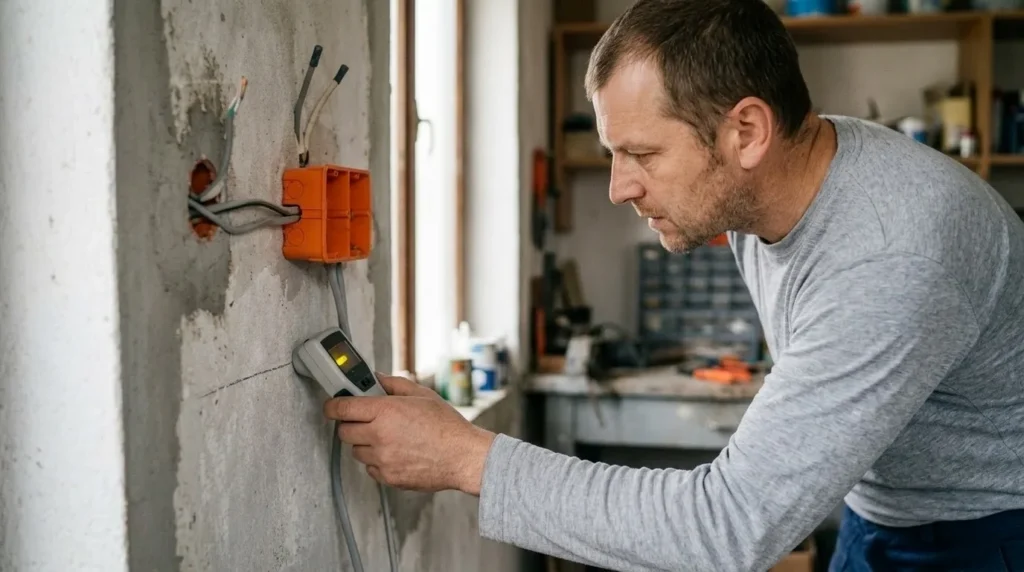
- In that case, don't drill blindly near existing outlets, switches, and vertical/horizontal wiring zones. Use a cable detector or leave that part to someone who can safely open up the route.
- The junction box gets overcrowded and the cover barely closes.
- That means you picked a box that's too small, or you're trying to connect too many lines in one spot. A bigger box or a differently arranged layout is a better choice than forcing wires in.