⚠ Safety note: This guide involves working with plumbing. If you're not completely sure about every step, stop and call a licensed professional. Before you start, always switch off the power at the breaker or close the main water/gas valve.
1 Prepare for safe work
Check the weather conditions, installations, and terrain, put on gloves and eye protection, and keep children and pets away from tools and preparations.
⚠ Warning: Use the preparation only for the purpose and dose from the label. Do not use power tools in the rain, and properly identify diseased plants and unknown pests first.
2 Determine the condition and cause
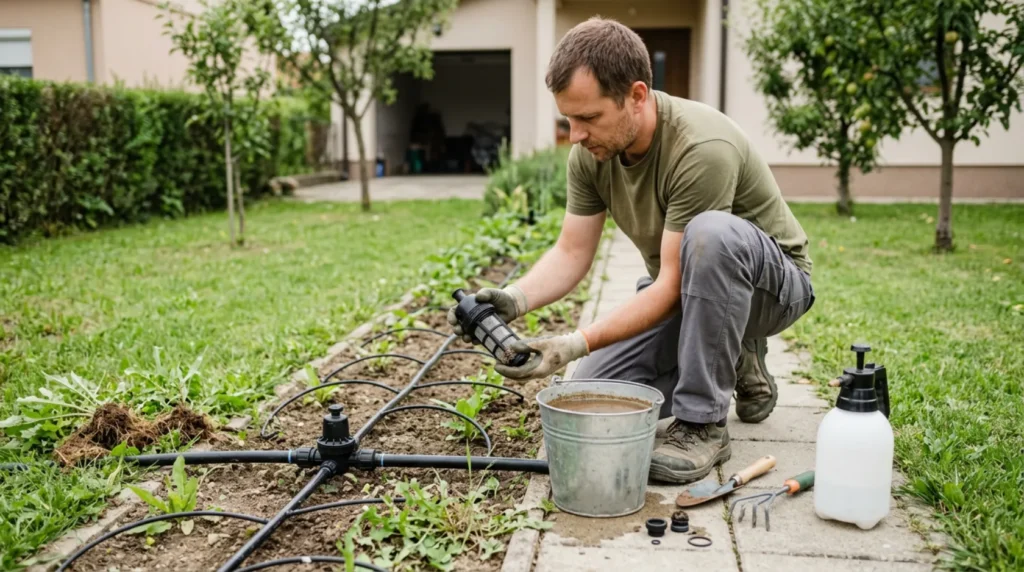
Close the water, open the line ends, and inspect the filter, regulator, and emitters for sand, algae, and scale.
3 Perform the key check
Wash the filter according to the type of cartridge, then flush each zone with clean water until clear water comes out at the end.
4 Do the repair or maintenance
For mineral deposits, use only the product, concentration, and procedure allowed by the system manufacturer, then flush the system thoroughly.
? Tip: Photograph the initial state and change only one thing at a time. This makes it easier to determine what really solved the problem.
5 Test the result
Upon completion, water or test only as much as the procedure requires, clean the tools, and monitor the plant or system in the following days. Do not repeat the treatment before the recommended period.